Commercial cat litters often contain synthetic fragrances, silica dust, and non-biodegradable materials that can harm both cats and the environment. For pet owners seeking a healthier, more sustainable alternative, homemade cat litter is an increasingly popular solution. By crafting your own litter from natural, readily available ingredients, you gain control over what goes into your cat’s litter box—ensuring safety, minimizing environmental impact, and potentially saving money over time.
This guide walks through the science, materials, and methods behind creating effective, non-toxic, and biodegradable cat litter at home. From ingredient selection to odor control and disposal, every step is designed with feline health and planetary responsibility in mind.
Why Make Your Own Cat Litter?
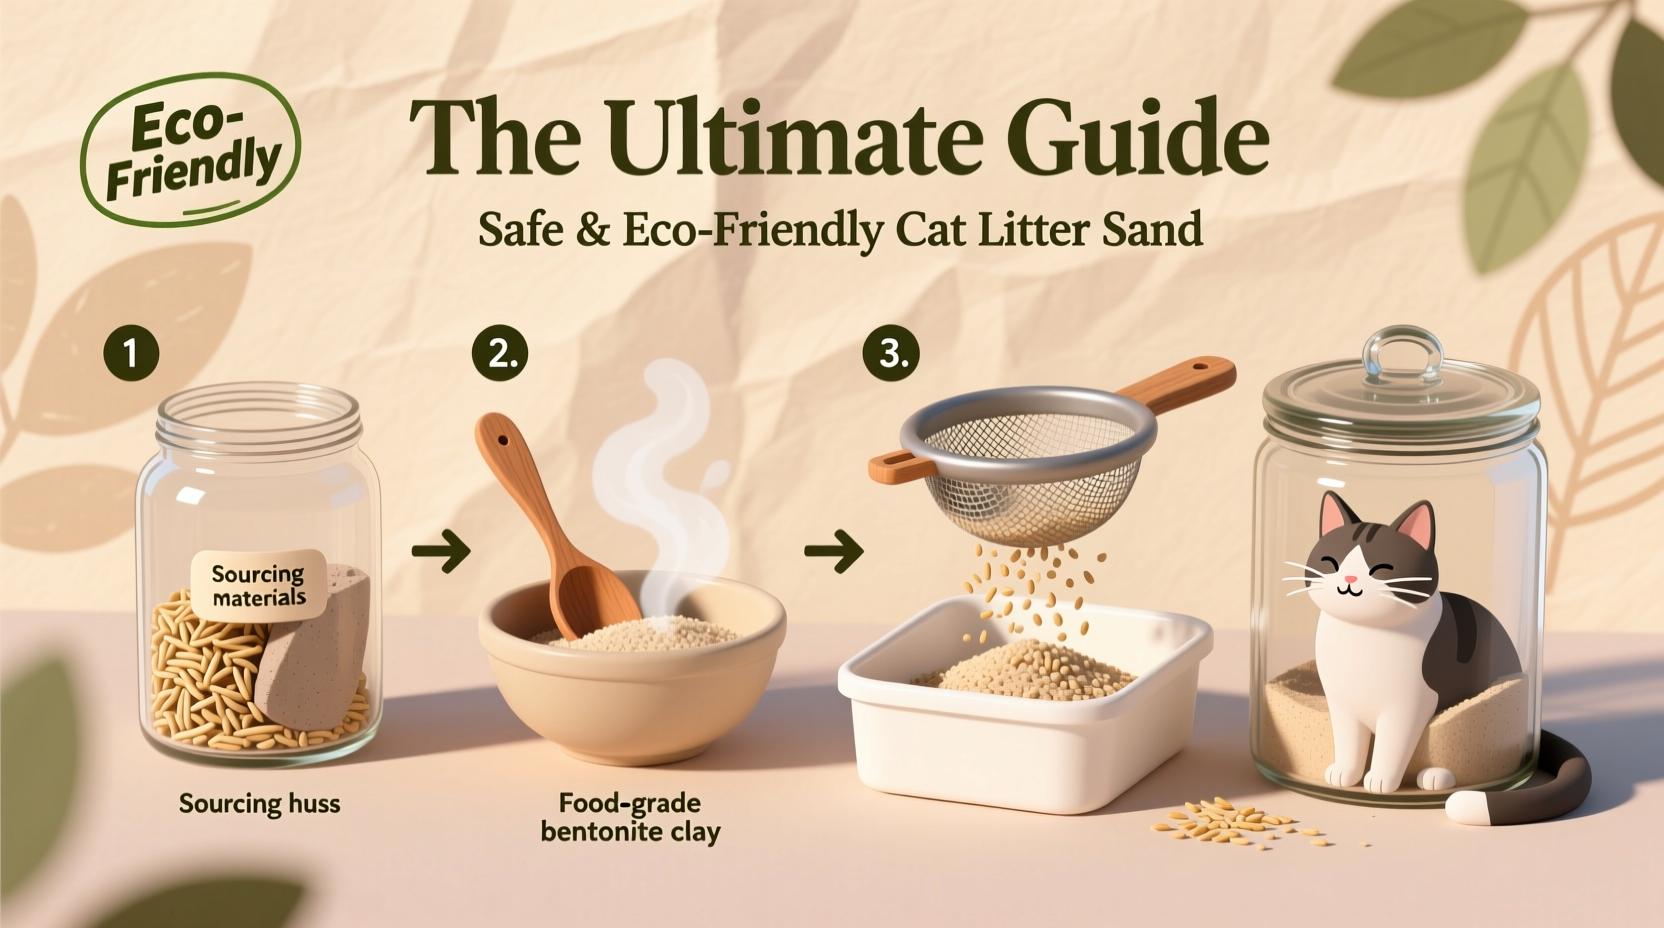
Store-bought litters may offer convenience, but they come with trade-offs. Clay-based litters are strip-mined, contributing to habitat destruction and high carbon emissions. Many clumping formulas use sodium bentonite, which expands dangerously if ingested—posing risks to curious or grooming cats. Silica gel crystals release fine dust linked to respiratory irritation in both pets and humans.
In contrast, homemade cat litter allows you to:
- Avoid harmful chemicals and artificial scents
- Reduce plastic packaging and landfill waste
- Use compostable or flushable (where permitted) materials
- Customize texture and absorbency to your cat’s preference
- Cut long-term costs by sourcing bulk, renewable ingredients
Best Natural Ingredients for Homemade Cat Litter
The foundation of effective DIY cat litter lies in selecting materials that balance absorbency, clumping ability, odor control, and safety. Not all natural substances work equally well—some break down too quickly, while others produce excessive dust.
Below are the most reliable base ingredients backed by veterinary and environmental research:
| Ingredient | Absorbency | Clumping | Eco Impact | Safety Notes |
|---|---|---|---|---|
| Recycled Paper (shredded) | High | Low | Excellent – fully compostable | Dust-free when processed properly |
| Wood Pellets (pine or cedar) | Very High | Medium | Good – biodegradable | Avoid aromatic cedar; pine is safer |
| Wheat Bran or Whole Wheat Flour | Medium | High | Good – compostable | Not suitable for gluten-sensitive cats |
| Coconut Coir | High | Medium-High | Excellent – renewable resource | Naturally antimicrobial |
| Corn Cob Granules | High | Medium | Good – biodegradable | May mold if not dried thoroughly |
“Cats are highly sensitive to airborne particles and chemical residues. Switching to low-dust, fragrance-free litters can significantly improve their respiratory and urinary health.” — Dr. Lena Torres, DVM, Feline Wellness Specialist
Step-by-Step Guide to Making Clumping Coconut Coir Litter
Coconut coir—a byproduct of coconut processing—is one of the most effective and sustainable bases for homemade cat litter. It absorbs moisture rapidly, resists odor, and forms firm clumps when wet. Here’s how to prepare a 5-liter batch:
- Hydrate the coir brick: Place one 700g compressed coir brick in a large bucket. Add 5 liters of warm water and let it soak for 15–20 minutes until fully expanded.
- Break up clumps: Use your hands or a fork to fluff the coir into a loose, soil-like texture. Remove any large fibers or debris.
- Add a binding agent: Mix in 1/2 cup of food-grade diatomaceous earth (non-calcined) to enhance clumping and absorbency. Avoid pool-grade versions.
- Boost odor control: Stir in 1 tablespoon of baking soda (optional) for natural deodorizing. For scent, add 3–5 drops of pet-safe essential oil like lavender or chamomile—never use tea tree, citrus, or eucalyptus.
- Dry partially (optional): If the mixture feels too damp, spread it on a tray and air-dry for 1–2 hours. It should remain slightly moist to support clumping.
- Store in an airtight container: Transfer to a sealed bin or resealable bag. Use within 4 weeks for best performance.
Real-Life Example: Transitioning a Multi-Cat Household
Sophia, a pet owner in Portland, Oregon, switched her three cats to homemade coconut coir litter after one developed chronic sneezing and another began avoiding the litter box. She initially mixed 25% coir with 75% commercial litter, increasing the ratio weekly. Within a month, all three cats adapted without issue.
“I was surprised how well it controlled odor,” she said. “And I love that I can compost the waste in my backyard bin—minus feces, of course. My vet even noted improved coat condition, possibly due to reduced inhalation of dust.”
She now prepares a new batch every two weeks, using unscented coir and diatomaceous earth sourced from a local farm supply store.
Essential Checklist for Safe DIY Litter Success
Before starting your first batch, ensure you’ve covered these critical points:
- ✅ Choose only non-toxic, food-grade or pet-safe ingredients
- ✅ Avoid essential oils toxic to cats (e.g., phenols, terpenes)
- ✅ Use gloves and a mask when handling dry powders to minimize dust exposure
- ✅ Test the litter in a spare box before full transition
- ✅ Scoop daily and replace the entire batch every 7–10 days
- ✅ Store unused litter in a dry, sealed container to prevent mold
- ✅ Dispose of waste responsibly—compost only if local regulations allow and no feces are included
Frequently Asked Questions
Can I flush homemade cat litter?
Only if it’s made from 100% flushable materials like recycled paper or coir, and your local sewage system permits it. Never flush litter containing diatomaceous earth, clay, or feces. Check municipal guidelines to avoid plumbing damage or environmental contamination.
Is baking soda safe for cats in litter?
Yes, in moderation. Baking soda is non-toxic and effectively neutralizes odors. However, excessive amounts can cause gastrointestinal upset if ingested during grooming. Stick to 1–2 tablespoons per liter of litter.
How do I prevent mold in homemade litter?
Mold thrives in damp, organic material. To prevent it, ensure ingredients are fully dry before mixing, avoid over-wetting during preparation, and never store litter in humid environments like basements. Use within a month and inspect for musty smells before each use.
Final Thoughts and Call to Action
Making your own cat litter isn’t just a cost-saving hack—it’s a conscious choice for your pet’s well-being and the planet’s future. With simple ingredients and careful preparation, you can create a litter that performs as well as commercial brands, minus the toxins and plastic waste.
Start small with a test batch. Observe your cat’s reaction. Tweak the formula to suit your household’s needs. Share your results, experiment with composting used litter, and inspire others to make the switch.
🚀 Ready to go green and keep your cat healthy? Try your first batch today—and join the growing community of eco-conscious pet parents reducing their footprint one litter box at a time.