Coral has become a favorite in modern baking—soft enough for spring weddings, bold enough for birthday cakes, and universally flattering under any lighting. But achieving that flawless coral hue in icing isn’t just about adding a few drops of food coloring. It’s a balance of ingredients, technique, and timing. Whether you're decorating cupcakes, piping borders, or covering a cake with fondant-smooth buttercream, this guide walks you through every detail needed to create coral icing that's not only beautiful but also perfectly textured and stable.
The Science Behind Coral Icing
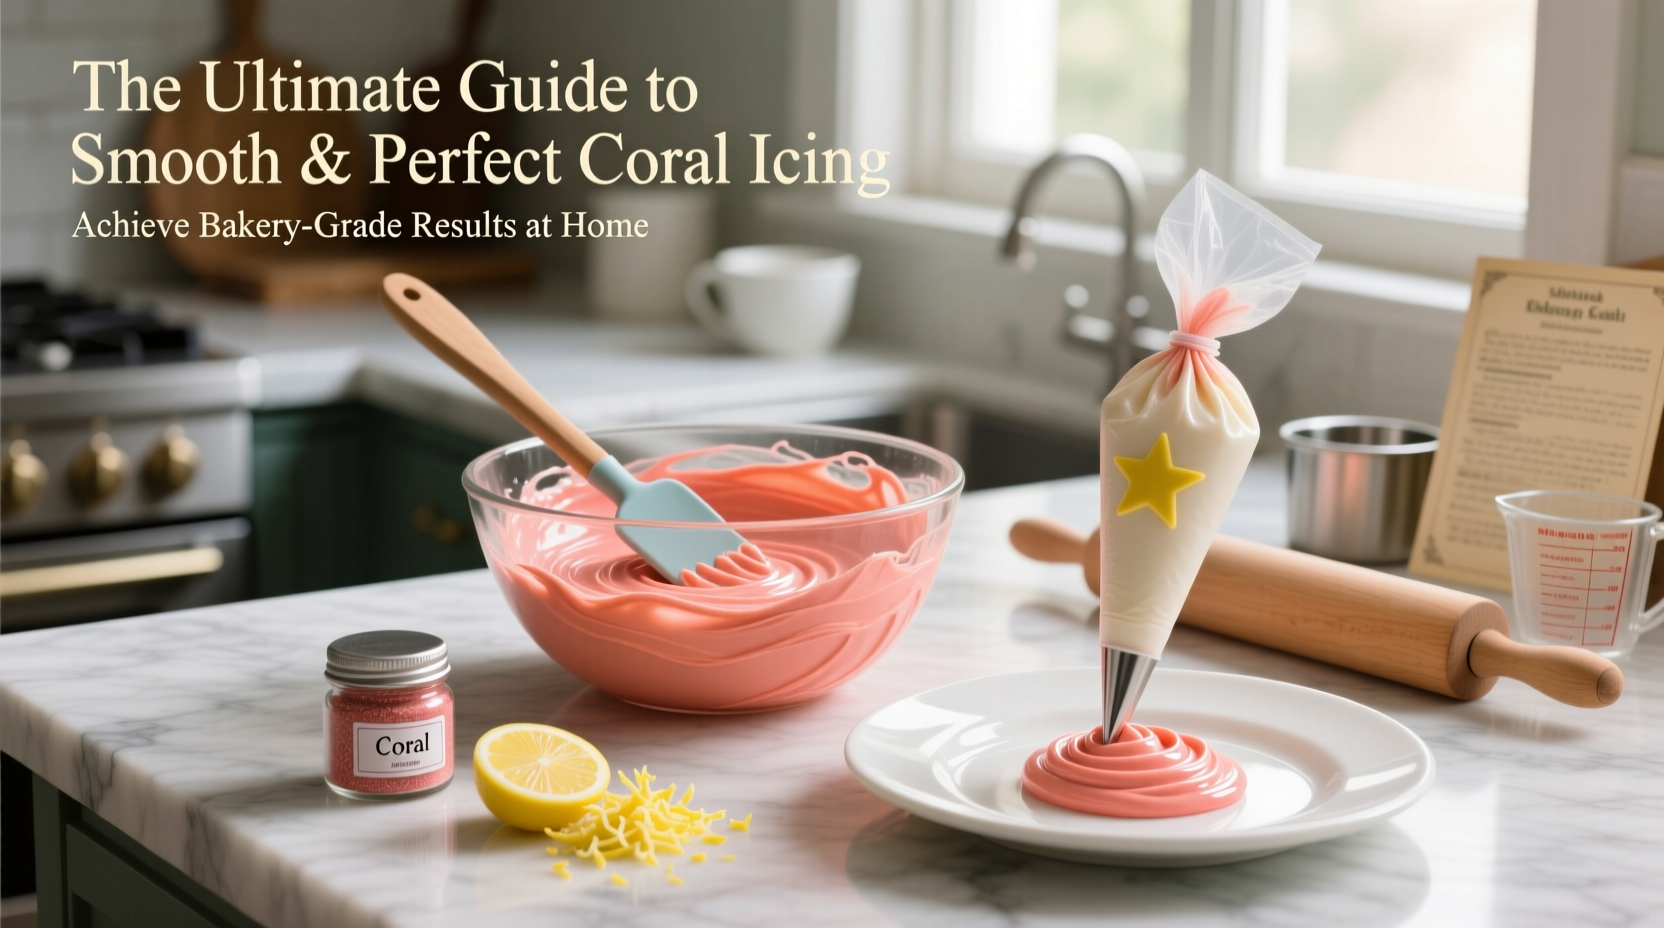
Coral is a tertiary color—a blend of red, orange, and a touch of pink, often softened with white. In baking, this translates into careful pigment selection and understanding how different icing bases react to dyes. The final appearance of your coral depends on three key factors: the base icing color, the type of food coloring used, and the fat and sugar content of your recipe.
Buttercream made with high-fat butter tends to mute colors slightly, while shortening-based frostings hold brighter hues. Powdered sugar can also affect tone; some brands contain cornstarch or have a slight yellow tint that warms up the final product. For the cleanest coral, use a neutral white shortening or European-style butter with lower water content.
“Color accuracy starts before you even open the dye bottle. Your base matters as much as the pigment.” — Lila Montgomery, Professional Cake Designer & Pastry InstructorTip: Whip your buttercream for 5–7 minutes after mixing to lighten the color naturally and eliminate air pockets.
Choosing the Right Food Coloring
Not all food colorings are created equal. To achieve a vivid yet natural-looking coral, it's essential to pick the right form and brand.
- Liquid gel: Best for subtle tints. May require large amounts to reach coral, which can alter icing consistency.
- Highly concentrated gel: Ideal for bold, accurate colors without thinning the icing. Brands like Americolor, Wilton, and Chefmaster deliver consistent results.
- Powdered color: Great for moisture-sensitive recipes. Mix with a small amount of clear alcohol or glycerin before blending into icing.
- Plant-based dyes: Natural options like beet or annatto powder produce softer corals but may fade over time.
For true coral, start with a warm red (like Americolor Super Red) and blend in a touch of golden yellow. Avoid pure orange—it shifts the tone too far toward tangerine. Add white via extra powdered sugar or marshmallow fluff to soften the intensity.
Recommended Color Ratios for Perfect Coral (per 1 cup icing)
| Color Type | Base Icing | Red (drops) | Yellow (drops) | Optional White Boost |
|---|---|---|---|---|
| Gel (Americolor) | Vanilla Buttercream | 3–4 | 1 | 1 tbsp meringue powder + sugar |
| Gel (Wilton) | Cream Cheese Frosting | 5 | 2 | Reduce cream cheese by 1 tbsp |
| Powdered | Swiss Meringue | ¼ tsp | pinch | Add 1 tsp clear vanilla |
Step-by-Step: Creating Smooth Coral Icing
Follow this detailed process to ensure your coral icing is both visually stunning and easy to work with.
- Prepare your base icing. Use a stable recipe such as American buttercream (butter, powdered sugar, cream, vanilla) or Swiss meringue for a silky finish. Ensure all ingredients are at room temperature.
- Whip the butter first. Beat unsalted butter alone for 5 minutes until pale and fluffy. This aerates the mixture and creates a whiter canvas.
- Incorporate sugar gradually. Sift in powdered sugar in batches, scraping the bowl between additions to avoid lumps.
- Add liquid last. Use minimal cream or milk—only enough to reach desired spreadability. Too much liquid makes color absorption unpredictable.
- Introduce color slowly. Begin with 2 drops of red gel. Mix thoroughly for 30 seconds before assessing. Remember: color deepens over time.
- Adjust with yellow. Add half a drop of golden yellow using a toothpick. Over-orange is harder to correct than under-tone.
- Wait 10 minutes. Let the icing rest so the color oxidizes and stabilizes. What looks pink now may bloom into coral.
- Final texture check. If too thick, add ½ tsp corn syrup for shine and flow. If too thin, blend in 2 tbsp sifted powdered sugar.
Common Mistakes and How to Avoid Them
Even experienced bakers stumble when chasing the perfect coral. Here’s what to watch for:
| Mistake | Why It Happens | How to Fix It |
|---|---|---|
| Icing turns muddy or brown | Too much red or low-quality dye | Start fresh; use highly concentrated gel and add incrementally |
| Color fades within hours | Natural dyes or exposure to light | Use synthetic gels; store decorated desserts in cool, dark places |
| Inconsistent hue in batch | Uneven mixing or cold ingredients | Scrape bowl thoroughly; bring all components to room temperature |
| Icing is grainy | Undissolved sugar or powdered color clumps | Sift dry ingredients; pre-mix powders with extract |
Real Example: Baking for a Spring Baby Shower
Sarah, a home baker in Portland, was tasked with creating a two-tier cake for her sister’s baby shower. The theme? “Coral Garden.” She wanted soft coral buttercream with floral piping. Her first test batch came out peachy and dull. After reviewing her process, she realized she’d used liquid food coloring and hadn’t whipped the butter long enough.
She switched to Americolor Soft Pink and Super Red, started with a longer creaming phase, and let the tint develop overnight. The next day, she achieved a delicate coral with a satin finish. By chilling the icing briefly before piping, she maintained sharp detail on rosettes and vines. Guests later commented that the color looked “expensive” and “magazine-worthy.”
Essential Checklist for Perfect Coral Icing
- Preparation
- ☐ Use room-temperature ingredients
- ☐ Sift powdered sugar and cocoa (if applicable)
- ☐ Choose a stable icing base (buttercream or meringue)
- Color Application
- ☐ Use concentrated gel coloring
- ☐ Start with red, then adjust with yellow
- ☐ Mix thoroughly and wait before adjusting
- Finishing
- ☐ Whip icing again before use for smoothness
- ☐ Store in an airtight container with plastic wrap touching the surface
- ☐ Test color on a spoon or parchment before full application
Frequently Asked Questions
Can I make coral icing without artificial dyes?
Yes, but with limitations. Pureed roasted carrots, beet juice, or paprika extract can create coral tones, though they often result in earthy undertones and may separate. For best results, combine natural powders with a touch of turmeric for warmth, and use immediately.
Why does my coral icing look different in daylight?
Artificial lighting often enhances reds, making coral appear warmer indoors. Natural sunlight reveals truer tones. Always test your icing near a window before finalizing decorations.
How far in advance can I make coral-colored icing?
Buttercream holds color well for up to 5 days when stored airtight in the fridge. Bring to room temperature and re-whip before use. Avoid freezing, as it can cause oil separation and color pooling.
Mastery Starts with Practice
Creating perfect coral icing is equal parts chemistry and craftsmanship. It demands patience, precision, and a willingness to experiment. The most beautiful results often come not from following a formula exactly, but from understanding how each ingredient contributes to the final look and feel.
Don’t be discouraged if your first attempt leans too pink or too orange. Even professional decorators keep a “color journal” to record ratios, brands, and outcomes. With each batch, you’ll grow more confident in your ability to craft coral that’s not just smooth and vibrant—but uniquely yours.
💬 Try this method this weekend and share your coral creation online! Tag a fellow baker, leave a comment with your color tips, or post a photo of your finished dessert. Let’s build a community of bakers who value both beauty and technique.