Creating a custom wooden cat crate isn't just about transporting your cat—it's about designing a safe, comfortable, and stress-free environment that respects their instincts and preferences. Unlike mass-produced plastic carriers, a handmade wooden crate allows you to tailor dimensions, ventilation, access points, and aesthetics to match both your home and your cat’s personality. Whether you're preparing for travel, vet visits, or simply want a stylish permanent enclosure, this guide walks you through every stage of building a high-quality, cat-friendly wooden crate from scratch.
Why Choose Wood Over Plastic?
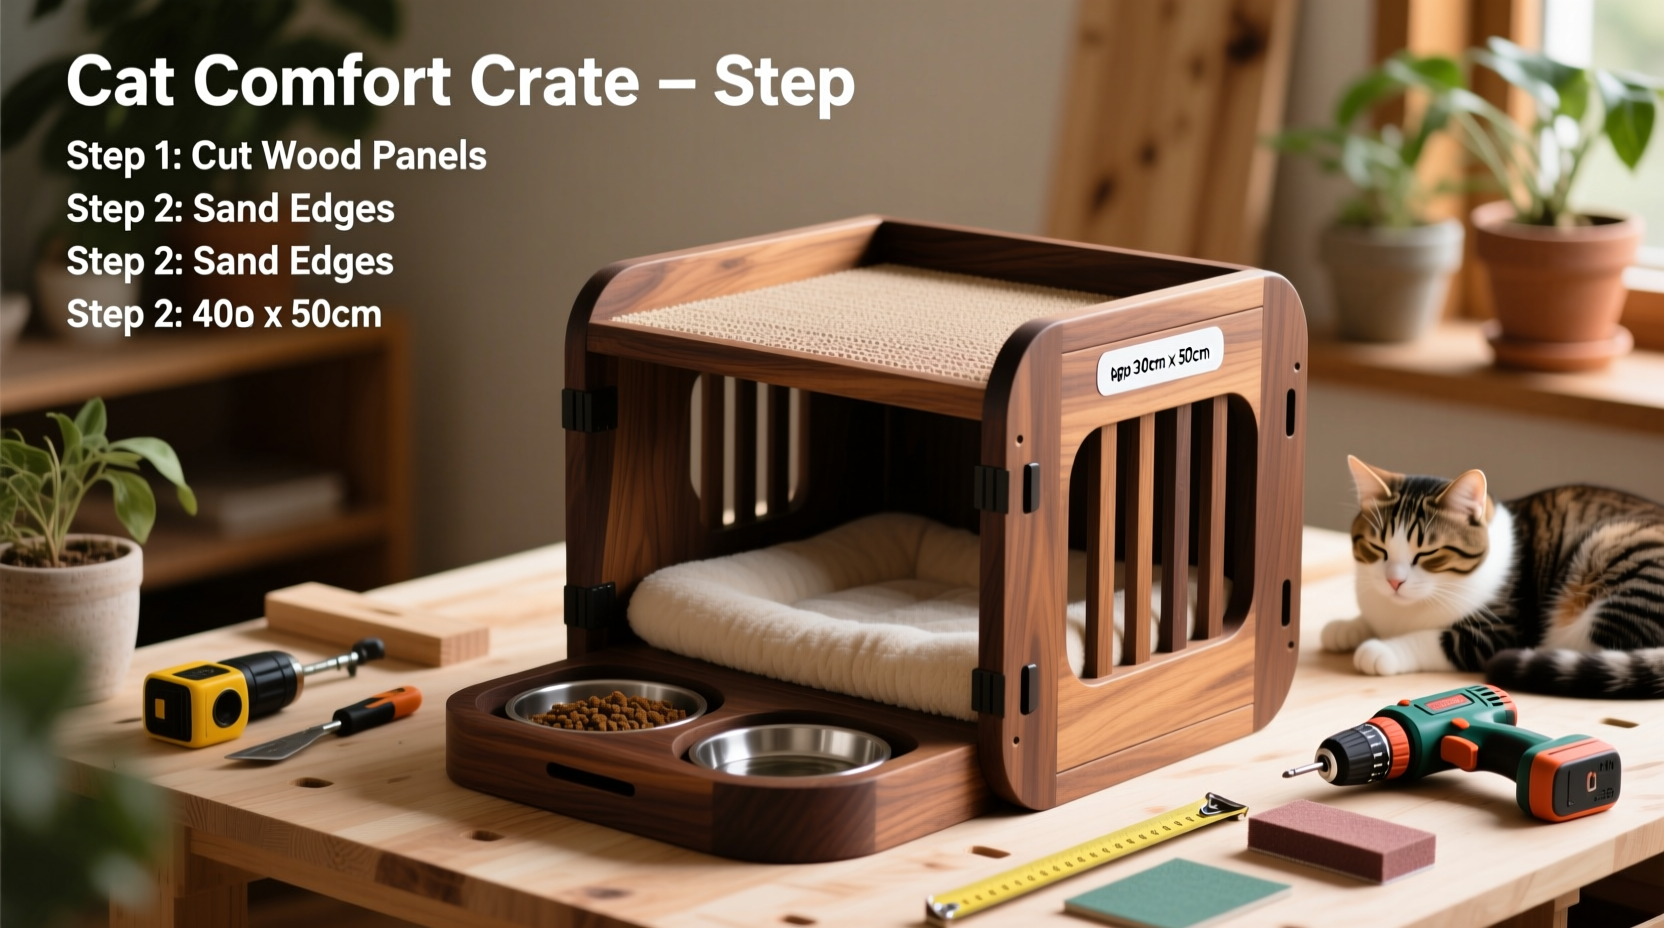
While plastic carriers dominate the pet market, wood offers unique advantages: natural insulation, superior durability, and the ability to blend into home decor. A well-constructed wooden crate provides structural integrity, reduced noise transmission, and a warmer, more secure feel—critical for cats sensitive to movement and sound. However, wood must be treated carefully to ensure safety, ventilation, and ease of cleaning.
Tip: Use non-toxic, water-based sealants on all interior surfaces to protect against moisture without exposing your cat to harmful fumes.Planning Your Design: Dimensions and Features
The first step is understanding your cat’s physical needs. Measure your cat from nose to tail base while standing, then add 6–8 inches in length for comfort. Include height clearance for sitting upright or stretching. A typical adult domestic cat requires a minimum internal space of 18” L × 12” W × 14” H, but larger breeds like Maine Coons may need up to 24” in length.
Consider these essential features during planning:
- Ventilation: At least two sides with evenly spaced air holes (¼” diameter) or slats.
- Access: Front or top-opening door with secure latches.
- Flooring: Raised base or removable tray for hygiene.
- Portability: Handles or cutouts on the sides for easy lifting.
- Interior lining: Option for soft, washable padding.
“Cats feel safest in enclosures that offer visibility without exposure. A partially enclosed design with mesh viewing panels reduces anxiety during transit.” — Dr. Lena Torres, Feline Behavior Specialist
Materials and Tools Checklist
Before cutting any wood, gather the following materials and tools to ensure a smooth build process.
Materials:
- ½” or ¾” sanded plywood (birch or poplar recommended)
- Wood screws (1¼” and 2”)
- Hinges (2 small, stainless steel)
- Latch or hook-and-eye closure
- Non-toxic wood glue
- Water-based polyurethane or pet-safe sealant
- Fine metal mesh (optional, for ventilation panels)
- Soft fabric or foam (for optional interior padding)
Tools:
- Circular saw or table saw
- Drill with drill bits (¼”, pilot, countersink)
- Screwdriver or driver bit
- Tape measure and square
- Sandpaper (120–220 grit)
- Clamps
- Staple gun (if using mesh or fabric)
Step-by-Step Construction Guide
Follow this sequence to assemble a sturdy, safe, and functional wooden cat crate.
- Cut the panels: Cut six pieces from plywood: front, back, two sides, floor, and top. For example: 18”×12” (front/back), 18”×14” (sides), 12”×14” (floor), 18”×12” (top).
- Drill ventilation holes: On both side panels and the front, drill ¼” holes spaced 2” apart in staggered rows. Alternatively, cut openings and attach metal mesh with staples and trim strips.
- Assemble the base box: Attach the sides to the floor using wood glue and 1¼” screws. Then attach the front and back panels. Reinforce corners with corner braces if needed.
- Install the door: Cut the front panel in half horizontally to create a hinged lower door. Attach hinges to the bottom half and secure the top with a latch. Ensure the door opens smoothly and locks securely.
- Add the top: Attach the top panel with hinges on one long edge for easy cleaning and loading. Install a second latch on the opposite side.
- Install handles: Cut finger grips into the side panels near the top, or attach wooden handles with screws.
- Sand and seal: Sand all surfaces until smooth. Apply two coats of pet-safe sealant, allowing full drying time between coats.
- Line the interior (optional): Attach a removable padded liner using Velcro or snaps for comfort and easy washing.
Do’s and Don’ts of Cat Crate Building
| Do’s | Don’ts |
|---|---|
| Use rounded edges and smooth finishes to prevent injury | Use pressure-treated or chemically preserved wood |
| Ensure at least 20% of surface area is ventilated | Block airflow with solid panels on more than two sides |
| Include a removable floor tray for cleaning | Make the entrance too small—allow headroom when lifting cat in |
| Test stability with weight before use | Use toxic paints, varnishes, or adhesives inside the crate |
A Real-Life Example: Maya’s Travel-Ready Crate
Sarah, a cat owner from Portland, built a custom crate for her 12-pound tabby, Maya, who had grown anxious in her old plastic carrier. Using birch plywood, Sarah designed a top-loading crate with mesh side panels and a cushioned base. She added a small shelf inside for Maya to perch on during car rides. After applying a food-safe sealant, she tested the crate with short indoor sessions. Within days, Maya began napping inside voluntarily. During a recent 3-hour road trip, Maya remained calm throughout—something unheard of in her previous carrier.
Sarah’s success came from respecting feline psychology: elevated resting spots, partial enclosure, and familiarity through gradual introduction.
Maintenance and Safety Tips
A wooden crate requires regular care to remain hygienic and structurally sound. Wipe down the interior weekly with a damp cloth and mild vinegar solution. Avoid soaking the wood. Inspect screws and hinges monthly for looseness. Replace worn padding promptly.
Never leave your cat unattended in the crate for extended periods. Even a well-designed enclosure should serve as a temporary space, not a substitute for enrichment and interaction.
Frequently Asked Questions
Can I use pine wood for the crate?
Pine is acceptable if properly sealed. However, it’s softer and may dent more easily. Avoid raw pine, as its resin can emit odors that irritate cats. Always finish with a non-toxic sealant.
How do I get my cat used to the new crate?
Leave the crate open in a quiet room with a soft blanket and treats inside. Allow your cat to explore at their own pace. Never force entry. Gradually increase time spent inside, rewarding calm behavior.
Is a wooden crate suitable for airline travel?
Most airlines require hard-sided plastic carriers that meet IATA standards. While a wooden crate may be ideal for car travel or home use, check with your airline before attempting to fly with a custom-built wooden unit.
Final Thoughts
Building a custom wood cat crate is a meaningful way to combine craftsmanship with compassion. When designed with attention to size, ventilation, safety, and comfort, it becomes more than a container—it becomes a sanctuary. The time invested in thoughtful construction pays off in reduced stress for both you and your cat during necessary transitions.
💬 Have you built a custom space for your cat? Share your experience, modifications, or design tips in the comments below—your insight could inspire another cat-loving builder!