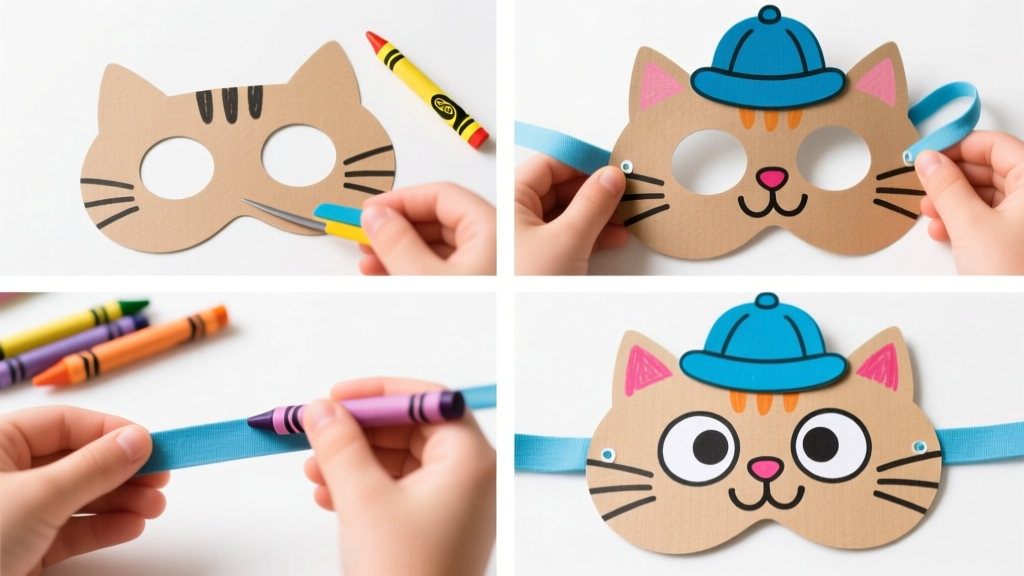
Making a Pete the Cat mask at home is more than just a fun afternoon craft—it’s an opportunity for children to engage their imagination, strengthen fine motor skills, and connect with a beloved character from children’s literature. Pete the Cat, known for his cool attitude and groovy adventures, inspires creativity and positivity in young readers. By crafting a mask together, families can bring the story to life and encourage role-playing, storytelling, and shared laughter. This guide walks you through a detailed, child-friendly process using common household materials, ensuring that even beginners can create a charming and wearable mask.
Gathering Your Materials
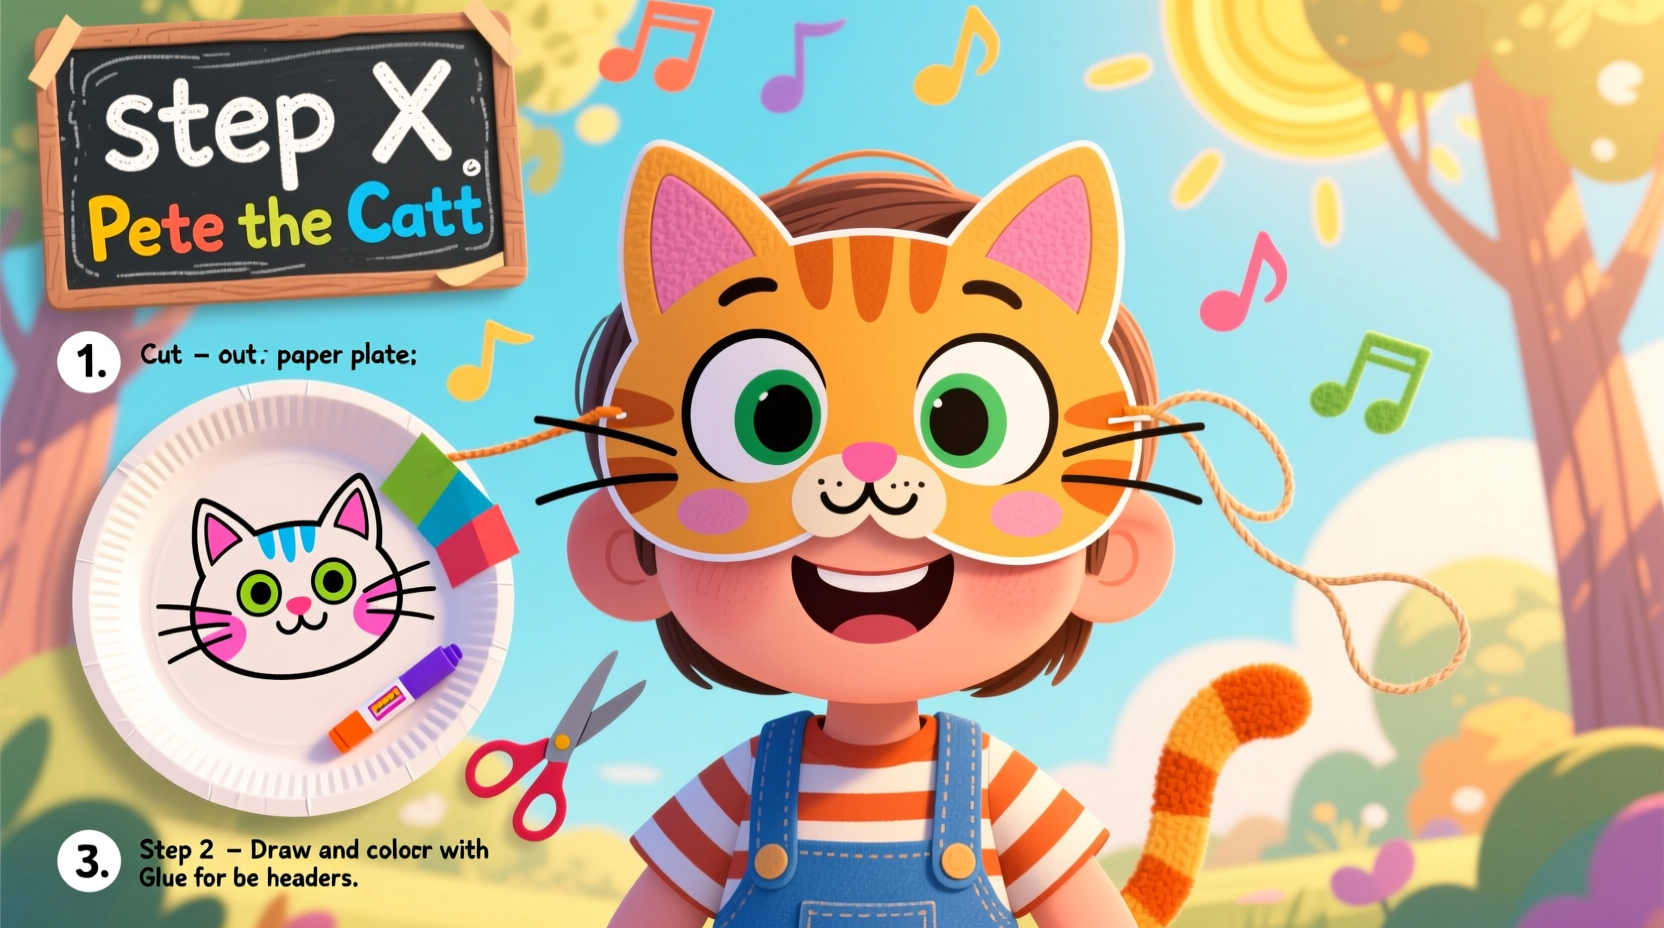
Before beginning any craft project with kids, preparation is key. Having all necessary supplies ready prevents interruptions and keeps the momentum of creativity flowing. The materials needed for this Pete the Cat mask are simple, affordable, and likely already available at home or easily found at a local craft store.
Tip: Involve your child in gathering supplies—this builds excitement and teaches organizational skills.Basic Supplies Checklist
- White paper plate (one per mask)
- Black and white construction paper or cardstock
- Googly eyes (optional, but highly recommended for extra fun)
- Scissors (child-safe if young kids are participating)
- Glue stick or non-toxic liquid glue
- Black marker or crayon
- Ruler or stencil (for consistent shapes)
- Elastic string, yarn, or pipe cleaner (for securing the mask)
- Hole punch
- Crayons, markers, or paint (for customization)
Using recyclable materials like paper plates and cardboard not only reduces waste but also introduces eco-conscious habits early on. If preferred, a printable Pete the Cat template can be used as a base instead of a paper plate.
Step-by-Step Mask Construction
Follow these clear, sequential steps to build a durable and expressive Pete the Cat mask suitable for preschoolers and elementary-aged children. Each phase is designed to balance adult guidance with child participation.
- Prepare the Base: Take a white paper plate and lay it flat. This will serve as Pete’s face. Use a pencil to lightly mark where the eyes, nose, and mouth will go—roughly centered and spaced for symmetry.
- Cut Out the Eyes: With scissors, carefully cut two large circles where the eyes will be. An adult should handle this step if children are under six. Aim for eye holes about 1.5 inches in diameter, positioned slightly above center.
- Create the Ears: Cut two large oval shapes from black construction paper—these will be Pete’s ears. Each should be approximately 3 inches tall and 2 inches wide. Fold the bottom quarter of each ear inward to form a tab for gluing.
- Attach the Ears: Glue one ear to each side of the top edge of the paper plate. Press firmly and allow time to dry. For added stability, reinforce with tape on the backside.
- Make the Eyes: Cut two large white circles from white paper (about 2 inches in diameter). In the center of each, glue a smaller black circle or use a black marker to draw pupils. Alternatively, attach googly eyes directly over white paper circles for a bouncy, animated effect.
- Position the Eyes: Glue the completed eyes inside the mask, just below the eyeholes. This creates the illusion that Pete is looking out from behind the mask.
- Draw the Mouth: Using a black marker, draw a wide, friendly smile across the lower half of the plate. Keep it simple—a curved line with upward turns at both ends captures Pete’s cheerful demeanor.
- Add the Nose: Cut a small black oval (about 0.75 inch) and glue it just above the mouth. You can add tiny nostrils with a pen if desired.
- Secure the Strap: Punch one hole on each side of the mask near the edge. Thread elastic, yarn, or a pipe cleaner through each hole and knot securely. Adjust length so the mask fits snugly but comfortably over the child’s head.
- Final Touches: Let your child decorate the mask with additional details—maybe musical notes around the ears (Pete loves to rock!) or stars for a super-cool look.
Customization Ideas and Creative Variations
One of the joys of homemade crafts is personalization. While staying true to Pete’s classic blue-furred, four-button appearance, there are many ways to adapt the mask for different themes or learning goals.
| Variation | Materials Needed | Educational Benefit |
|---|---|---|
| Color-Changing Pete | Colored tissue paper, glue, water (for decoupage) | Teaches color mixing and texture exploration |
| Button Counting Mask | Buttons, fabric scraps, safety pins | Reinforces early math skills and tactile recognition |
| Musical Pete | Mini bells, ribbon, sequins shaped like notes | Encourages rhythm awareness and sound association |
| Story Retelling Mask | Drawing tools, speech bubble cutouts | Supports narrative development and sequencing |
For example, after reading *Pete the Cat: I Love My White Shoes*, children can recreate the shoe-color sequence on the mask border using colored paper strips. This combines literacy with art in a meaningful way.
Real Example: A Classroom Success Story
In Ms. Rivera’s kindergarten class in Portland, Oregon, students made Pete the Cat masks as part of a week-long unit on emotional regulation. After constructing the masks, each child chose a “mood” for their Pete—happy, calm, brave—and acted out short scenes showing how Pete stays cool even when things go wrong. One shy student, Maya, transformed during the activity, confidently narrating her version of Pete losing his buttons without getting upset. Her teacher noted, “The mask gave her a voice. She wasn’t just playing a character—she was expressing herself safely.”
“Creative play allows children to explore emotions through symbolic representation. A simple mask becomes a tool for empathy and self-expression.” — Dr. Lena Torres, Child Development Specialist
Common Challenges and How to Solve Them
Even the most straightforward craft can present unexpected hurdles. Being prepared ensures frustration stays low and fun stays high.
Do’s and Don’ts When Making Masks with Kids
| Do | Don't |
|---|---|
| Test fit the mask before adding final decorations | Use sharp objects without adult supervision |
| Laminate or cover with clear contact paper for durability | Overload the mask with heavy embellishments |
| Let kids lead the design choices | Correct or redo their work unless safety is involved |
| Allow breaks during longer crafting sessions | Rush the process—enjoy the journey, not just the result |
Frequently Asked Questions
Can toddlers participate in making this mask?
Yes, with modifications. Toddlers can help choose colors, glue pre-cut pieces, or stamp designs with sponge shapes. Focus on sensory engagement rather than precision. Adult partners should handle cutting and assembly.
How long does the mask take to make?
With preparation, the entire process takes 30 to 45 minutes. Allow extra time for drying if using liquid glue. Breaking it into two sessions—construction one day, decorating the next—can extend the fun.
What if we don’t have a paper plate?
No problem. Use stiff cardboard from a cereal box. Draw a circular face outline, cut it out, and proceed with the same steps. It may be lighter and easier to decorate.
Bring the Groove Home
Crafting a Pete the Cat mask isn’t just about creating something to wear—it’s about sparking joy, building confidence, and nurturing a love for stories and self-expression. Whether used for pretend play, school presentations, or themed birthday parties, this handmade mask carries the spirit of resilience and rhythm that defines Pete himself. More importantly, it creates lasting memories between children and caregivers, turning a simple craft into a meaningful shared experience.
💬 Ready to rock and roll? Grab your supplies, press play on a Pete the Cat song, and start crafting today. Share your creation online with #HomemadePeteMask—we’d love to see your cool cats!