Dog leashes are essential tools for pet owners, but they endure constant strain from pulling, weather exposure, and daily wear. When a leash breaks, it doesn’t always mean replacement is the only option. With basic household tools and a little know-how, most leashes can be repaired quickly and securely at home. Whether the damage is a frayed strap, a broken clasp, or a snapped stitching line, this guide provides reliable, tested solutions that restore functionality without compromising safety.
Assessing the Damage: Know What You’re Dealing With
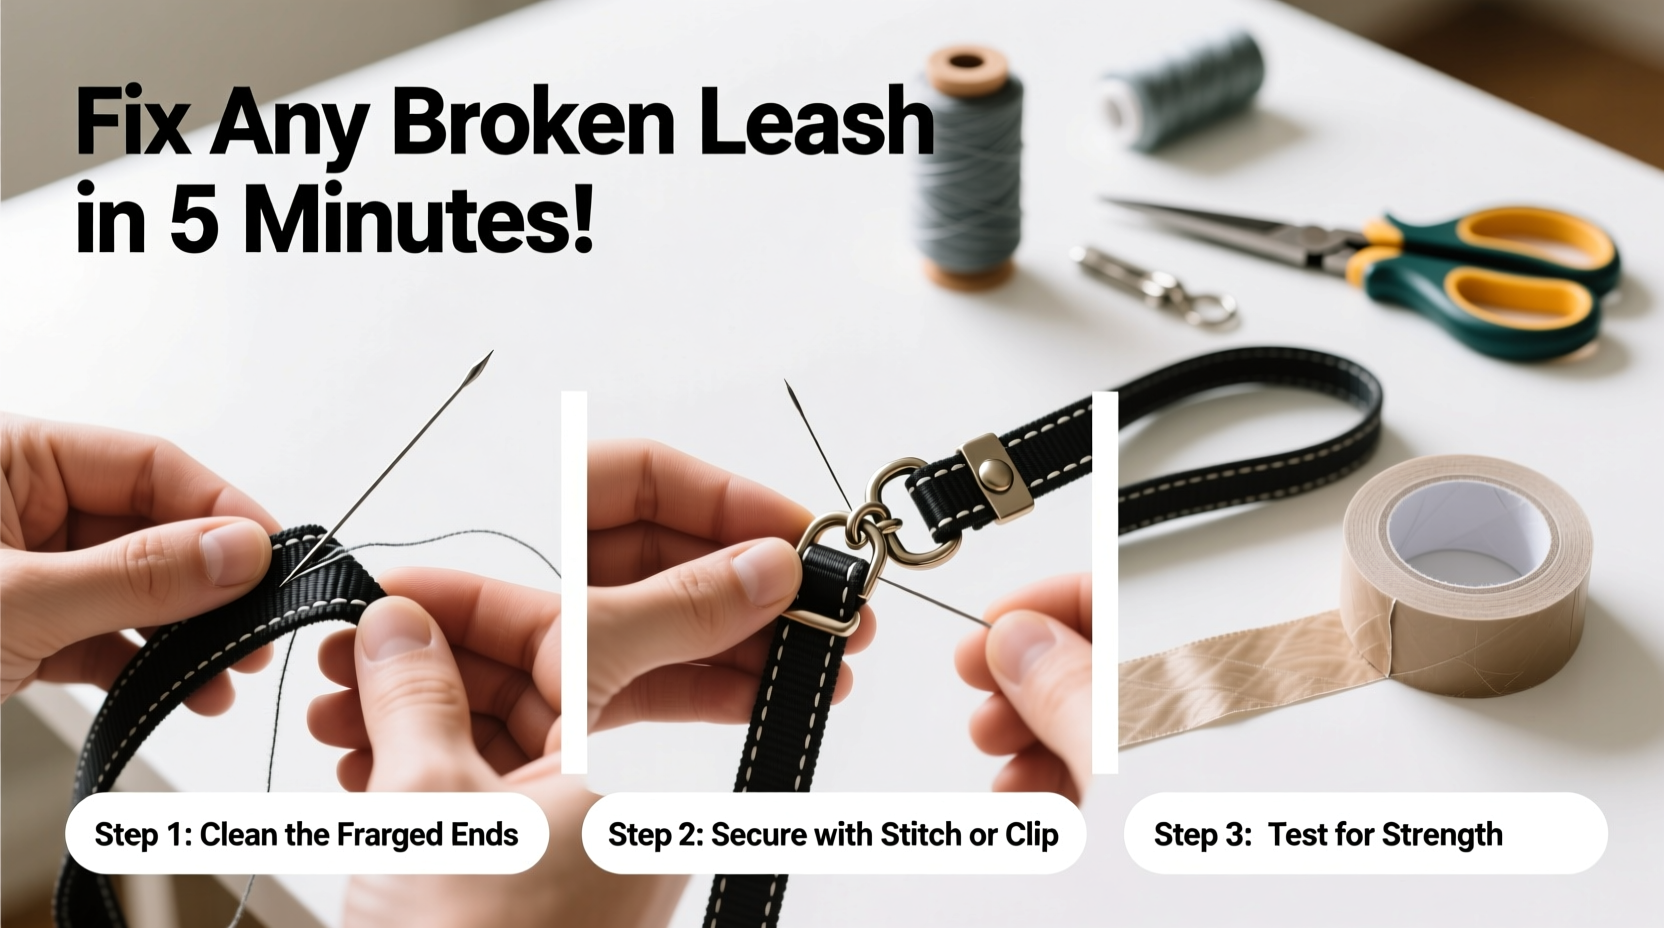
Before starting any repair, examine the leash thoroughly. The type of damage determines the best fix. Common issues include:
- Frayed webbing or fabric: Often occurs near the handle or attachment point due to repeated friction.
- Broken metal hardware: Buckles, clips, or D-rings that crack or detach.
- Stitch failure: Sewing threads that have worn through, especially at stress points.
- Cuts or deep abrasions: Physical damage from sharp objects or excessive chewing.
Minor fraying or loose stitching can usually be fixed with simple tools. However, if the structural integrity of the leash is compromised—such as a large tear in load-bearing areas—repair may not be safe. In such cases, consider reinforcing or replacing the leash entirely.
Tip: Always test a repaired leash under controlled tension before using it with your dog. Hold one end and gently pull to simulate walking pressure.Essential Tools and Materials for Leash Repair
You don’t need specialized equipment to fix most leash problems. A few common items will suffice:
| Tool/Material | Use Case | Alternative Options |
|---|---|---|
| Heavy-duty needle and waxed thread | Sewing torn straps or reattaching hardware | Leathercraft thread, nylon upholstery thread |
| Scissors or utility knife | Cutting excess material or trimming frays | Nail clippers (for light webbing) |
| Rubber gloves | Improving grip when pulling thread through thick material | None |
| Heat source (lighter or soldering iron) | Sealing synthetic fibers to prevent further fraying | Hair straightener on low heat |
| Replacement hardware (clip, bolt snap, swivel clasp) | Swapping out broken buckles | Salvage parts from old leashes |
| Shoe goo or marine epoxy | Reinforcing weak spots or bonding materials | Super glue (less durable) |
Keep a small repair kit stocked with these items. It ensures you're prepared when minor damage appears, preventing small issues from turning into full failures during walks.
Step-by-Step Guide to Repairing Different Types of Leash Damage
Follow these detailed procedures based on the specific issue affecting your leash.
1. Fixing Frayed Ends
- Cut off the frayed section with sharp scissors, making a clean, straight edge.
- If the leash is made of nylon or polyester, briefly pass the cut end over a lighter flame to melt and seal the fibers. Do not burn—just enough to fuse them.
- For leather leashes, apply a thin coat of leather sealant or nail polish to prevent further splitting.
- Allow drying completely before use.
2. Re-Sewing a Separated Seam
- Unravel any loose threads and trim damaged stitching.
- Align the separated layers and clamp them together with binder clips or clamps.
- Thread a heavy-duty needle with waxed nylon thread. Double the thread and knot the end.
- Sew using a backstitch pattern for maximum strength—each stitch overlaps the previous one.
- Apply a drop of fabric glue or clear epoxy over the stitches once finished to lock them in place.
3. Replacing a Broken Clip or Clasp
- Remove the old hardware by cutting through any rivets or stitching.
- Select a replacement clip rated for your dog’s weight (e.g., 50+ lbs capacity for medium dogs).
- Slide the new hardware onto the leash end, ensuring the flat side faces outward.
- Sew securely through the webbing loops using a box stitch pattern: two parallel lines of stitching forming a square.
- Optional: Reinforce with pop rivets using a handheld rivet tool for metal rings.
4. Reinforcing Weak Spots
- Clean the area with rubbing alcohol to remove dirt and oils.
- Cut a patch from leftover webbing or a sturdy fabric scrap slightly larger than the damaged zone.
- Position the patch over the weak spot and sew around all edges using a zigzag or whipstitch.
- Coat both patch and surrounding area with Shoe Goo or marine-grade adhesive. Let cure for 24 hours.
“Many leash failures start with unnoticed fraying. A five-minute repair today can prevent a dangerous break during an off-leash moment tomorrow.” — Dr. Alan Reeves, Veterinary Behaviorist and Pet Safety Advocate
Mini Case Study: How One Owner Prevented a Park Incident
Sarah, a dog owner in Portland, noticed her German Shepherd’s leash beginning to fray near the handle after six months of daily use. Instead of buying a new one immediately, she followed the sealing and re-stitching method outlined above. She used a salvaged bolt snap from an old training lead and reinforced the joint with epoxy-coated stitching. Three months later, during a sudden squirrel chase, the dog lunged with full force—and the repaired section held firm. Sarah credits the timely fix with preventing a potential escape and injury.
This example illustrates how proactive maintenance, even on seemingly minor damage, can have real-world safety benefits.
Checklist: Quick Home Leash Repair Protocol
Repair Checklist:
- ☐ Inspect leash weekly for signs of wear
- ☐ Identify exact type of damage (fray, split, hardware failure)
- ☐ Gather necessary tools and replacement parts
- ☐ Trim and seal synthetic ends if needed
- ☐ Re-sew seams with strong thread and locking stitches
- ☐ Replace broken clips with weight-appropriate hardware
- ☐ Reinforce weak zones with patches and adhesive
- ☐ Test repaired leash under tension before field use
Frequently Asked Questions
Can I use regular thread to repair a dog leash?
No. Standard sewing thread lacks the tensile strength required for pet gear. Use UV-resistant, high-tenacity thread like bonded nylon or polyester, typically labeled for upholstery or outdoor gear.
How long does a DIY leash repair last?
A well-executed repair using proper materials can last several months to over a year, depending on usage. Regular inspection extends longevity. Repairs on high-tension zones should be rechecked every 4–6 weeks.
Is it safe to glue a leash instead of sewing?
Adhesives alone are not recommended for structural repairs. They can degrade with moisture and temperature changes. For safety, always combine glue with stitching or mechanical fasteners like rivets.
Conclusion: Take Charge of Your Pet’s Safety Today
Repairing a broken dog leash at home isn’t just economical—it’s a responsible act of pet care. Every fix you make strengthens the bond between you and your dog by ensuring safer, more reliable walks. These methods empower you to respond quickly to wear and tear, turning what might seem like a throwaway item into a durable, trustworthy tool. Don’t wait for a snap mid-walk. Inspect, maintain, and repair proactively.
💬 Have a successful leash repair story or tip? Share your experience in the comments and help fellow pet owners keep their furry friends safe!