Bringing a piece of the ocean into your home is both rewarding and challenging. A marine aquarium offers vibrant colors, fascinating behaviors, and a calming presence—but it demands more than enthusiasm. Unlike freshwater tanks, saltwater systems require precision, patience, and a solid understanding of marine ecosystems. For beginners, the journey starts not with fish or corals, but with knowledge, planning, and the right foundation.
This guide walks through the essential steps to launch a successful marine aquarium, from choosing equipment to cycling your tank and introducing livestock. Whether you're drawn to clownfish darting among anemones or the slow sway of soft corals, mastering the basics ensures your underwater world thrives long-term.
Selecting the Right Tank and Location
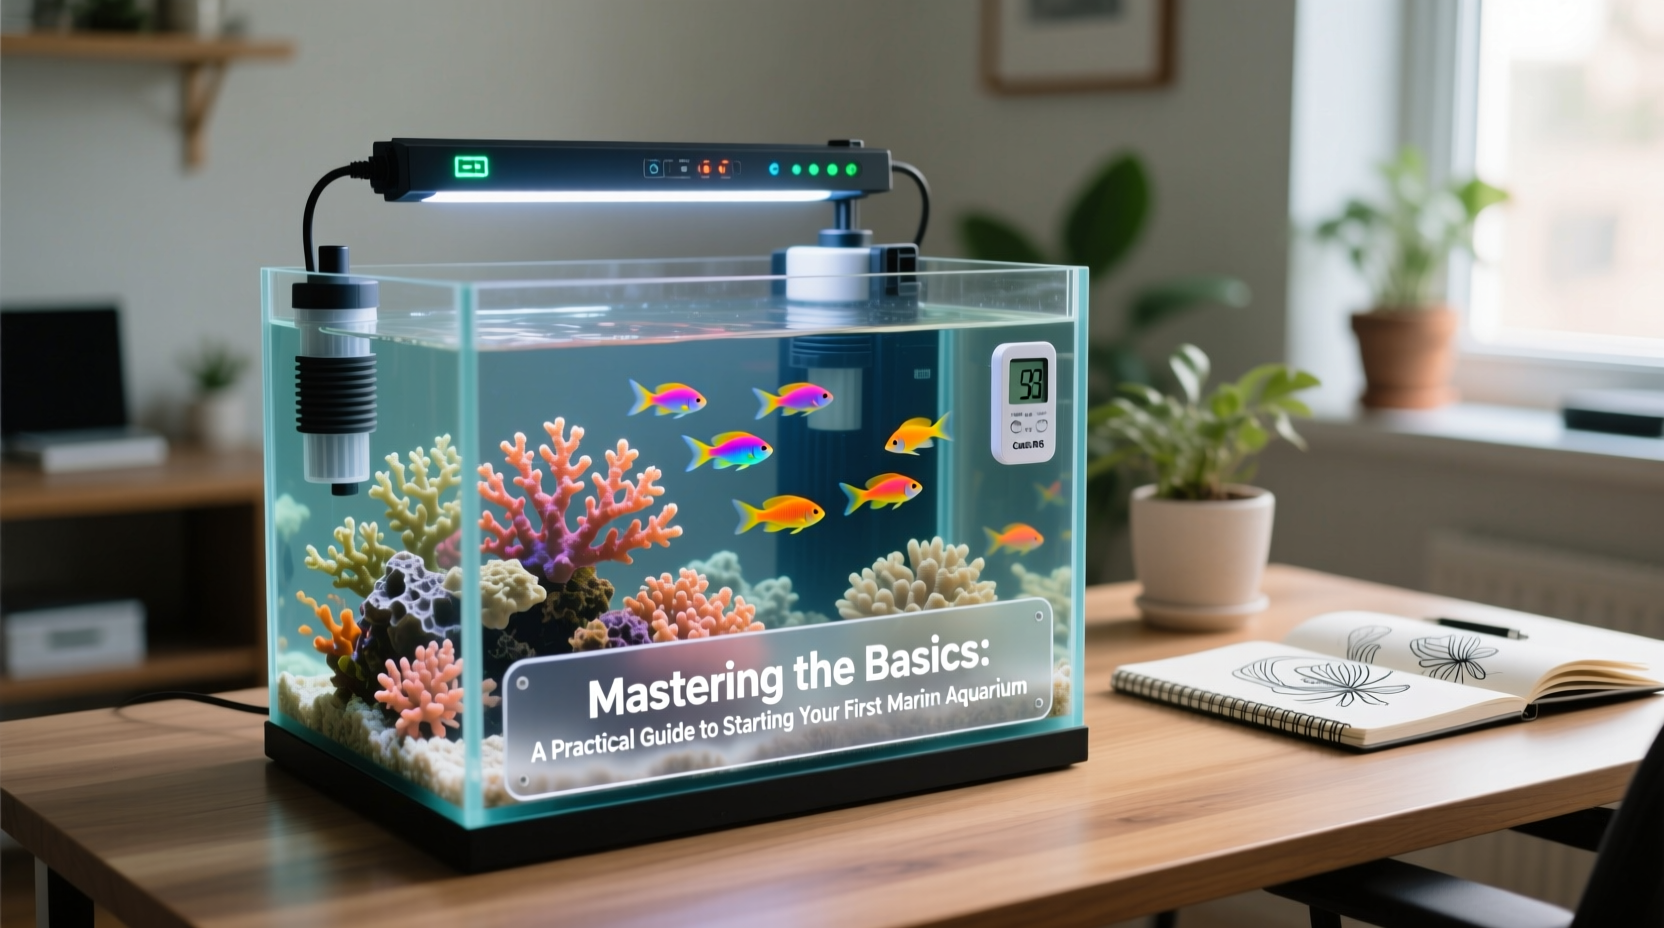
The size and placement of your aquarium influence everything from stability to maintenance. While larger tanks are more forgiving due to greater water volume, a 30- to 55-gallon glass or acrylic tank is ideal for beginners. It’s large enough to maintain stable parameters yet manageable for cleaning and observation.
Location matters just as much. Avoid direct sunlight, which encourages algae blooms. Keep the tank away from high-traffic areas where vibrations could stress fish, and ensure the floor can support the weight—saltwater weighs about 8.5 pounds per gallon, so a 50-gallon tank can exceed 450 pounds when filled.
Tip: Place your tank on a level, sturdy stand designed for aquariums. Never use ordinary furniture.Essential Equipment Checklist
Marine aquariums rely on specialized gear to replicate ocean conditions. Skipping key components leads to instability and loss of livestock. Here’s what you’ll need before adding water:
- Filtration system: A protein skimmer is non-negotiable. It removes organic waste before it breaks down, improving water clarity and reducing nutrient buildup.
- Heater and thermometer: Maintain a steady temperature between 76°F and 80°F (24–27°C).
- Lighting: LED fixtures with adjustable spectrums support coral growth and enhance coloration.
- Live rock: Provides biological filtration and natural hiding places.
- Substrate: Aragonite sand buffers pH and supports beneficial bacteria.
- Powerheads or wavemakers: Create water movement that mimics ocean currents.
- Test kits: For monitoring salinity, pH, ammonia, nitrite, nitrate, calcium, and alkalinity.
- Refugium (optional): A separate chamber with macroalgae helps absorb excess nutrients.
Cycling Your Tank: The Foundation of Success
Before adding any animals, your tank must undergo a nitrogen cycle. This process establishes colonies of beneficial bacteria that convert toxic ammonia into less harmful compounds. In marine systems, this takes 4–8 weeks and cannot be rushed.
Start by seeding the tank with live rock or a bacterial starter culture. Add a source of ammonia—either pure ammonia or cured fish food—and test the water every few days. You��ll see ammonia rise, followed by a spike in nitrite, and finally the emergence of nitrates. Once ammonia and nitrite read zero, and nitrates are detectable, the cycle is complete.
“Skipping the cycle is the most common reason new marine tanks fail within the first month.” — Dr. Mark Reynolds, Marine Biologist and Aquarium ConsultantTip: Use a liquid test kit instead of strips for accurate readings of ammonia and nitrite.
Step-by-Step Guide to Setting Up Your First Marine Aquarium
- Prepare the space: Ensure the stand is level and the area is near power outlets and away from drafts.
- Install the tank and fill with RO/DI water: Reverse osmosis/deionized water prevents contaminants.
- Add substrate: Rinse aragonite sand thoroughly and spread evenly (1–2 inches deep).
- Place live rock: Stack rocks to create caves and flow channels. Let them cure if they’re uncured.
- Install equipment: Mount heater, connect protein skimmer, set up powerheads, and add lighting.
- Mix saltwater: Use marine salt mix and a hydrometer or refractometer to achieve a specific gravity of 1.023–1.025.
- Begin cycling: Introduce ammonia source and monitor parameters daily.
- Wait for completion: Only after ammonia and nitrite drop to zero should you consider adding livestock.
Choosing Your First Livestock
Patience pays off when selecting your first inhabitants. Start with hardy, reef-safe species that tolerate minor fluctuations in water quality.
| Fish | Why It's Ideal | Minimum Tank Size |
|---|---|---|
| Ocellaris Clownfish | Hardy, peaceful, often bonds with anemones | 30 gallons |
| Blue-Green Chromis | Schooling fish, active but non-aggressive | 40 gallons |
| Firefish Goby | Small, colorful, stays near rockwork | 30 gallons |
For corals, begin with soft varieties like zoanthids, mushroom corals, or leather corals. They require moderate lighting and flow, making them forgiving for new reef keepers.
Tip: Quarantine all new fish and corals for at least two weeks to prevent disease outbreaks.Avoiding Common Beginner Mistakes
New hobbyists often make errors rooted in eagerness. Understanding these pitfalls increases your chances of long-term success.
| Do’s | Don’ts |
|---|---|
| Research each species before buying | Overstock the tank too quickly |
| Perform weekly 10–15% water changes | Use tap water without purification |
| Acclimate new livestock slowly over 1–2 hours | Turn off lights during acclimation—fish need visibility |
| Feed sparingly—once daily or less | Overfeed, leading to nutrient spikes |
Real Example: From Failure to Success
Jamie, a first-time hobbyist in Portland, set up a 40-gallon reef tank excited to add colorful fish immediately. Within three weeks, two damsels died, and algae coated the glass. Frustrated, Jamie reached out to a local aquarium club. They discovered the tank hadn’t fully cycled, salinity was unstable, and the lighting schedule was erratic.
After restarting with proper cycling, investing in a reliable refractometer, and following a strict feeding and maintenance routine, Jamie’s second attempt flourished. Six months later, the tank hosted a thriving colony of green star polyps, a pair of clownfish, and a fire shrimp—all stable and growing.
The lesson? Rushing leads to setbacks. Stability, consistency, and education win in the long run.
Frequently Asked Questions
How long should I wait before adding fish?
Wait until the nitrogen cycle is complete—ammonia and nitrite must read zero for at least one week. This typically takes 4 to 6 weeks. Adding fish too early risks poisoning them with invisible toxins.
Can I use sand from the beach?
No. Beach sand may contain pollutants, parasites, or excessive silicates that fuel diatom blooms. Always use commercially prepared aragonite sand designed for marine aquariums.
Why is my tank getting brown algae?
Brown algae (diatoms) are common in new tanks and usually resolve within 4–8 weeks as nutrient levels stabilize. Reduce light duration, perform regular water changes, and avoid overfeeding to speed up the process.
Conclusion: Begin with Purpose, Grow with Confidence
Starting a marine aquarium is not a weekend project—it’s the beginning of a lifelong hobby that blends science, art, and stewardship. By focusing on fundamentals like proper cycling, equipment selection, and gradual stocking, you build a resilient ecosystem that rewards your attention with beauty and balance.
Every successful aquarist was once a beginner who took the time to learn. Your journey doesn’t need perfection; it needs patience, observation, and a willingness to adapt. Set up your tank with care, respect the process, and let the ocean come alive in your living room—one healthy coral, one vibrant fish at a time.
💬 Have questions about your first marine tank? Share your setup or challenges in the comments—we’re here to help you succeed.