Paracord leashes aren’t just practical—they’re a testament to craftsmanship, resilience, and personal expression. Among the most reliable designs is the 6-strand paracord dog leash, known for its strength, flexibility, and clean aesthetic. Unlike mass-produced leashes that wear out quickly or lack character, a handcrafted 6-strand version offers superior durability, comfort in the hand, and the satisfaction of building something functional with your own hands. Whether you're an outdoor enthusiast, a pet owner seeking reliability, or a DIYer who values handmade gear, mastering this project delivers lasting value.
Why Choose a 6 Strand Paracord Leash?
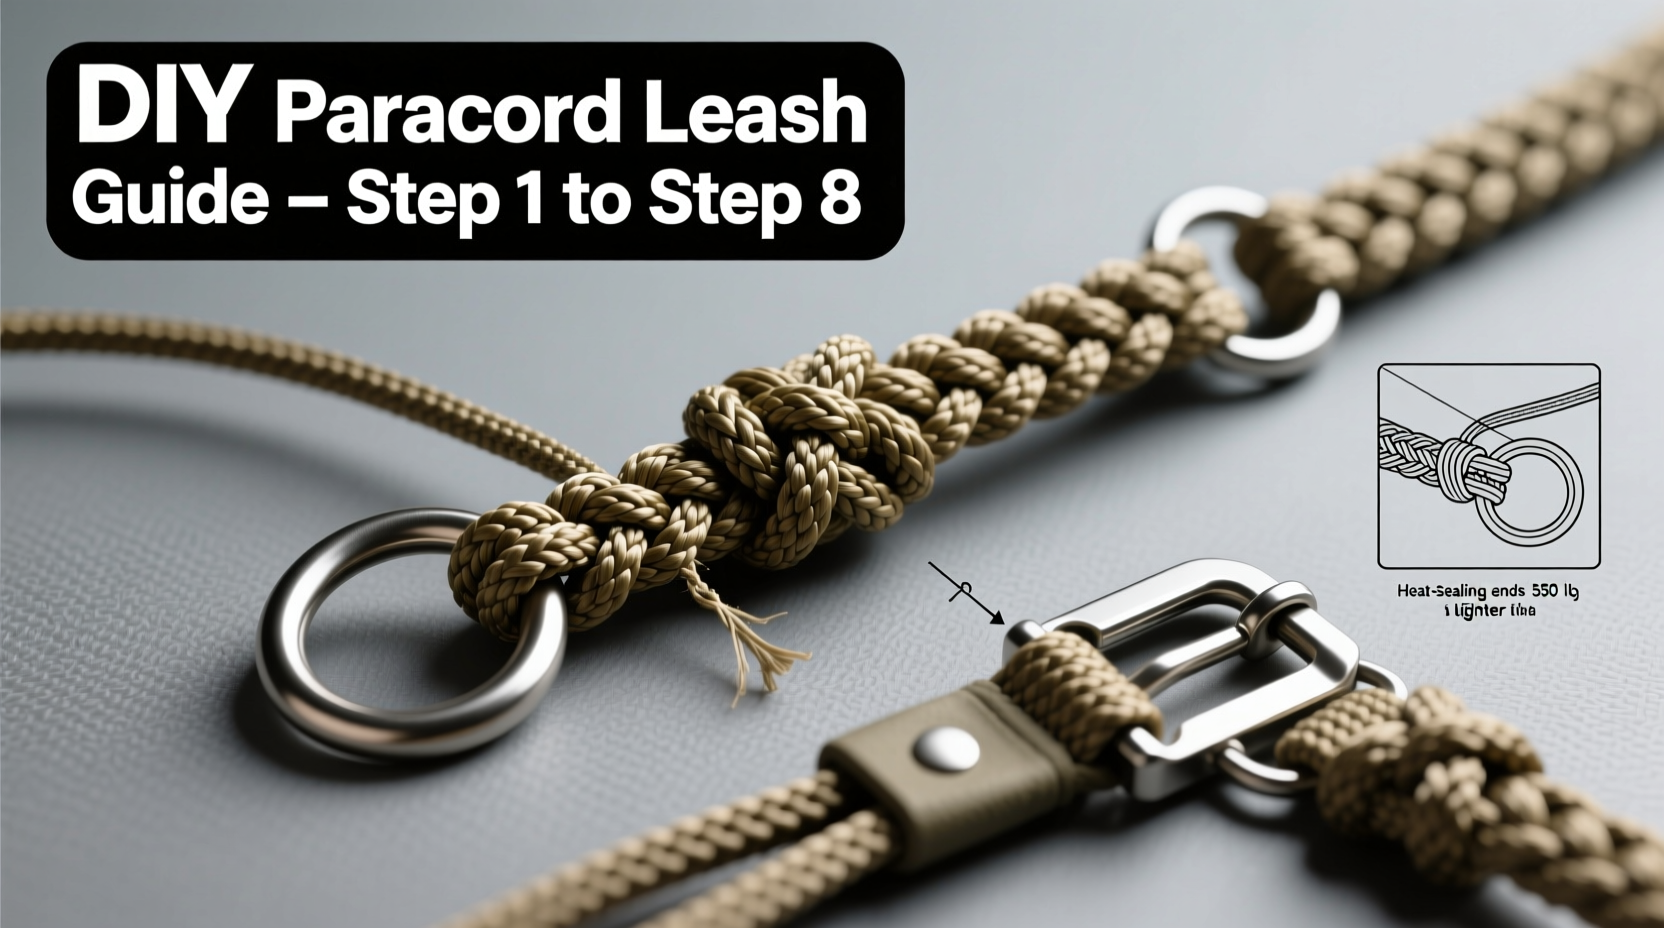
The 6-strand configuration strikes an ideal balance between thickness, grip, and tensile strength. Each strand contributes to load distribution, reducing strain on individual cords during sudden pulls. Made from military-grade Type III paracord, which supports up to 550 pounds of force, these leashes are over-engineered for everyday use—perfect for dogs of all sizes, especially strong pullers.
Beyond strength, the braided structure provides ergonomic benefits. The twisted weave molds comfortably to the hand, minimizing slippage and pressure points during long walks. Aesthetically, the pattern creates a refined, textured look that stands out from plain nylon or rope leashes. With multiple color options, you can customize your leash to match your dog’s collar or reflect your personal style.
Tip: Use high-visibility colors like blaze orange or neon yellow if walking in low-light conditions—safety meets style.Materials and Tools You’ll Need
Before beginning, gather all necessary components. Precision starts with preparation. Here's what you need:
- Paracord (Type III): 100 feet recommended (varies by leash length)
- Carabiner or heavy-duty trigger snap: Rated for at least 500 lbs
- Cam buckle or metal O-ring: For adjustable handle or fixed loop
- Lighter or heat source: To seal cut ends
- Measuring tape: For consistent strand lengths
- Masking tape or clips: To secure work in progress
- Work surface: Table with clamp or vise for anchor point
Choose paracord with a tight sheath and minimal stretch. Mil-spec cord ensures inner strands don’t slip under tension. For visual appeal, consider two-tone combinations—solid base with contrasting tracer strands woven in.
Step-by-Step Construction Guide
Follow this sequence to build a 5-foot leash with a comfortable 12-inch handle loop. Adjust measurements based on your dog’s size and walking habits.
- Cut six strands of paracord: Each 17 feet long. This allows for tapering, knots, and weaving.
- Attach to anchor point: Fold each strand in half, loop through carabiner, and secure with a lark’s head knot. You now have 12 working strands hanging down.
- Create the handle section: Begin a diamond braid (also called a 6-strand Turk’s head variation). Separate strands into pairs. Weave right pair over, left under adjacent sets in rotating sequence. Maintain even tension.
- Transition to main body: After 12 inches of braiding (the handle), switch to a standard cobra weave. Group strands into six pairs. Use adjacent pairs to wrap around the core, feeding one over and under in alternating fashion.
- Continue braiding: Work down the length until 6 inches remain. Keep weaves tight but not compressed—flexibility matters.
- Secure the end: Tie a double stopper knot (like a barrel knot) and melt the tips slightly to prevent fraying. Trim excess close to knot.
- Test under load: Apply gradual pressure using a tree or post. Check for weak spots or uneven tension.
Do’s and Don’ts: Best Practices Summary
| Do | Avoid |
|---|---|
| Use consistent tension throughout braiding | Rushing the weave, causing loose sections |
| Seal all cut ends with flame | Leaving raw ends exposed to moisture |
| Inspect for wear monthly | Using damaged or UV-degraded cord |
| Wash with mild soap and air dry | Machine washing or drying with heat |
| Store coiled in dry environment | Leaving it in damp garage or trunk |
Real-World Example: A Hiker’s Reliable Companion
Mark, an avid trail hiker from Colorado, built a 6-strand paracord leash for his 70-pound Australian Shepherd, Kai. During a steep descent near Vail Pass, Kai slipped on loose gravel and lunged forward, putting full weight on the leash. The commercial nylon leash he’d used before would have snapped or burned Mark’s hands. Instead, the paracord held firm, distributing force across the braid. The textured grip prevented slippage, even when wet. Two years later, after countless hikes, mud baths, and river crossings, the leash remains intact—only showing minor surface wear. “It’s not just a leash,” Mark says. “It’s part of my emergency kit now. I know I can rely on it.”
“Hand-braided paracord gear combines function and artistry. When done right, it performs under stress and lasts far longer than factory equivalents.” — Derek Langston, Wilderness Survival Instructor and Gear Tester
Maintenance and Longevity Tips
Durability doesn’t mean maintenance-free. Even the strongest paracord degrades under UV exposure, dirt abrasion, and moisture. Inspect your leash every few weeks for signs of fraying, especially near knots and high-friction zones. Clean it gently every 1–2 months: soak in lukewarm water with mild detergent, agitate lightly, rinse thoroughly, and hang to dry away from direct sunlight.
If you notice a broken strand, repair it immediately. Unravel back to the damage, splice in a new segment using a backsplice or short splice, then reseal. Never continue using a compromised leash. Consider rotating between two leashes to extend lifespan.
Tip: After rainy walks, wipe the leash with a dry towel before storing—moisture accelerates fiber breakdown.Frequently Asked Questions
Can I make a leash for a small dog with thinner cord?
Yes, but don’t sacrifice safety. Even small dogs generate surprising force when excited. Stick to 550-lb paracord—it’s compact enough for toy breeds and gives a margin of safety. Reduce braid length accordingly.
How long does it take to make a 6-strand leash?
For a beginner, expect 2–3 hours including measuring, braiding, and finishing. With practice, you can complete one in under 90 minutes. Watching a tutorial video alongside helps maintain correct strand order.
Is paracord safe for dogs that chew?
No leash is chew-proof. If your dog tends to gnaw, supervise closely. Paracord ingestion can cause intestinal blockages. Use the leash only for walking, not unsupervised play.
Build Your Own. Walk with Confidence.
Creating a 6-strand paracord dog leash isn’t just about saving money or customizing colors—it’s about taking control of quality and safety. Every knot you tie adds assurance. Every braid becomes a mark of care. In a world of disposable products, this leash stands as something enduring, built to handle rugged trails, energetic pups, and daily wear without compromise.
Start with your first leash using basic colors. Master the technique. Then experiment with camo patterns, reflective tracers, or personalized hardware. Share your builds with fellow pet owners. Teach a friend. Turn craftsmanship into connection.
💬 Ready to craft your own? Gather your cord, pick your colors, and start braiding today. Share your finished leash online—tag it #MyParacordLeash and inspire others to build with purpose.