
Trimming your dog’s nails doesn’t have to be a stressful event—for you or your pet. When done correctly, it’s a quick, painless routine that supports your dog’s comfort, posture, and joint health. Guillotine-style nail clippers are among the most popular tools for this task, offering precision and control. Yet, many pet owners struggle with them due to improper technique or lack of preparation. This guide walks you through every aspect of using guillotine clippers safely and effectively, so you can maintain your dog’s nails with confidence.
Why Proper Nail Trimming Matters
Dogs that don’t wear down their nails naturally—especially indoor pets or those on soft surfaces—can develop overgrown nails. Long nails alter weight distribution, leading to joint strain, reduced traction, and even changes in gait. In severe cases, they may split or tear, causing pain and infection.
Regular trimming prevents these issues and keeps your dog comfortable. Guillotine clippers, when used properly, allow for clean cuts with minimal splintering. Their circular blade slides over the nail tip and severs it cleanly, making them ideal for small to medium breeds with thinner nails.
“Nail care is preventive medicine. Just like dental hygiene, it directly impacts long-term mobility and quality of life.” — Dr. Lena Patel, DVM, Canine Wellness Specialist
Understanding Guillotine Clippers: How They Work
Guillotine clippers consist of a stationary hole where the nail is inserted and a sharp circular blade that slides forward when the handles are squeezed. The design resembles a tiny guillotine—hence the name. Unlike scissor-style or plier-style clippers, they require precise nail alignment to avoid crushing or splitting.
They work best on straight, thin nails and are less suited for thick, curved, or black nails unless the user has significant experience. The key to success lies in positioning: the nail must be centered in the hole, and the cut should occur at a 90-degree angle to the nail shaft.
Tip: Always test the mechanism on a piece of cooked spaghetti first to get a feel for the pressure needed.Step-by-Step Guide to Using Guillotine Clippers Safely
- Gather your supplies: Guillotine clippers, styptic powder (or cornstarch), treats, a towel, and a flashlight (for dark nails).
- Choose a calm environment: Pick a quiet room with good lighting. Have your dog sit or stand on a non-slip surface.
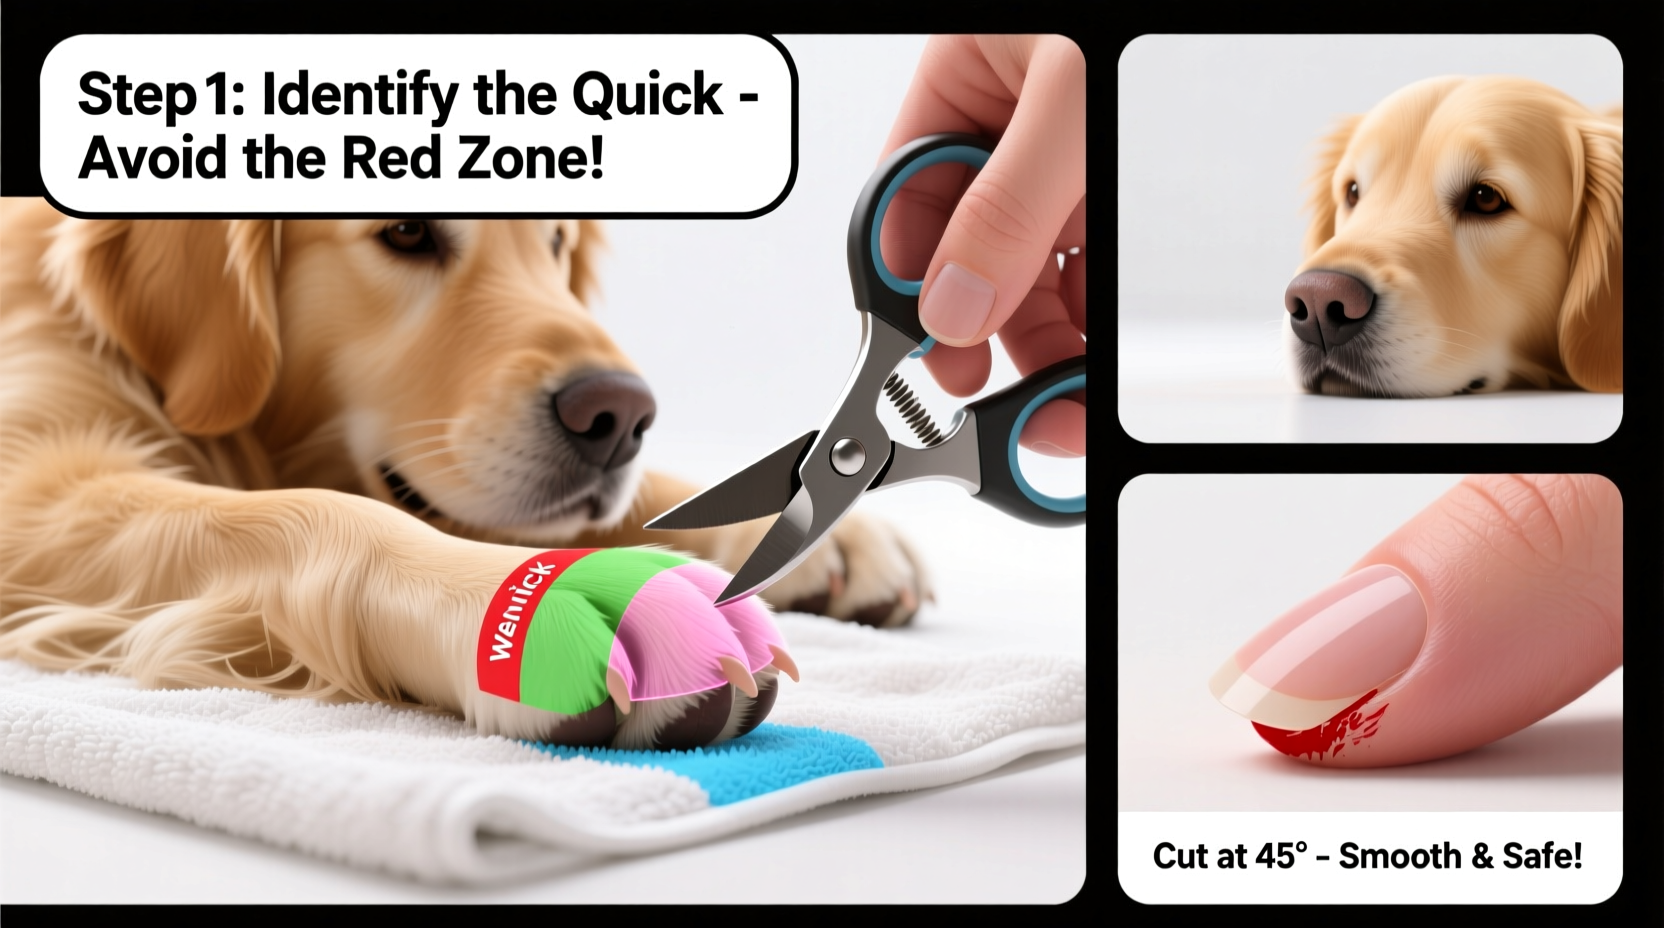
- Examine each nail: Look for splits, cracks, or signs of infection. For light-colored nails, locate the pinkish “quick”—the blood vessel inside. Avoid cutting into it.
- Restrain gently if needed: Use a towel wrap or ask a helper to hold your dog securely but calmly. Never force the process if your dog is panicked.
- Position the clipper: Slide the nail through the hole until the blade rests just before the tip. Ensure the cutting edge faces the nail end, not the paw.
- Cut at a right angle: Squeeze the handles firmly in one smooth motion. Hesitation can crush the nail instead of slicing it cleanly.
- Check the result: The cut should be smooth. If the nail appears ragged, use a file to smooth the edge.
- Reward immediately: Offer a treat and praise after each nail to build positive association.
- Stop bleeding if needed: If you nick the quick, apply styptic powder with gentle pressure for 30–60 seconds.
- Repeat as necessary: Trim one or two nails per day if your dog is anxious, building up to full maintenance over several sessions.
Real Example: Helping a Nervous Rescue Dog
Milo, a three-year-old terrier mix adopted from a shelter, flinched at any touch near his paws. His nails were severely overgrown, curling under and causing him to walk on his wrists. His owner started with desensitization: touching his paws daily while giving treats, then introducing the clippers without use. After two weeks, she trimmed one nail—using a flashlight to see the quick in his dark nails—and rewarded him lavishly. Over the next ten days, she gradually completed all nails. Today, Milo stands tall and walks confidently, and nail trims are part of his weekly routine.
Do’s and Don’ts of Guillotine Clipper Use
| Do’s | Don’ts |
|---|---|
| Use sharp, well-maintained clippers | Use dull blades that crush rather than cut |
| Cut in one swift motion | Saw or squeeze slowly, which hurts the nail |
| Locate the quick before cutting | Guess where the quick ends on dark nails |
| Have styptic powder ready | Panic if you nick the quick—stay calm |
| Trim nails every 3–4 weeks | Wait until nails click on the floor |
Essential Checklist for Every Nail Trimming Session
- ✅ Guillotine clippers cleaned and sharpened
- ✅ Styptic powder or cornstarch within reach
- ✅ High-value treats prepared
- ✅ Well-lit, quiet area set up
- ✅ Flashlight available (for dark nails)
- ✅ Towel or helper ready if needed
- ✅ Calm mindset—you set the tone
Frequently Asked Questions
How often should I trim my dog’s nails with guillotine clippers?
Most dogs need trimming every 3 to 4 weeks. Dogs that walk frequently on pavement may require less frequent trims, while indoor dogs usually need monthly maintenance. Check weekly by listening for clicking on hard floors—that’s a clear sign a trim is overdue.
Can I use guillotine clippers on black nails?
Yes, but with caution. Use a flashlight to backlight the nail and look for the pinkish core—the quick. If you can’t see it, make small, conservative cuts and inspect the freshly cut surface. A small dark dot in the center indicates you’re getting close to the quick and should stop.
What if my dog won’t sit still for nail trims?
Start with desensitization. Handle your dog’s paws daily during calm moments, offering treats. Gradually introduce the clippers without using them. Practice touching the nail with the tool. Build up to actual trims slowly—one nail at a time if needed. Patience builds trust and reduces fear.
Final Tips for Long-Term Success
Mastering guillotine clippers isn’t just about the tool—it’s about timing, technique, and temperament. Keep sessions short and positive. If your dog resists, take breaks. Consider filing as an alternative or follow-up to smooth rough edges without pressure.
Over time, regular trimming causes the quick to recede, allowing for shorter nails and reducing the risk of bleeding. Never skip nail care out of fear—your dog’s comfort and health depend on it.
💬 Ready to transform nail trims from stressful to seamless? Start today with one paw, one nail, and one treat. Share your progress or questions in the comments—your journey can inspire other pet parents too.