Trimming your dog’s nails doesn’t have to be a battle. Many pet owners dread the process—either because their dog resists or they fear causing pain. Yet regular nail care is essential for your dog’s comfort, posture, and joint health. Overgrown nails can lead to slipping, altered gait, and even spinal issues over time. The good news? With the right tools, technique, and mindset, you can master dog nail clipping at home safely and calmly. This guide walks you through every stage—from preparation to post-trim reassurance—so both you and your dog walk away confident and relaxed.
Why Regular Nail Trimming Matters
Dog nails grow continuously, just like human fingernails. Without routine maintenance, they can curl, split, or press painfully into the paw pad. Dogs that spend most of their time on soft surfaces like carpet or grass don’t wear down their nails naturally, making trimming even more critical.
Long-term neglect can alter how your dog stands and walks. When nails touch the ground with each step, they force the toes to splay and the weight to shift forward, increasing strain on the joints. For older dogs or those with arthritis, this added pressure can worsen discomfort.
“Regular nail trims are preventive care. They support not just paw health but overall musculoskeletal function.” — Dr. Laura Simmons, DVM, Canine Wellness Specialist
Your Essential Nail Clipping Toolkit
Before you begin, gather everything you’ll need. Having supplies ready prevents mid-trim disruptions that could unsettle your dog.
- Nail clippers: Choose between guillotine-style, scissor-style, or plunger-style (like the PetPaw). Larger breeds may benefit from professional-grade clippers.
- Grinder tool: A rotary file can smooth sharp edges and reduce splintering, especially useful for thick or black nails.
- Styptic powder or cornstarch: To stop bleeding instantly if you nick the quick.
- Treats: High-value rewards such as small pieces of chicken or cheese to reinforce cooperation.
- Non-slip mat: Place it on a stable surface to keep your dog from sliding during the trim.
Step-by-Step Guide to Stress-Free Nail Clipping
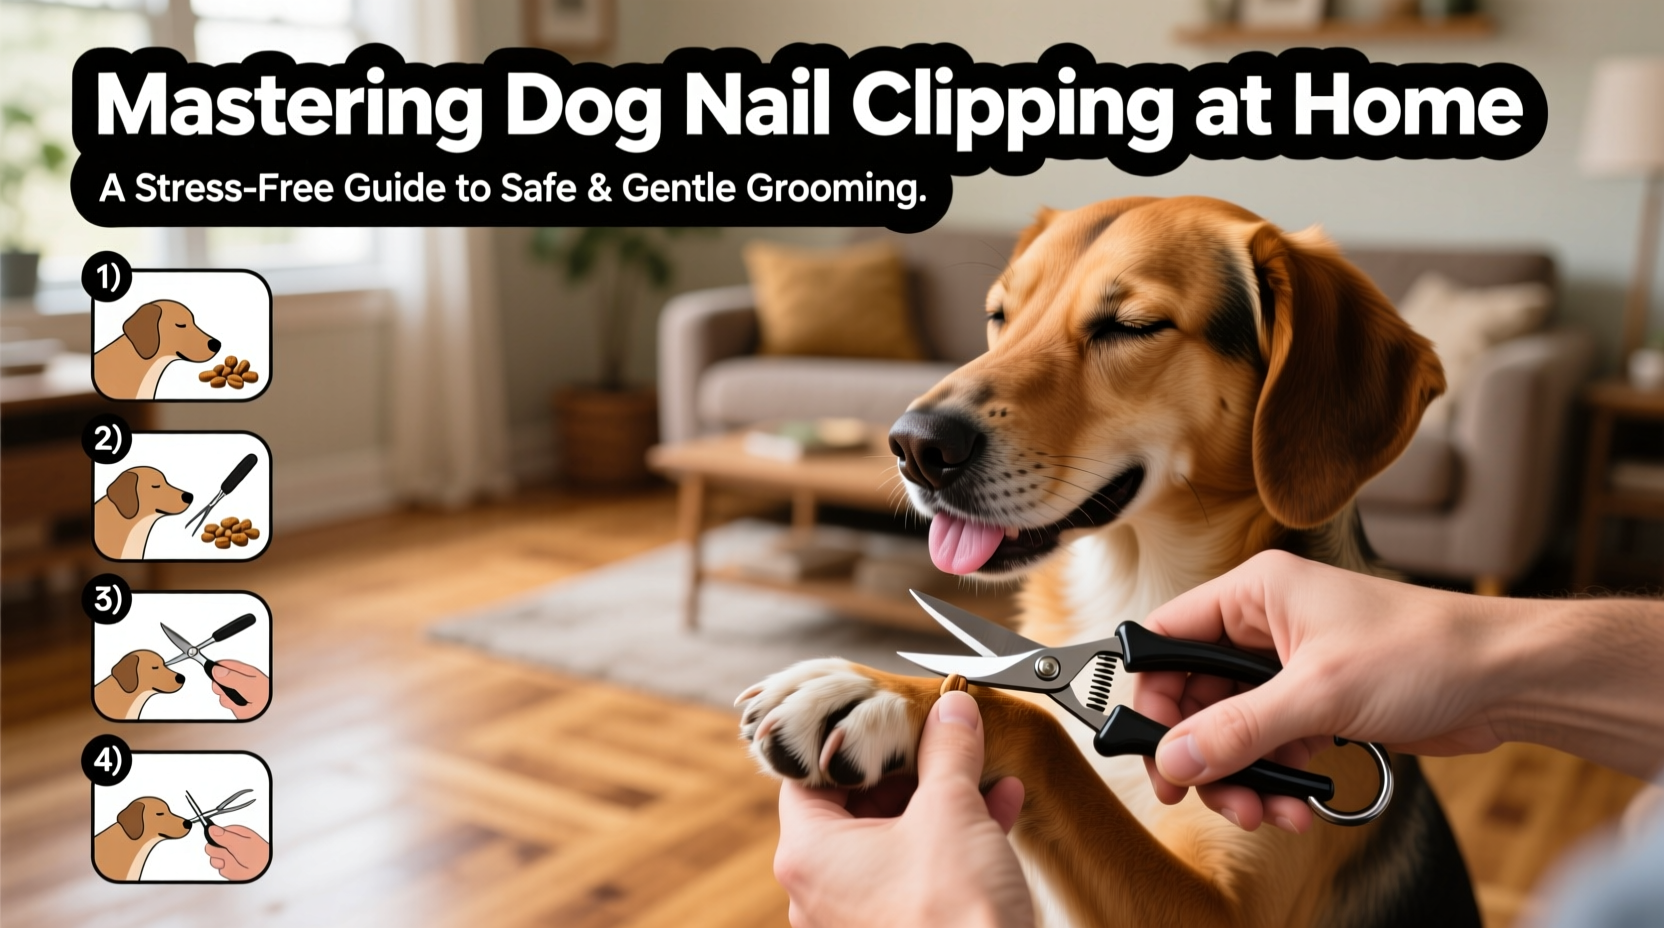
Success lies in pacing, patience, and positive reinforcement. Follow this sequence to build trust and consistency.
- Desensitize your dog to handling. For several days before trimming, gently touch your dog’s paws while offering treats. Gradually increase duration and pressure until your dog remains relaxed.
- Choose a quiet time. Pick a moment when your dog is calm—after a walk or play session works well. Avoid attempting a trim when they’re excited or tired.
- Position your dog comfortably. Sit on the floor with your dog beside you. For smaller dogs, use a non-slip surface on your lap or a low table.
- Inspect each nail carefully. Look for the pinkish core inside translucent nails—the “quick.” Avoid cutting into this sensitive area, which contains nerves and blood vessels.
- Cut at a 45-degree angle. Clip only the curved tip, about 1–2 mm from the quick. For black nails, make tiny cuts and look for the dark dot in the center—this signals you’re nearing the quick.
- Smooth sharp edges with a grinder. Even if you don’t shorten the nail, filing prevents snagging and reduces noise on hard floors.
- Reward immediately after each nail. Offer praise and a treat after every successful clip, even if progress is slow.
- End on a positive note. Stop after trimming a few nails if your dog shows signs of stress. You can finish the rest another day.
Common Mistakes and How to Avoid Them
Even experienced pet owners make errors under pressure. Recognizing these pitfalls helps prevent accidents and anxiety.
| Mistake | Why It’s a Problem | Solution |
|---|---|---|
| Cutting too close to the quick | Causes pain and bleeding; makes future trims harder due to fear | Clip small amounts; use a flashlight to see the quick in dark nails |
| Rushing the process | Increases stress for both dog and owner | Work one nail at a time; take breaks if needed |
| Ignoring signs of discomfort | Can escalate into resistance or aggression | Pause and regroup; return to desensitization if necessary |
| Using dull clippers | Crushes rather than cuts, causing pain and splitting | Replace blades regularly or invest in high-quality tools |
Real-Life Example: Helping a Fearful Rescue Dog
Baxter, a three-year-old mixed breed adopted from a rural shelter, flinched whenever his paws were touched. His new owner, Maria, knew he needed nail care but didn’t want to create lasting fear. She started by touching his paws for just two seconds while giving a treat. Over ten days, she increased handling time and introduced the clippers—first letting him sniff them, then touching one nail with the closed tool.
After two weeks, she clipped one nail. Two days later, she did two more. By week four, Baxter allowed all nails to be trimmed in a single session. The key was consistency, timing, and never forcing contact. Today, Baxter sits patiently during grooming, tail wagging as he earns his reward.
Checklist: Preparing for a Successful Nail Trim
- ☑ Gather all tools: clippers, grinder, styptic powder, treats
- ☑ Choose a calm environment with minimal distractions
- ☑ Handle your dog’s paws daily for at least 3–5 minutes to build tolerance
- ☑ Check nail color and locate the quick (use light if needed)
- ☑ Plan short sessions—focus on one paw per day if necessary
- ☑ Have a helper nearby if your dog tends to squirm
- ☑ Stay patient and reward every cooperative behavior
Frequently Asked Questions
How often should I trim my dog’s nails?
Most dogs need trimming every 3 to 4 weeks. If you hear clicking on hard floors, it’s time for a trim. Active dogs who walk on pavement frequently may need it less often.
What should I do if I cut the quick?
Stay calm. Apply styptic powder or cornstarch directly to the nail and hold gentle pressure for 1–2 minutes. Most bleeds stop quickly. Comfort your dog without overreacting, so they don’t associate the event with panic.
Are grinders better than clippers?
It depends on your dog and your comfort level. Grinders allow gradual shortening and are ideal for thick or black nails, but some dogs dislike the vibration or noise. Clippers are faster but require precision. Many owners use both—a clip followed by a grind for smoothness.
Final Thoughts: Building Confidence Through Consistency
Mastering dog nail clipping at home isn’t just about saving trips to the groomer—it’s about deepening trust with your pet. Each session is an opportunity to strengthen your bond through calm communication and positive reinforcement. Start slow, respect your dog’s pace, and celebrate small wins. Over time, what once felt daunting becomes a seamless part of your routine.
💬 Have a nail-trimming success story or tip? Share your experience below and help fellow pet owners turn grooming into a peaceful, positive ritual.