Grooming your dog at home doesn’t have to be intimidating. With the right tools and knowledge, electric clippers can transform a stressful chore into a bonding experience. Regular grooming keeps your dog’s coat healthy, reduces shedding, and helps you spot skin issues early. Electric clippers, when used correctly, offer precision and efficiency that scissors alone can’t match. This guide walks you through everything from choosing the right equipment to executing a smooth trim—safely and confidently.
Choosing the Right Electric Clippers
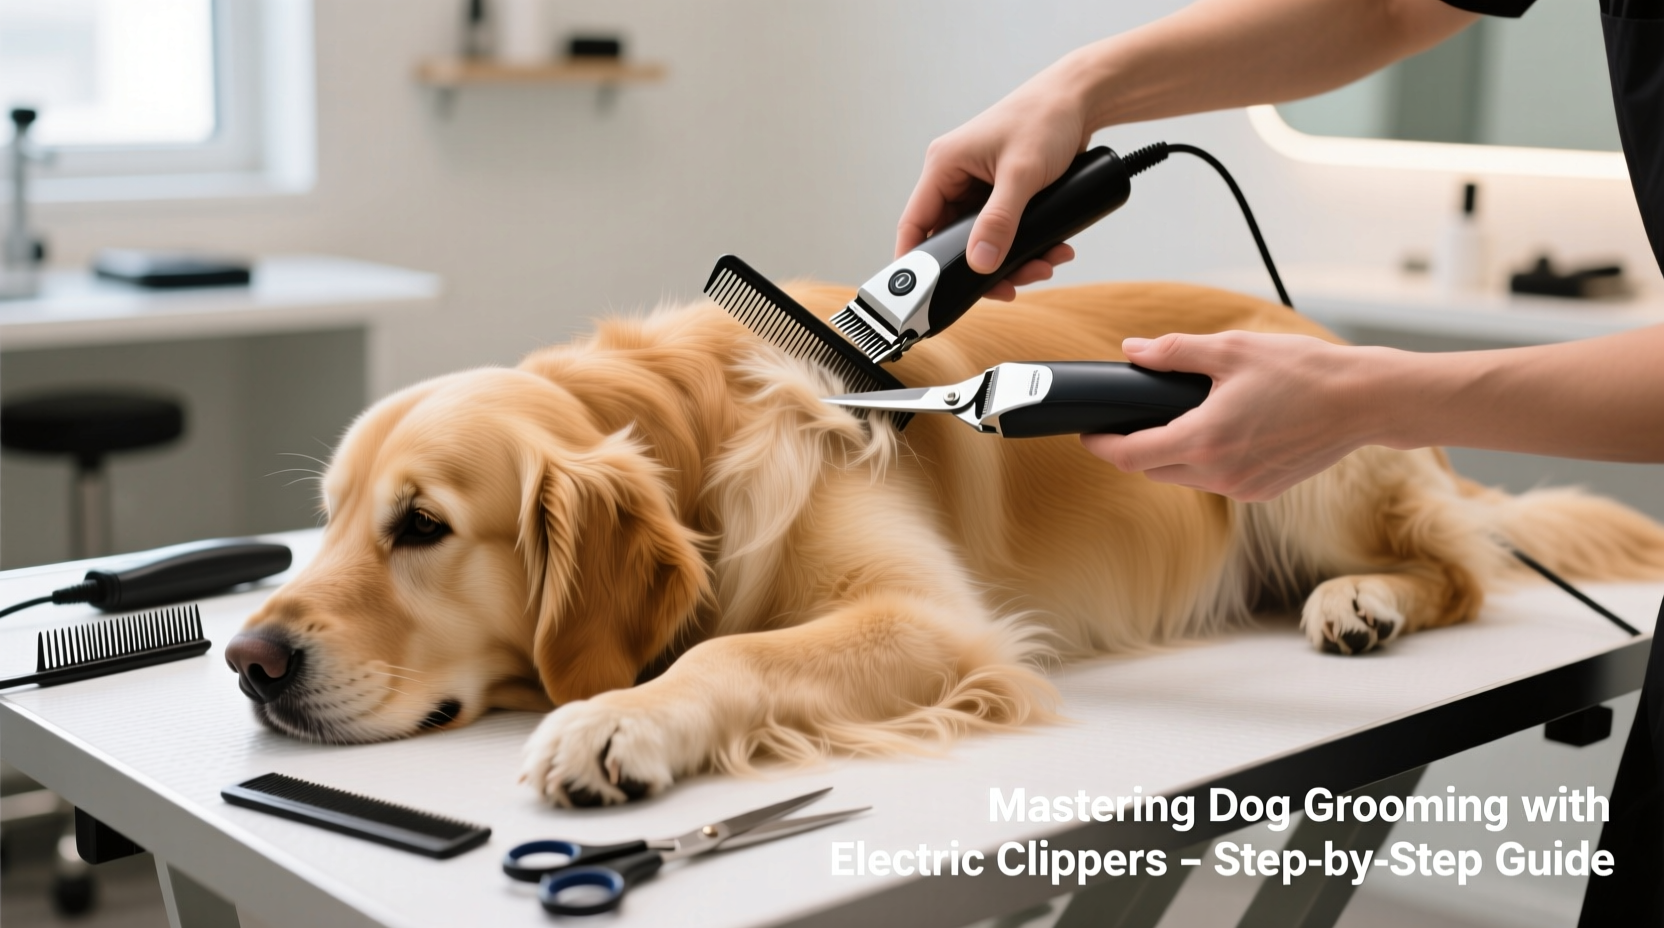
Not all clippers are created equal. Selecting the right model depends on your dog’s coat type, size, and sensitivity to noise and vibration. High-powered clippers handle thick double coats like those of Huskies or Newfoundlands, while lighter models work well for short-haired breeds such as Beagles or Boxers.
Look for features like low noise output, heat dissipation technology, and detachable blades for easy cleaning. Ceramic blades stay cooler than steel during prolonged use, reducing the risk of skin irritation. Reputable brands like Andis, Wahl, and Oster consistently deliver reliable performance.
Tip: Always test clippers before purchase if possible—listen for excessive noise and feel for vibrations that might startle your dog.Essential Grooming Tools and Setup
Clippers are just one part of the toolkit. A complete grooming station includes:
- Electric clippers with multiple blade sizes
- Comb attachments (guide combs)
- Slicker brush and undercoat rake
- Detangling spray or conditioning mist
- Nail clippers or grinder
- Ear cleaner and cotton pads
- Non-slip grooming mat
- Styptic powder (for accidental nicks)
Set up in a quiet, well-lit area with good ventilation. Keep treats nearby to reward calm behavior. Plug in the clippers away from water sources, and ensure cords won’t trip you or tangle around your dog.
Step-by-Step Guide to Safe Clipper Grooming
- Brush Thoroughly First: Remove mats and tangles using a slicker brush and undercoat rake. Clipping over matted fur pulls on the skin and risks cutting too close.
- Clean and Dry the Coat: Bathe your dog 1–2 days prior to clipping. A clean, completely dry coat ensures smooth glide and prevents clogging.
- Select the Correct Blade Size: Use longer guard combs (e.g., #10 or #7) for first-time trims. Reserve shorter blades (#30 or #40) for sanitary areas only.
- Start with Low-Stress Areas: Begin on the back and sides. Hold the clipper at a 90-degree angle and move slowly against the grain of hair growth.
- Lift Skin When Needed: On legs and belly, gently lift folds to avoid nicking thin skin. Never stretch or pull.
- Avoid Sensitive Zones: Use scissors near the face, ears, and paws. Clippers should not touch eyelids, nose, or genitals.
- Check for Heat Buildup: Pause every 5–10 minutes to feel the blade. If hot, cool it or switch to a spare blade.
- Finish with a Soft Brush: Remove loose hairs and inspect for missed spots or irritation.
“Proper technique matters more than speed. A calm, steady hand prevents injury and builds trust.” — Dr. Lena Torres, Veterinary Dermatologist
Do’s and Don’ts of Using Electric Clippers
| Do’s | Don’ts |
|---|---|
| Use sharp, clean blades | Force clippers through matted fur |
| Clip in the direction of hair growth on sensitive areas | Hold the clipper in one spot for more than 10 seconds |
| Keep a firm but gentle grip on your dog | Use human-grade clippers—they’re too loud and hot |
| Take breaks if your dog shows stress | Shave down to the skin unless medically necessary |
| Store clippers in a dry place after cleaning | Immerse the motor unit in water |
Real Grooming Scenario: Managing a Double-Coated Breed
Sarah adopted a 3-year-old Border Collie named Milo who shed heavily each spring. Determined to manage his coat without professional help, she invested in a high-quality cordless clipper with ceramic blades. At first, Milo resisted the noise and vibration. Sarah began by turning the clippers on nearby during feeding time, pairing the sound with treats. After a week, she introduced brief touches with the turned-off tool.
Her first full session lasted 40 minutes with multiple pauses. She started on his back using a #10 blade, carefully brushing each section beforehand. When she reached his hind legs, she noticed a small mat near the ankle. Instead of cutting it with clippers, she used blunt-tipped scissors to lift and cut from underneath. By the end, Milo was panting but calm. Over time, sessions became faster and less stressful. Now, every six weeks, they maintain his coat together—a ritual that strengthened their bond.
Tip: Desensitize your dog to clippers over several days. Let them sniff the tool, hear it run nearby, and associate it with positive rewards.Troubleshooting Common Issues
Clippers pulling hair? Likely due to dull or dirty blades. Clean with a soft brush and clipper oil after each use. Sharpen or replace blades every 3–6 months depending on frequency.
Dog trembling during grooming? Stop immediately. Check for pain, fear, or overheating. Try shorter sessions or consult a trainer for desensitization techniques.
Uneven cuts? Maintain consistent pressure and overlap strokes slightly. Use guide combs for uniform length, especially for beginners.
FAQ: Common Questions About Dog Grooming with Clippers
Can I use the same clippers for my dog and myself?
No. Human clippers generate more heat and noise, which can scare or burn pets. Pet-specific models are designed for safety, durability, and lower sound levels.
How often should I groom my dog with clippers?
Frequency depends on breed. Long-haired dogs may need trimming every 4–6 weeks. Short-haired breeds benefit from seasonal de-shedding sessions. Daily brushing reduces the need for frequent clipping.
Is it safe to shave a double-coated dog?
Generally, no. Breeds like Siberian Huskies, Malamutes, and Samoyeds rely on their undercoat for temperature regulation. Shaving can disrupt insulation and lead to skin problems. Use clipping only to remove mats or for medical reasons under veterinary guidance.
Final Checklist Before You Start Grooming
- ☑ Dog is calm and has had bathroom break
- ☑ Coat is brushed, dry, and free of mats
- ☑ Clippers are charged or plugged in safely
- ☑ Correct blade and guard comb attached
- ☑ Non-slip mat is in place
- ☑ Treats, water, and first-aid supplies nearby
- ☑ Quiet environment with minimal distractions
Maintaining Your Equipment for Long-Term Success
After each use, unplug the clippers and brush off hair debris. Apply 2–3 drops of clipper oil along the blade teeth and run the machine for 10 seconds to distribute it. Wipe the housing with a damp cloth—never submerge it. Store in a cool, dry cabinet. Replace blades when they become noisy or tug instead of cutting smoothly.
Consider owning two sets of blades: one for body trimming, another for sanitary areas. This prevents cross-contamination and prolongs blade life.
Conclusion: Confidence Through Consistency
Mastering dog grooming with electric clippers is a skill built over time. The initial attempts may feel awkward, but patience and practice yield remarkable results. Beyond aesthetics, regular grooming fosters intimacy, improves hygiene, and supports your dog’s overall well-being. Equip yourself with the right tools, follow safe procedures, and honor your pet’s comfort level. Each session becomes an opportunity to listen, observe, and care.
💬 Ready to take control of your dog’s grooming routine? Start today with a simple brushing session and build from there. Share your journey or ask questions in the comments—your experience could help another pet owner gain confidence.