There’s something undeniably comforting about biting into a warm, buttery apple puff—crisp on the outside, tender within, and filled with spiced apple goodness. Yet for many home bakers, achieving that ideal flaky texture and balanced sweetness feels just out of reach. Too often, puffs turn soggy, burst open during baking, or lack depth of flavor. The truth is, mastering apple puffs isn’t magic—it’s method. With attention to detail, quality ingredients, and proper technique, you can consistently produce golden, flaky pastries that rival those from the finest patisseries.
The Science Behind Flaky Pastry
Flakiness in pastry comes from layers—thin sheets of dough separated by pockets of fat, typically butter. When baked, the water in the butter turns to steam, lifting the layers apart and creating that signature crisp, airy structure. For apple puffs, this means using a laminated dough such as puff pastry or a flaky pie crust variation. Store-bought works in a pinch, but homemade yields superior control over flavor and texture.
The key lies in temperature. Cold butter must be evenly distributed throughout the flour without melting. If the butter warms too much before baking, it will absorb into the dough rather than create steam, resulting in a dense, greasy product. Work quickly in a cool environment, and chill the dough between folds to maintain integrity.
Tip: Freeze your butter for 15 minutes before grating it into the flour. This ensures even distribution and prevents premature melting.Choosing the Right Apples
Not all apples behave the same under heat. Some varieties break down completely, turning to mush, while others retain their shape and offer a pleasant bite. For apple puffs, you want a balance—apples that soften but don’t liquefy.
| Apple Variety | Baking Behavior | Best For Puffs? |
|---|---|---|
| Granny Smith | Holds shape, tart flavor | Yes – ideal base |
| Honeycrisp | Sweet, retains firmness | Yes – adds complexity |
| Fuji | Sweet, softens significantly | Use sparingly in blends |
| Golden Delicious | Mild, breaks down easily | No – too soft |
| Braeburn | Balanced sweet-tart, holds form | Yes – excellent choice |
A blend of Granny Smith and Honeycrisp offers both structure and nuanced sweetness. Avoid overly juicy apples, as excess moisture can seep into the pastry and compromise flakiness.
“Great fillings start with great fruit. Choose apples that are firm, fragrant, and in season—they’ll require less sugar and deliver more natural flavor.” — Chef Lila Nguyen, Pastry Instructor at Culinary Arts Northwest
Step-by-Step Guide to Perfect Apple Puffs
Follow this detailed process to make apple puffs from scratch, ensuring consistent results every time.
- Prepare the Filling: Peel, core, and dice 3 medium apples. In a skillet over medium heat, combine apples with 2 tablespoons brown sugar, ½ teaspoon cinnamon, a pinch of nutmeg, and 1 tablespoon lemon juice. Cook for 6–8 minutes until apples soften slightly but still hold shape. Stir in 1 teaspoon cornstarch to thicken juices. Cool completely before use.
- Make or Prepare Dough: Use either homemade rough puff pastry or high-quality store-bought. If making your own, combine 2 cups flour, ½ teaspoon salt, and 1 cup cold unsalted butter (cut into small cubes). Add 4–6 tablespoons ice water gradually, mixing until dough forms. Roll out, fold into thirds, rotate 90 degrees, and repeat two more times. Chill for 30 minutes after each fold.
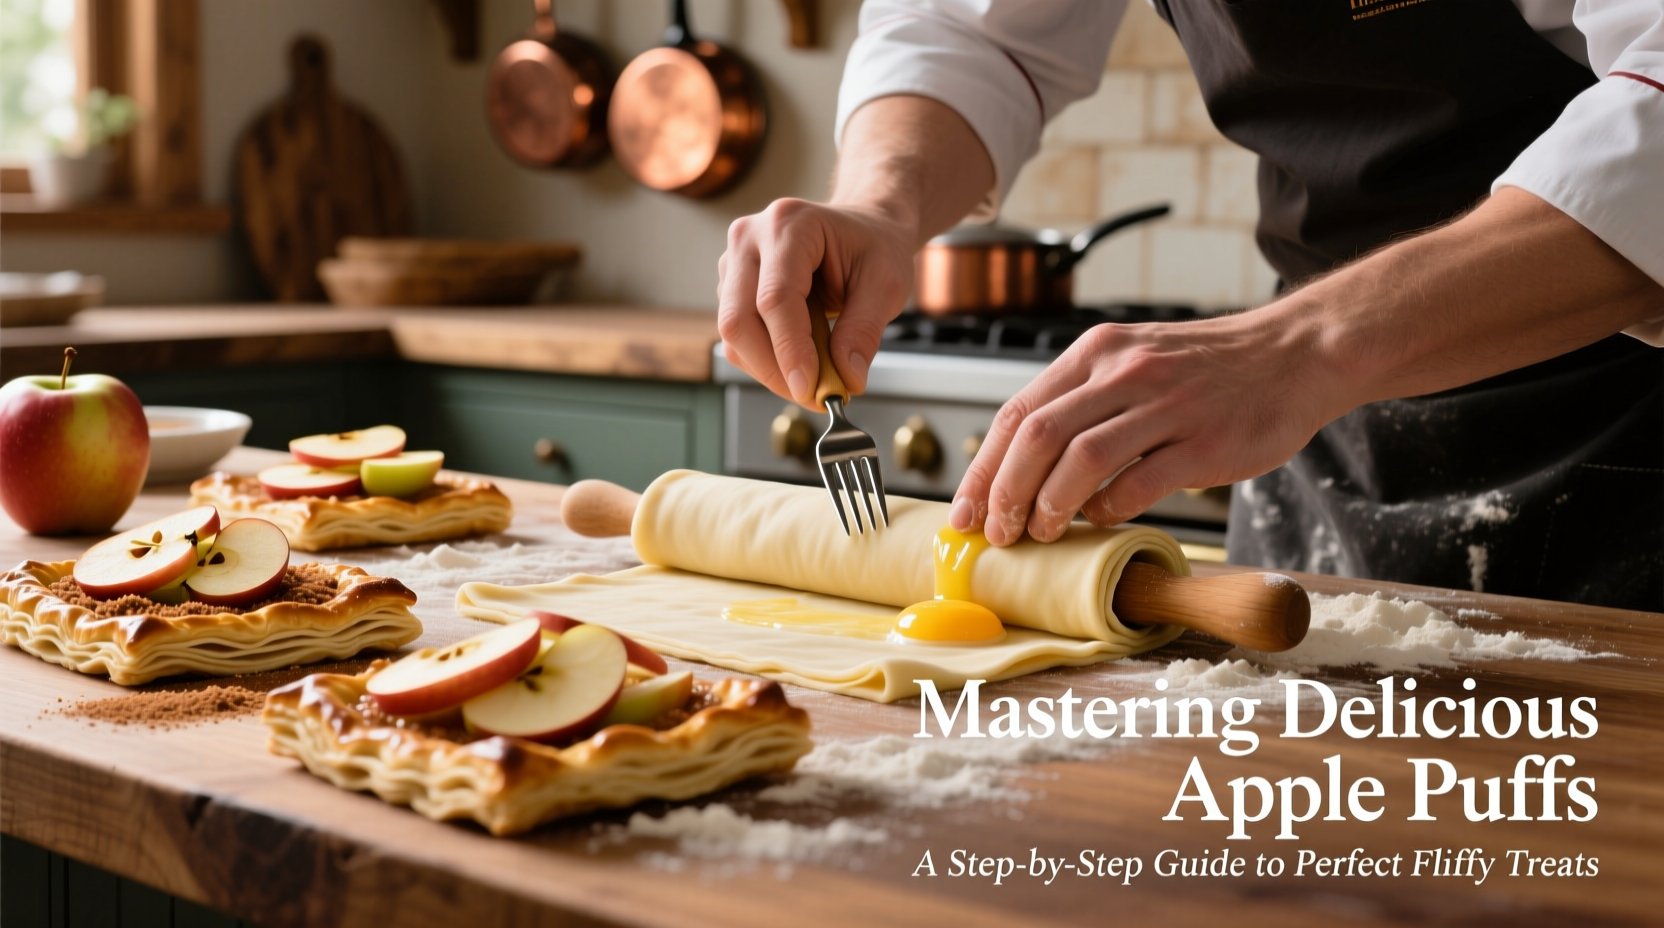
- Assemble the Puffs: Roll dough to ⅛-inch thickness. Cut into 4-inch squares. Place 1 tablespoon of cooled filling in the center of each. Brush edges with egg wash (1 egg + 1 tbsp water). Fold diagonally to form triangles. Press tines of a fork along the sealed edge to crimp.
- Chill Before Baking: Place assembled puffs on a tray and refrigerate for 15 minutes. This prevents puffing unevenly and helps maintain sharp edges.
- Bake to Golden Perfection: Preheat oven to 400°F (200°C). Line a baking sheet with parchment. Bake puffs for 20–25 minutes until deeply golden and puffed. Rotate the tray halfway through for even browning.
- Cool and Finish: Let rest 5 minutes before serving. Dust lightly with powdered sugar or serve with vanilla ice cream.
Avoiding Common Pitfalls
Even experienced bakers can stumble when making apple puffs. Here are frequent mistakes and how to avoid them:
- Soggy bottoms: Caused by wet filling. Always cook apples with thickener and let cool fully.
- Bursting during baking: Usually due to inadequate sealing or overfilling. Use proper crimping and limit filling to 1 tablespoon per puff.
- Dense, tough texture: Overworking the dough develops gluten. Handle gently and avoid excessive rolling.
- Uneven rise: Oven hot spots or skipping preheating. Use an oven thermometer and rotate pans.
Mini Case Study: From Kitchen Fail to Café Favorite
Sarah Kim, a home baker from Portland, spent months struggling with her apple puffs. They either exploded in the oven or tasted bland. After attending a local workshop, she realized her mistake: using Fuji apples straight from the fridge and skipping the precook step. She switched to a Granny Smith–Honeycrisp blend, cooked the filling with lemon and cinnamon, and began chilling the assembled puffs before baking. Within weeks, her recipe was featured at a neighborhood farmers’ market pop-up. Today, her apple puffs sell out by mid-morning.
“I used to think it was about luck,” Sarah says. “Now I know it’s about preparation. Cooling the filling made all the difference.”
Essential Checklist for Success
Before you begin, ensure you’ve covered these critical steps:
- ✅ Use firm, tart-sweet apples like Granny Smith or Braeburn
- ✅ Pre-cook and thicken the apple filling
- ✅ Keep all ingredients and tools cold
- ✅ Don’t overfill—1 tablespoon max per puff
- ✅ Seal edges tightly with a fork
- ✅ Chill assembled puffs before baking
- ✅ Bake in a fully preheated oven
- ✅ Allow brief cooling before serving
Frequently Asked Questions
Can I freeze apple puffs?
Yes. Freeze uncooked puffs on a tray until solid, then transfer to a freezer bag. Bake from frozen, adding 5–7 minutes to the cooking time. Fully baked puffs can also be frozen and reheated at 350°F (175°C) for 10 minutes.
Can I use phyllo dough instead of puff pastry?
You can, but the result will differ. Phyllo creates a crisp, shattering texture rather than a layered flakiness. It’s more delicate and requires brushing each layer with butter. Best for savory versions or if you prefer ultra-thin pastry.
Why did my puffs deflate after coming out of the oven?
Some settling is normal, but major deflation suggests underbaking. The internal structure needs sufficient time to set. Ensure your oven is calibrated correctly and bake until deep golden, not pale.
Conclusion: Elevate Your Baking One Puff at a Time
Perfect apple puffs aren’t reserved for professionals. With the right apples, properly handled dough, and careful assembly, you can achieve bakery-quality results at home. The secret isn’t complexity—it’s consistency. Each step, from precooking the filling to chilling before baking, plays a role in building flavor and texture. These treats are more than dessert; they’re a testament to mindful baking.
💬 Try the recipe this weekend and share your results! Tag your golden apple puffs online or leave a comment with your favorite twist—perhaps a hint of cardamom or a drizzle of caramel. Let’s inspire better baking, one flaky bite at a time.