Birds colliding with windows is a surprisingly common issue—one that affects homes in both urban and rural areas. Every year, up to one billion birds in the United States alone die from window strikes, according to the American Bird Conservancy. These collisions aren’t just tragic for wildlife; they can also startle homeowners and leave behind unsightly messes. The good news? Most of these incidents are preventable with simple, low-cost solutions you can implement yourself.
The root cause lies in how glass reflects the sky and surrounding vegetation, creating an illusion of open space. To a bird, a reflective or transparent window may look like a clear flight path through your yard or into a grove of trees. When startled by predators or during migration, birds often fly at high speeds and don’t have time to react before impact.
This article outlines practical, proven DIY methods to break up reflections, increase window visibility to birds, and create safer environments—without sacrificing natural light or aesthetics.
Why Birds Fly Into Windows: Understanding the Problem
Bird-window collisions typically occur during two key times: spring and fall migration, when disoriented birds navigate unfamiliar landscapes, and breeding season, when territorial species attack their own reflections, mistaking them for intruders.
Species most commonly affected include songbirds like robins, sparrows, warblers, and cardinals. However, even larger birds such as woodpeckers and jays are vulnerable, especially near expansive picture windows or glass doors.
The danger increases when:
- Windows are highly reflective due to sunlight exposure.
- Indoor plants or feeders are visible through glass, attracting birds closer.
- Two parallel glass surfaces (like sliding doors and interior windows) create a tunnel effect.
- Nighttime lighting draws nocturnal migrants off course.
“Birds don’t perceive glass as a barrier. They see what’s reflected—or what’s on the other side—and act accordingly.” — Dr. Christine Sheppard, Director of the Bird-Safe Buildings Program, American Bird Conservancy
To effectively reduce collisions, the goal isn’t to eliminate birds from your yard but to make windows visible and uninviting as flight paths. The best strategies work by breaking up reflections or adding visual cues at regular intervals.
DIY Solutions That Actually Work
You don’t need expensive equipment or professional installation to protect birds. Many effective fixes use materials already found at home or easily purchased at craft or hardware stores. The key is consistency: coverage should extend across the entire surface where strikes occur, typically from 3 to 50 feet above ground level.
1. Apply Decals in a Grid Pattern
Decals are among the most accessible solutions. However, most people place them incorrectly—using just one or two isolated stickers, which doesn’t help. Birds can still attempt to fly through the large gaps between them.
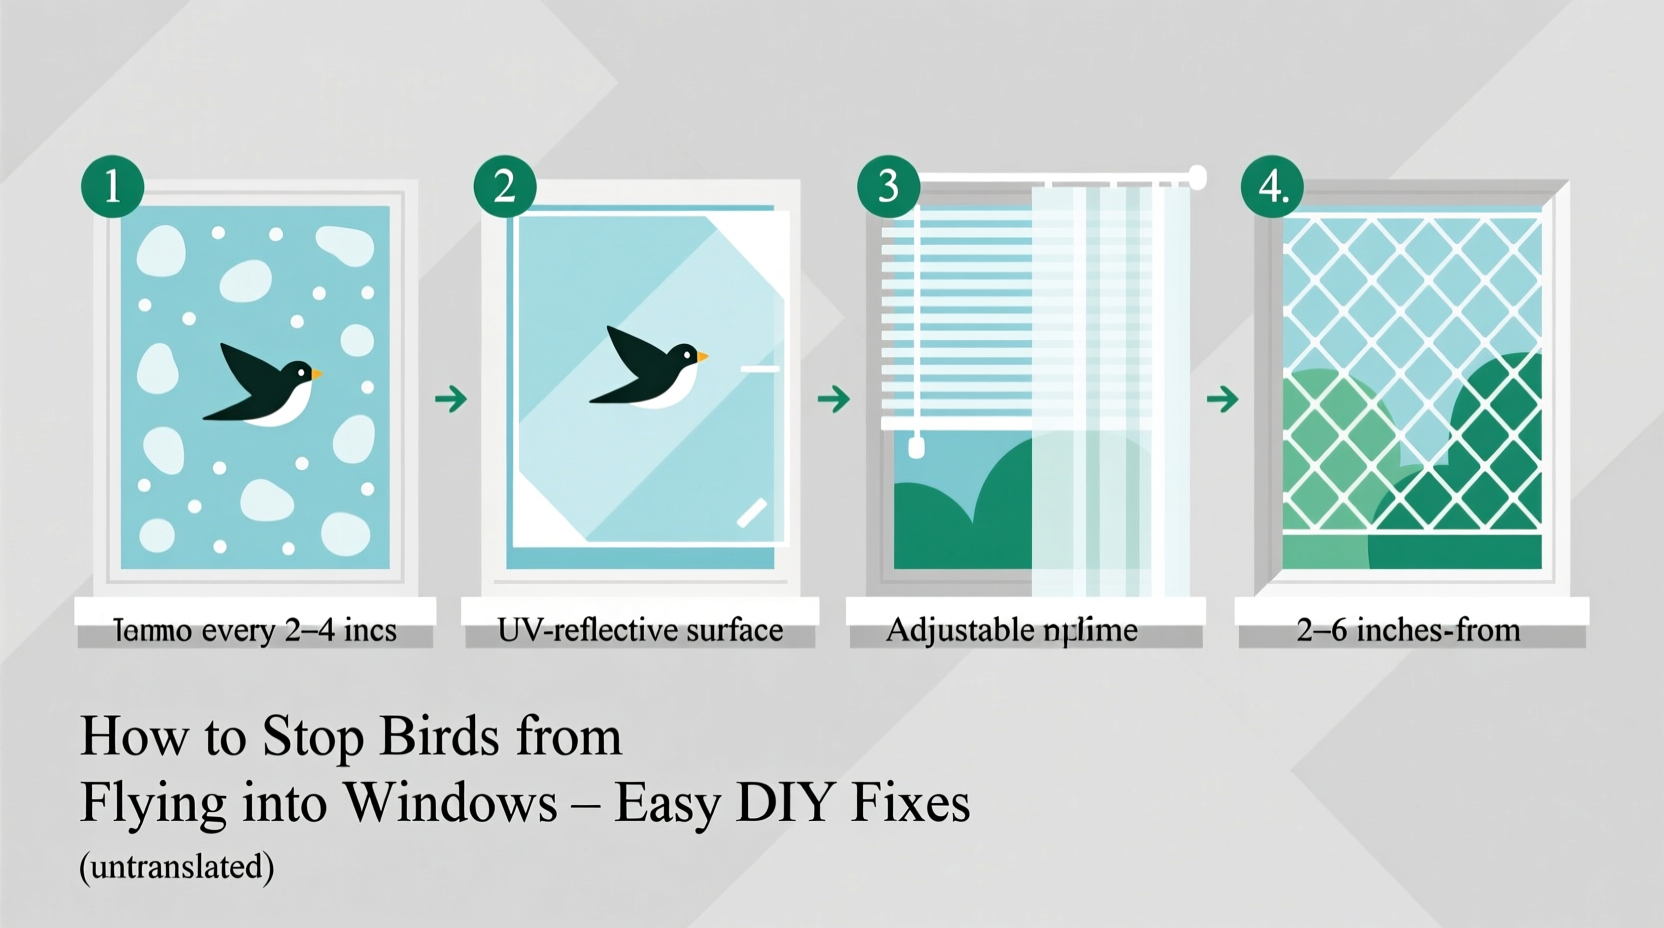
For real effectiveness, decals must be placed densely. Follow the “2x4 rule”: no more than 2 inches apart horizontally and 4 inches vertically. This spacing prevents most birds from attempting passage.
Tip: Use opaque or frosted vinyl stickers instead of clear ones. Dark silhouettes of hawks may deter some birds, but studies show patterned coverage works better than predator shapes.Materials needed:
- Frosted window clings or adhesive dots
- Measuring tape
- Spray bottle with water (for positioning)
Application steps:
- Clean the window thoroughly with soapy water.
- Mist the glass lightly to allow repositioning.
- Place decals following the 2x4 grid, starting from the top corner.
- Smooth out air bubbles with a credit card.
2. Create Temporary Tape Patterns
Painter’s tape or masking tape is a fast, removable option—ideal for renters or seasonal protection during migration. Simply apply horizontal or vertical strips across the outside of the glass.
For maximum effect, use ½-inch-wide tape spaced every 4–6 inches. Crisscross patterns increase visibility further. While not the most attractive long-term fix, it's highly effective and fully reversible.
3. Install DIY String or Cord Barriers
Hanging cords or fishing lines several inches in front of the window creates physical and visual barriers. As birds approach, they detect the lines and veer away. This method maintains outward visibility while disrupting reflections.
How to install:
- Use small screws or adhesive hooks to mount along the top edge of the window frame.
- Space them 4 inches apart.
- Cut nylon cord or monofilament line to hang 2–3 inches from the glass, reaching within 6 inches of the sill.
- Tie securely and trim excess.
The slight movement in wind enhances detection. For a decorative touch, add wooden beads or colorful tags to the lines.
Long-Term, Aesthetic-Friendly Fixes
If you're looking for durable options that blend with your home’s design, consider these upgraded DIY projects.
1. Apply Tempera Paint Designs with Netting
Using washable tempera paint mixed with dish soap (to improve adhesion), create polka dots, swirls, or abstract patterns on the outside of windows. The soap helps the paint stick longer without damaging glass.
This is a family-friendly project—kids can help design bird-safe art that doubles as seasonal decoration. At the end of migration season, rinse off with a hose and mild cleaner.
2. Build and Mount Exterior Window Screens
Installing fine mesh netting (¼ inch or smaller) several inches in front of the glass stops birds before impact and reduces reflection. Unlike indoor screens, exterior-mounted versions are far more effective.
Materials:
- Fiberglass or polyester screening (available at hardware stores)
- Aluminum frame or spline roller (optional)
- Staples or clips
Stretch the screen taut over a custom frame or staple directly to the window casing. Ensure it’s loose enough to cushion impact but tight enough to remain stable in wind.
3. Use One-Way Transparent Film
Also known as “daylight privacy film,” this adhesive window film allows you to see out but appears mirrored from the outside. It significantly cuts down on reflections while maintaining natural light.
Apply like window tint: clean the surface, spray with soapy water, peel and position the film, then squeegee out bubbles. Trim edges with a utility knife. Available in frosted, striped, or dotted textures for added visual disruption.
What Doesn’t Work (And Common Myths Debunked)
Despite widespread popularity, many commonly used products fail to prevent collisions. Understanding what *not* to rely on is just as important as knowing what works.
| Method | Effectiveness | Reason |
|---|---|---|
| Single hawk silhouette | Poor | Birds ignore isolated shapes; too much open space remains. |
| Wind chimes or mobiles | Limited | Only effective if constantly moving; birds habituate quickly. |
| Ultrasonic devices | Ineffective | Birds do not hear ultrasonic frequencies. |
| Indoor blinds or curtains | Fair (only if closed) | Reflections persist unless viewed from outside; transparency remains. |
| Feeder placement far from windows | Good | Birds flying from feeders won’t gain lethal momentum if under 3 feet. |
One persistent myth is that turning off lights at night eliminates all risk. While reducing artificial light helps migratory birds avoid disorientation, it does nothing for daytime collisions caused by reflections. A comprehensive strategy addresses both issues.
Step-by-Step: Creating a Bird-Safe Home Timeline
Follow this seasonal plan to maintain protection year-round:
- March–April: Inspect windows where past strikes occurred. Clean glass and prepare materials.
- Early May: Install temporary measures (tape, strings, decals) before peak spring migration.
- June–July: Monitor for territorial behavior (e.g., robin attacking its reflection). Add deterrents to problematic panes.
- August: Plan for fall migration. Consider permanent upgrades like films or screens.
- September–October: Reinstall or refresh all collision-prevention systems.
- November: Remove temporary solutions. Store reusable items for next season.
- Year-Round: Keep feeders either within 3 feet of windows or more than 30 feet away.
Real-Life Example: A Suburban Home’s Transformation
Jamie R., a homeowner in Ithaca, New York, noticed multiple bird strikes each spring near her kitchen bay window. After finding a stunned chickadee on her porch, she researched solutions and implemented a combination of fixes.
She began by applying a grid of frosted dot decals using the 2x4 rule. Unsatisfied with the appearance, she replaced them with tempered window film featuring a subtle leaf pattern. Outside, she hung vertical ribbons made from recycled fabric scraps, spaced 4 inches apart.
Within two weeks, no further impacts were observed. Over the next three years, she reported zero collisions—even during heavy migration periods. Her solution cost under $50 and took less than four hours to complete.
“I thought I’d have to choose between light and safety,” she said. “But now my kitchen feels brighter than ever, and I actually enjoy watching birds pause mid-flight, realizing there’s a barrier.”
Essential Checklist: Make Your Windows Bird-Safe Today
Use this checklist to ensure full protection:
- ✅ Identify high-risk windows (sunny-side, near feeders, large panes).
- ✅ Measure strike zones (typically 3–50 ft above ground).
- ✅ Choose a primary method (decals, tape, string, film, netting).
- ✅ Apply coverage using the 2x4 rule (2” horizontal, 4” vertical max).
- ✅ Position bird feeders within 3 feet of glass or beyond 30 feet.
- ✅ Check exterior at eye level—does the window still reflect sky/trees?
- ✅ Reassess twice yearly (spring and fall).
FAQ: Common Questions About Preventing Bird Collisions
Can I use newspaper or permanent markers?
Yes—temporarily. Drawing dense patterns with blackout markers or taping up paper works in a pinch, but isn't weather-resistant. These are great for testing problem areas before investing in durable solutions.
Will these methods block my view?
Some reduction in clarity is inevitable, but many modern films and spaced strings minimize visual obstruction. Exterior solutions (like cords) are often less intrusive than interior stickers because they break reflections without covering the glass itself.
Do I need to cover the whole window?
Only the sections where birds typically strike. Focus on lower panes (up to 10 feet high) and areas reflecting vegetation. Full coverage is ideal, but targeted application based on observation is acceptable.
Take Action Before Migration Begins
Preventing bird-window collisions isn’t about perfection—it’s about awareness and consistent effort. With minimal time and expense, you can transform your home from a hazard into a safe passage. Each small adjustment contributes to broader conservation efforts, protecting local biodiversity and preserving the joy birds bring to our daily lives.
Start this week: walk around your house, observe reflections, and pick one window to treat. Whether you use tape, paint, or string, your action could save dozens of birds over the coming seasons. Share your results, inspire neighbors, and help make bird-safe living the norm—not the exception.
💬 Have a DIY bird deterrent that works? Share your story in the comments and help others protect our feathered friends.