Removing vinyl stickers from car windows might seem straightforward, but doing it incorrectly can leave behind stubborn adhesive residue or, worse, cause fine scratches that compromise both visibility and resale value. Whether you're removing a parking decal, promotional logo, or old window tint strip, the right method ensures a clean surface without damage. With proper tools, patience, and technique, you can restore your glass to its original condition—smooth, clear, and scratch-free.
Why Safe Removal Matters
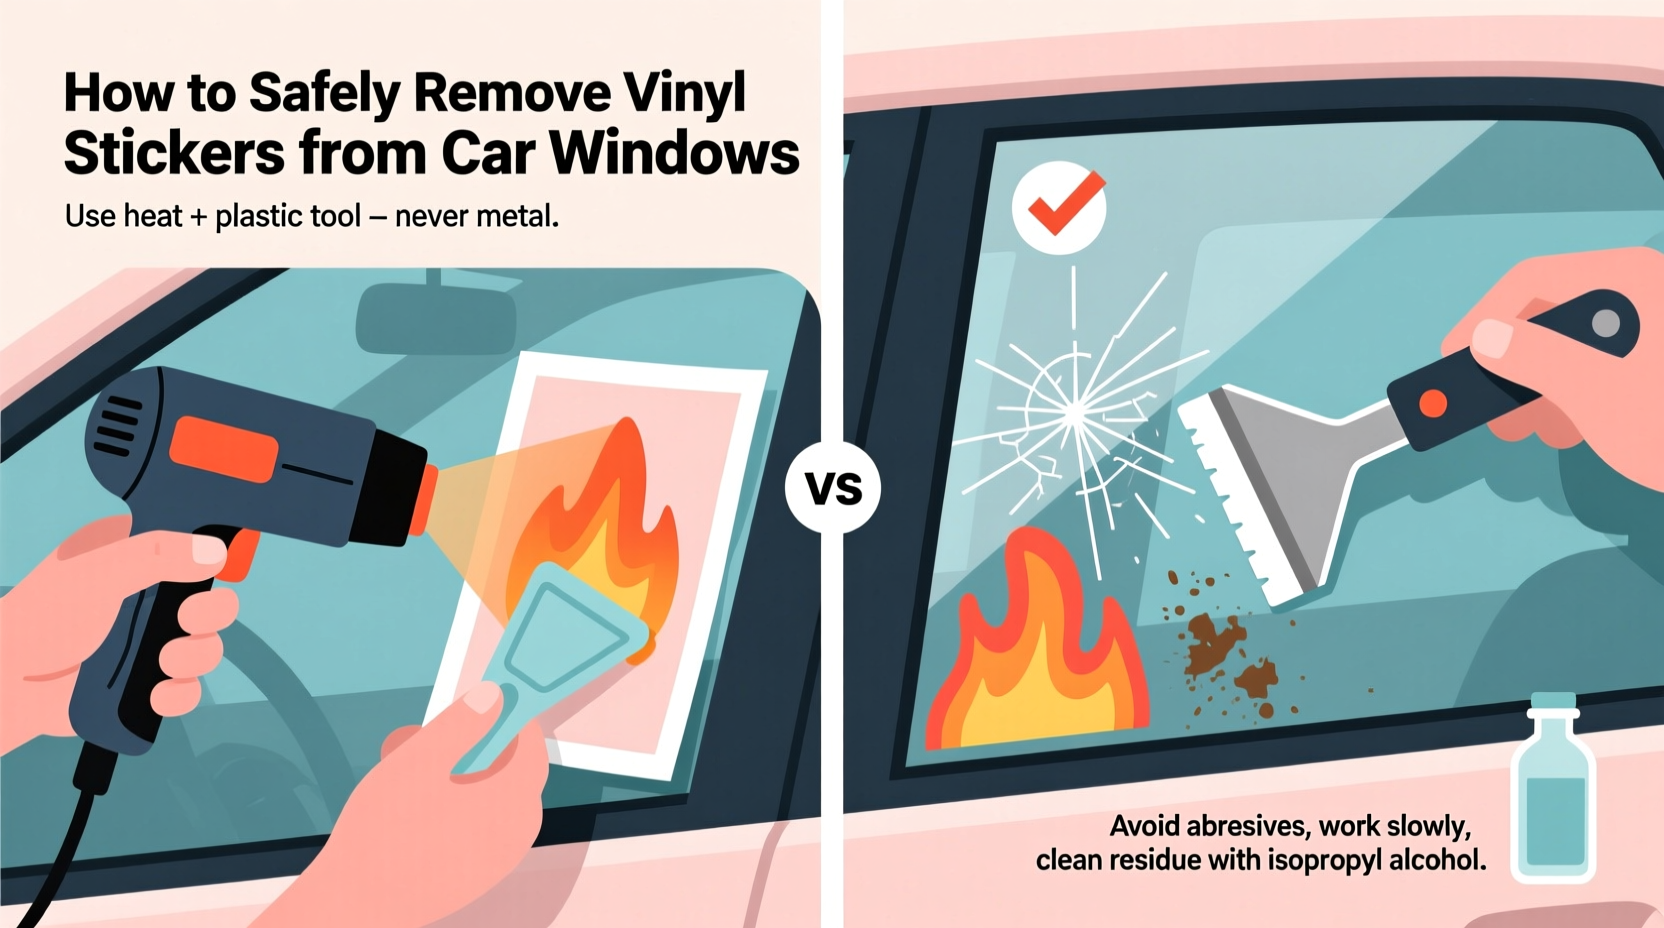
Car windows are made of tempered glass, which is durable but still vulnerable to abrasion. Using sharp tools or harsh chemicals can create micro-scratches that scatter light and impair vision, especially at night. Additionally, adhesive left behind attracts dust and grime, making the window look unclean even after removal. A careful approach protects your vehicle’s appearance and maintains safety standards.
Vinyl stickers adhere through pressure-sensitive adhesives designed to last for years. These bonds weaken with heat and certain solvents, but aggressive scraping can chip the glass edge or scratch the surface near wiper contact zones. The goal is to dissolve or loosen the adhesive while minimizing physical contact with abrasive materials.
Tip: Never use metal razors on curved or thin areas of auto glass—they can slip and cause irreversible damage.Step-by-Step Guide to Safe Vinyl Sticker Removal
Follow this detailed process to remove any vinyl sticker from your car window effectively and safely. This method works on side windows, rear windshields, and even sunroofs.
- Prepare Your Workspace
Choose a warm, shaded area. Direct sunlight heats the glass unevenly and can make adhesive stickier, increasing the risk of tearing. Park in a garage or under cover during midday hours. - Gather Supplies
You’ll need: a plastic razor blade (not metal), hairdryer or heat gun, spray bottle with soapy water (dish soap + water), microfiber cloths, cotton swabs, and adhesive remover (optional). - Apply Heat Gradually
Use a hairdryer on medium heat, holding it 3–5 inches from the sticker. Move in slow circles for 1–2 minutes until the vinyl softens and edges begin to lift. Avoid overheating one spot—this can warp thin films or crack cold glass when cooled rapidly. - Lift an Edge Carefully
Once heated, gently peel back a corner using your fingernail or a plastic card. If it resists, apply more heat. Do not yank; slow peeling prevents tearing and reduces strain on the adhesive bond. - Peel at a Low Angle
Keep the angle between the glass and the lifting edge below 45 degrees. This minimizes stress on the remaining adhesive and reduces the chance of leaving fragments behind. - Spray Soapy Water Behind the Sticker
As you peel, mist the exposed adhesive with soapy water. It acts as a lubricant and helps break down sticky residues while preventing static cling. - Continue Heating and Peeling
Alternate between heating small sections and peeling slowly. For large stickers, work in quadrants to maintain control and avoid stretching the vinyl. - Clean Residual Adhesive
After full removal, spray the area again and use a damp microfiber cloth with gentle circular motions. For tougher residue, apply a small amount of adhesive remover (like Goo Gone Automotive) on the cloth—not directly on the glass—to avoid fumes inside the cabin. - Final Wipe with Glass Cleaner
Finish with a streak-free automotive glass cleaner to remove any film and restore clarity.
Tools You Should Use (and Avoid)
| Recommended Tools | Purpose | Tools to Avoid | Risk |
|---|---|---|---|
| Plastic razor blade | Safe scraping of residual glue | Metal razor blade | Scratches glass permanently |
| Hairdryer | Controlled heat application | Open flame or torch | Cracks glass, fire hazard |
| Microfiber cloth | Non-abrasive wiping | Steel wool or rough sponge | Causes fine scratches |
| Dish soap solution | Breaks down adhesive gently | Bleach or ammonia-heavy cleaners | Damages rubber seals and interior trim |
Real Example: Removing a University Parking Permit
Jamie had a five-year-old university parking decal stuck on her rear windshield. She tried pulling it off in winter, but the vinyl cracked and left patches of black adhesive. After researching safe methods, she waited for a warmer day, used a hairdryer to soften the sticker, and applied soapy water as she peeled. Where residue remained, she dabbed rubbing alcohol on a cotton swab and wiped gently. Within 20 minutes, the entire window was clean, with no scratches or haze. Her key takeaway: “Patience beats force every time.”
Expert Insight on Adhesive Behavior
“Vinyl adhesives are engineered to be long-lasting, but they degrade predictably under heat and moisture. The trick isn’t to fight them—it’s to help them release naturally.” — Dr. Alan Reeves, Materials Scientist specializing in polymer adhesion
This principle underscores why gradual heating and lubrication outperform brute-force scraping. Understanding the chemistry allows for smarter, safer removal.
Checklist for Scratch-Free Sticker Removal
- ✅ Work in a shaded, warm environment
- ✅ Use only plastic tools for lifting and scraping
- ✅ Apply consistent, low-angle peeling motion
- ✅ Heat the sticker evenly before peeling
- ✅ Spray soapy water behind the peeling edge
- ✅ Clean residue with non-abrasive cloth and approved solvent
- ✅ Finish with automotive glass cleaner
- ✅ Inspect under natural light for missed spots
Common Mistakes That Cause Scratches
Even well-intentioned efforts can go wrong if basic precautions are ignored. Here are frequent errors and how to avoid them:
- Using a metal scraper: Even stainless steel blades can have microscopic burrs that scratch glass. Stick to plastic alternatives designed for auto use.
- Peeling too quickly: Fast removal creates high shear forces that tear the vinyl and leave adhesive behind, requiring more scraping later.
- Applying chemical solvents undiluted: Full-strength removers can etch glass or damage surrounding paint and rubber gaskets.
- Starting in cold weather: Cold makes adhesive brittle and harder to remove cleanly. Wait for temperatures above 50°F (10°C) for best results.
- Ignoring tinted windows: If your car has aftermarket tint, some solvents may bubble or lift the film. Always test in a corner first.
Frequently Asked Questions
Can I use a credit card to remove a vinyl sticker?
Yes, a stiff plastic card like an expired credit card can help lift edges and gently scrape residue. It's less precise than a dedicated plastic razor but widely available and safe for glass surfaces.
Will vinegar remove sticker residue from car windows?
Vinegar can help dissolve light adhesive buildup due to its mild acidity, but it’s less effective than commercial adhesive removers. Mix equal parts white vinegar and water, spray on, let sit for 5 minutes, then wipe with a microfiber cloth. Not recommended for heavy-duty glues.
Is it safe to use a heat gun instead of a hairdryer?
A heat gun delivers higher temperatures and can be risky if misused—it may overheat the glass or melt rubber seals. If you must use one, set it to the lowest setting and keep it moving constantly. A hairdryer offers safer, more controlled heat for most users.
Conclusion: Preserve Clarity, Prevent Damage
Removing vinyl stickers from car windows doesn’t require special skills—just the right knowledge and tools. By applying heat gradually, peeling slowly, and avoiding abrasive materials, you protect your vehicle’s glass integrity and maintain a professional finish. Whether you’re prepping for resale, switching decals, or just cleaning up clutter, taking the time to do it right pays off in safety, visibility, and pride in your car’s appearance.
💬 Have a tricky sticker you’ve successfully removed? Share your method in the comments and help fellow drivers avoid costly mistakes!