Vintage video game cartridges are more than relics of the past—they’re cherished collectibles, functional time capsules, and sometimes valuable investments. Over decades, these cartridges can accumulate sticky residues from tape, adhesives, price tags, or even old glue used in tamper-proof seals. Removing this gunk requires care: too much force or the wrong cleaner can scratch plastic, lift labels, or corrode electrical contacts. Done correctly, however, residue removal restores both appearance and resale value. This guide walks through safe, tested techniques that preserve your cartridges while eliminating stubborn stickiness.
Understanding the Risks of Improper Cleaning
The outer shell of a vintage cartridge—typically made of ABS plastic—is surprisingly durable, but not invincible. Labels are often paper-based and affixed with weak adhesive, making them vulnerable to moisture and friction. The metal contacts at the bottom conduct data between the console and the cartridge’s internal ROM chip; any corrosion or abrasion here can prevent the game from booting.
Sticky residue usually comes from:
- Old price stickers or security tags
- Tape or masking adhesive left behind
- Degraded glue from factory seals
- Residue from storage boxes or plastic bags
Using harsh solvents like acetone, nail polish remover, or undiluted alcohol can cloud the plastic, dissolve label ink, or weaken structural seams. Physical scraping with sharp tools risks gouging surfaces or dislodging parts. The goal is complete residue removal with zero collateral damage.
“Collectors often ruin rare cartridges by rushing cleanup. Patience and precision matter more than power.” — David Lin, Retro Gaming Archivist & Preservation Specialist
Safe Solvent Options and Their Applications
Not all cleaning agents are created equal. Some dissolve adhesives gently; others attack plastic or leave streaks. Below is a comparison of common solvents suitable for vintage cartridges, ranked by safety and effectiveness.
| Solvent | Safety for Plastic | Safety for Labels | Effectiveness on Residue | Notes |
|---|---|---|---|---|
| Isopropyl Alcohol (70%) | High | Moderate | Good | Widely available; evaporates quickly. Avoid prolonged contact with labels. |
| Isopropyl Alcohol (90%+) | High | Low | Excellent | More effective on adhesive, but dries labels faster. Use sparingly. |
| Goo Gone (Original) | Moderate | Low | Excellent | Citrus-based; powerful on glue. Wipe off immediately after use. |
| WD-40 | Moderate | Very Low | Good | Leaves oily film. Only use on non-label areas and clean thoroughly after. |
| Distilled Water + Mild Dish Soap | Very High | High | Fair | Only for light surface grime. Never soak cartridge. |
For most cases, **isopropyl alcohol (70–90%)** strikes the best balance. It breaks down organic adhesives, evaporates cleanly, and doesn’t cloud plastic when used correctly. Goo Gone works well on heavy buildup but must be rinsed with alcohol afterward to prevent long-term residue.
Tip: Always test any solvent on a small, inconspicuous edge of the cartridge first. Wait five minutes to check for clouding, warping, or ink bleeding.Step-by-Step: Safe Residue Removal Process
Follow this sequence to remove sticky residue without harming your cartridge. Each step minimizes risk while maximizing cleaning efficiency.
- Disassemble if possible: For NES, SNES, or Genesis carts, carefully unscrew the casing. This allows access to residue trapped along seams and prevents pressure on the label during cleaning.
- Work in a dust-free environment: Lay down a microfiber cloth on a clean table. Avoid carpeted areas where static can attract debris.
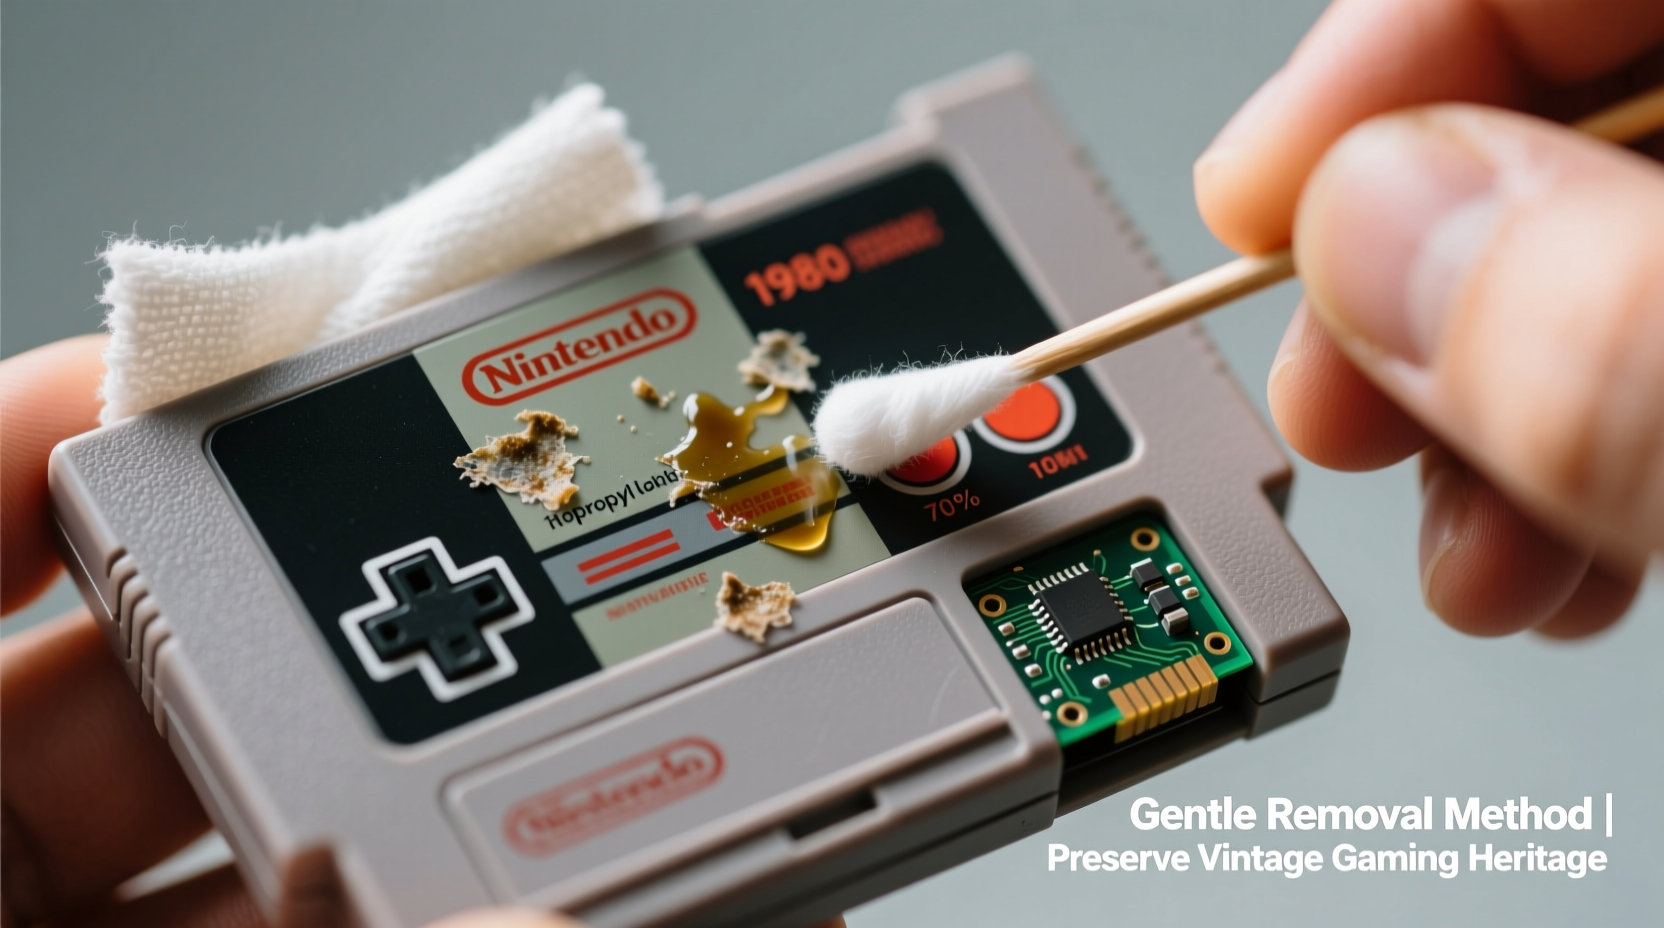
- Dampen a lint-free swab or cloth: Use 90% isopropyl alcohol on a cotton swab or microfiber pad. Do not soak—damp is enough.
- Gently rub the affected area: Use circular motions with light pressure. Let the solvent dwell for 10–15 seconds to soften the adhesive before wiping.
- Use a plastic spudger for stubborn spots: A guitar pick or dental tool can help lift residue without scratching. Never use metal.
- Clean the contacts separately: With a fresh swab and alcohol, wipe the metal connector pins from top to bottom. One directional swipe prevents spreading grime.
- Allow full drying: Air-dry for at least 30 minutes before reassembly or use. No heat sources.
- Inspect under bright light: Check for leftover residue, scratches, or lifted labels. Repeat if needed, but avoid over-cleaning.
For thick, tar-like adhesives (common on older price tags), apply a drop of Goo Gone to a cotton swab and let it sit for 30 seconds. Wipe gently, then immediately follow with an alcohol-dampened swab to neutralize the citrus oil and prevent future stickiness.
Real Example: Reviving a Sticker-Damaged Super Nintendo Cartridge
A collector in Portland acquired a sealed copy of *Super Mario World* with a large retailer sticker covering the lower third of the label. After peeling, a dark, sticky residue remained, threatening the “Players: 1–2” text. Using the method above, they applied 90% isopropyl alcohol with a microfiber-wrapped toothpick, working in tiny sections. After two passes and 10 minutes of gentle agitation, the residue lifted completely. The label remained intact, and the game booted perfectly on original hardware. The cartridge later sold at auction for 25% above market value due to its restored presentation.
This case illustrates that even severe adhesive damage can be reversed—without compromising authenticity or function—when proper technique is followed.
Do’s and Don’ts of Cartridge Cleaning
To reinforce best practices, here’s a clear breakdown of actions to embrace and those to avoid.
| Do | Don’t |
|---|---|
| Use lint-free cloths or foam swabs | Use paper towels or tissues (they scratch) |
| Test solvents on a corner first | Apply cleaners directly to the cartridge |
| Disassemble multi-part cartridges | Soak the entire unit in liquid |
| Clean contacts with one-direction swipes | Scrub back and forth aggressively |
| Store cleaned cartridges in anti-static sleeves | Leave them exposed to sunlight or humidity |
Essential Checklist Before You Begin
Before touching any solvent or tool, run through this checklist to ensure you’re prepared:
- ✅ Cartridge is powered off and disconnected (if modded or battery-backed)
- ✅ Work area is clean, dry, and well-lit
- ✅ You have isopropyl alcohol (70–90%) and lint-free applicators
- ✅ Test solvent on a hidden edge for adverse reactions
- ✅ Disassembled if screws are present and accessible
- ✅ No food, drinks, or distractions nearby
- ✅ Drying time scheduled—do not rush reassembly
This checklist reduces the chance of accidental damage and ensures consistent results across multiple cartridges.
Frequently Asked Questions
Can I use vinegar or lemon juice to remove sticky residue?
No. While natural acids may break down some adhesives, they are unpredictable on plastics and labels. Vinegar can etch surfaces over time, and citrus juices leave sugary films that attract dust. Stick to controlled solvents like isopropyl alcohol.
What if the label starts peeling during cleaning?
Stop immediately. If the label lifts, do not continue rubbing. Lightly press it back down with a soft cloth and avoid further solvent exposure. Preserving the label’s integrity—even partially—is better than full removal for collectors.
Is it safe to clean the inside of the cartridge?
Yes, but only if necessary. Dust can be removed with compressed air. Avoid touching the ROM chip or battery (in save-enabled games). Never spray liquid inside. If internal corrosion is present, consult a retro repair specialist.
Preservation Over Perfection
The ultimate goal isn’t a showroom finish—it’s preservation. A cartridge with minor residue but intact labels and working functionality holds more value than one stripped to bare plastic. Every cleaning decision should prioritize longevity over aesthetics. Vintage gaming history survives through careful stewardship, not aggressive restoration.
Remember: each cartridge carries the fingerprints of past players. Removing modern stickiness honors that legacy without erasing it. With the right tools and patience, you can restore clarity and usability while respecting the object’s age and authenticity.
💬 Have a tricky cartridge you’ve successfully cleaned? Share your story in the comments—your experience could help another collector save a rare find.