Stickers on electronics are common—whether they’re branding labels, warranty seals, or decorative decals. Once removed, they often leave behind a sticky, gummy residue that not only looks unprofessional but can attract dust and interfere with device functionality. The challenge? Removing this residue without damaging sensitive surfaces like glass screens, matte finishes, or plastic casings. Many people resort to scraping or harsh chemicals, which can lead to permanent scratches or chemical etching. Fortunately, there are proven, gentle techniques that effectively dissolve adhesive while preserving your device’s integrity.
Why Sticker Residue Is Tricky on Electronics
Electronics feature a range of delicate materials: oleophobic-coated screens, anodized aluminum, polycarbonate plastics, and textured finishes—all vulnerable to abrasion and chemical damage. Traditional cleaning agents like acetone or window cleaners may break down adhesives quickly, but they also risk stripping protective coatings or clouding plastic surfaces.
The key is understanding the chemistry of adhesive residue. Most stickers use pressure-sensitive adhesives based on acrylics or rubber compounds. These polymers soften when exposed to certain solvents, allowing them to be wiped away cleanly. However, aggressive solvents can also degrade surrounding materials. That’s why selecting the right method—and applying it correctly—is essential.
“On modern devices, even minor surface damage can compromise long-term durability and resale value. Gentle, controlled cleaning is always preferable.” — Dr. Lena Patel, Materials Scientist at Consumer Tech Labs
Safe Solvents for Adhesive Removal
Not all cleaning agents are created equal. Some dissolve residue effectively without harming electronics. Below is a comparison of commonly used options:
| Solvent | Effectiveness | Safety on Screens | Risk Level |
|---|---|---|---|
| Isopropyl Alcohol (70%) | High | Safe (when diluted) | Low |
| Distilled White Vinegar | Moderate | Generally safe | Low |
| Citrus-Based Degreasers | High | Use with caution | Moderate |
| Water + Dish Soap | Low to Moderate | Very safe | Very Low |
| Acetone / Nail Polish Remover | Very High | Unsafe | High |
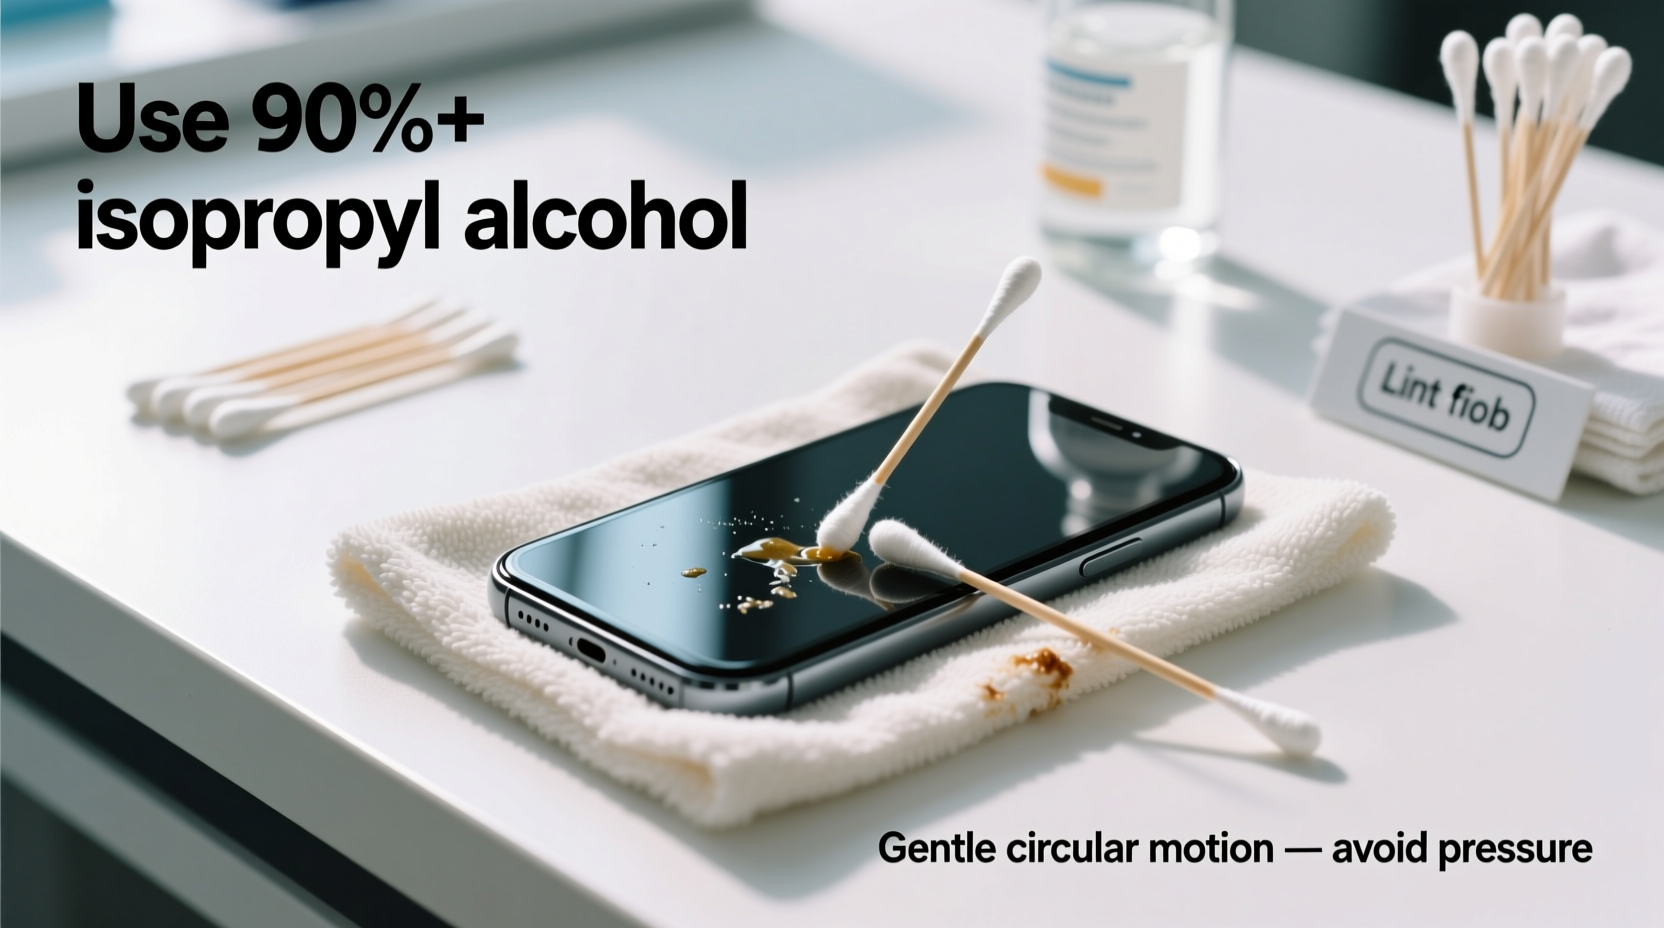
Isopropyl alcohol (70% concentration) stands out as the most balanced option—effective at breaking down adhesives while being compatible with most electronic surfaces. Higher concentrations (90%+) evaporate too quickly and may pose flammability risks. Avoid acetone entirely; it can permanently haze plastic screens and degrade rubber seals.
Tip: Always test any solvent on a small, inconspicuous area first—like the back edge of a phone or beneath a laptop hinge.Step-by-Step Guide to Residue Removal
Follow this systematic approach to safely eliminate sticker residue from phones, laptops, tablets, and other electronics.
- Power off and disconnect: Turn off the device and unplug it. For phones and tablets, shut down completely. This prevents accidental input during cleaning and reduces electrical risk.
- Peel off the sticker gently: Use a corner of a plastic card (like an old credit card) to lift the edge. Slowly peel back at a 180-degree angle to minimize leftover adhesive.
- Prepare your cleaning solution: Dampen a microfiber cloth with 70% isopropyl alcohol. Do not spray directly onto the device. The cloth should be moist, not dripping.
- Apply to residue area: Hold the cloth over the sticky spot for 30–60 seconds to allow the solvent to penetrate the adhesive.
- Gently rub in circular motions: Use light pressure. Let the solvent do the work. Never scrub aggressively.
- Wipe clean with dry microfiber: Remove loosened residue and any remaining moisture.
- Inspect and repeat if needed: If traces remain, reapply the solvent and wait longer—up to two minutes—before another gentle pass.
- Final polish: Buff the area lightly to restore shine and remove lint.
This process works especially well on smartphone screens, tablet bezels, and metal laptop lids. For textured backs (like some smartphones), use a soft-bristled toothbrush dipped in alcohol to reach into grooves—never metal brushes.
Avoid These Common Mistakes
- Using paper towels: They’re abrasive and can scratch anti-reflective coatings.
- Applying liquids directly: Moisture can seep into ports, speakers, or buttons, causing internal damage.
- Scraping with metal tools: Razor blades, knives, or keys will almost certainly leave visible marks.
- Skipping the patch test: What works on one device may harm another due to coating differences.
- Rushing the process: Impatience leads to excessive force, increasing the chance of scratches.
Real-World Example: Removing a Laptop Branding Sticker
Mark, a freelance designer, bought a new laptop for client work. He disliked the large branding sticker on the lid and wanted it gone before his next video call. He tried peeling it off immediately, but a thick, cloudy layer of residue remained. Using a kitchen knife, he scraped lightly—but left fine scratches visible under bright light.
He paused, researched safe methods, and returned with a better plan. He powered down the laptop, dampened a microfiber cloth with 70% isopropyl alcohol, and applied it over the residue for 45 seconds. After gentle circular wiping, most of the adhesive lifted. For the last traces near the edges, he used a cotton swab with a drop of alcohol, carefully working around the logo engraving. Within five minutes, the lid was clean, scratch-free, and looked factory-fresh.
The difference? Patience and using the right tools. Mark learned that slow, solvent-based dissolution beats mechanical removal every time.
Alternative Methods for Sensitive Surfaces
Some electronics have particularly fragile finishes. E-Ink readers, matte-finish tablets, or vintage gaming devices require extra caution. In these cases, consider non-solvent approaches:
1. Heat Method with Hair Dryer
Adhesives become more pliable when warmed. Set a hair dryer to low heat and hold it 6–8 inches from the surface for 30–45 seconds. Immediately wipe with a microfiber cloth. The residue should lift more easily. Do not overheat—plastics can warp at temperatures above 140°F (60°C).
2. Oily Substances (Use Sparingly)
Small amounts of cooking oil, olive oil, or specialized adhesive removers like Goo Gone (original formula) can dissolve tough residues. Apply a tiny drop to a cloth—not the device—and rub gently. Wipe off thoroughly with alcohol afterward to prevent greasy buildup.
3. Magic Eraser (Melamine Foam) – With Caution
Melamine foam acts like ultra-fine sandpaper. While effective, it can dull glossy surfaces. Only use on hard plastics or metal, never on screens. Dampen slightly, apply minimal pressure, and test first.
“With melamine sponges, I’ve seen users accidentally remove printed logos or create hazy patches on aluminum enclosures. Proceed with extreme care—or avoid altogether on premium devices.” — Jordan Lee, Repair Technician at Urban Fix Lab
Checklist: Safe Residue Removal Protocol
- ✅ Power off and unplug the device
- ✅ Peel sticker slowly using a plastic tool
- ✅ Test solvent on a hidden area
- ✅ Use 70% isopropyl alcohol on microfiber cloth
- ✅ Apply solvent and wait 30–60 seconds
- ✅ Wipe gently in circular motions
- ✅ Dry and buff with clean microfiber
- ✅ Inspect under natural light for missed spots
- ✅ Repeat if necessary, avoiding excess moisture
- ✅ Store device safely until fully dry
Frequently Asked Questions
Can I use Windex or glass cleaner on my phone screen?
No. Most household glass cleaners contain ammonia, which can damage anti-reflective and oleophobic coatings on smartphone and tablet screens. Stick to 70% isopropyl alcohol or manufacturer-recommended cleaners.
What if the residue is near charging ports or buttons?
Exercise extreme caution. Use a dry cotton swab to shield openings. Apply solvent only to a cloth or swab tip—never saturate the area. Work slowly to prevent liquid ingress. If in doubt, skip solvent and try gentle heat instead.
Will vinegar damage my device?
Distilled white vinegar is mildly acidic and generally safe on metal and glass when diluted (50/50 with water). However, prolonged exposure may affect certain plastics or adhesives inside seams. It’s less reliable than alcohol and may leave a faint odor. Use only as a last resort.
Conclusion: Preserve Your Device While Removing Residue
Removing sticker residue from electronics doesn’t require harsh tools or risky shortcuts. With the right knowledge, you can achieve a clean, professional finish without compromising your device’s appearance or longevity. The core principle is gentleness: let solvents do the work, avoid abrasives, and always prioritize prevention over correction. Whether you're prepping a gadget for resale, removing an old label, or customizing your tech, taking a careful, methodical approach ensures lasting results.
💬 Have a tricky residue situation? Share your experience or ask for advice in the comments below—we’re here to help keep your electronics looking pristine!