Cast iron cookware has stood the test of time for good reason: durability, heat retention, and the ability to develop a natural non-stick surface through proper seasoning. Unlike modern Teflon-coated pans, which degrade over time, a well-seasoned cast iron skillet becomes better with every use. The secret lies not in magic but in science—polymerized oil creating a slick, protective layer on the metal.
Yet many home cooks struggle with sticky food, rust, or flaking surfaces because they misunderstand how seasoning works. It’s not a one-time task—it’s a process of building and maintaining a resilient carbonized coating. Done right, seasoning transforms raw iron into a cooking surface that rivals any high-end pan, without chemicals or environmental concerns.
This guide walks you through the complete method of seasoning your skillet from scratch, whether it's new, old, or stripped bare. You’ll learn the best oils, temperatures, techniques, and maintenance habits that professional chefs and seasoned home cooks rely on.
Understanding Seasoning: What It Is and Why It Matters
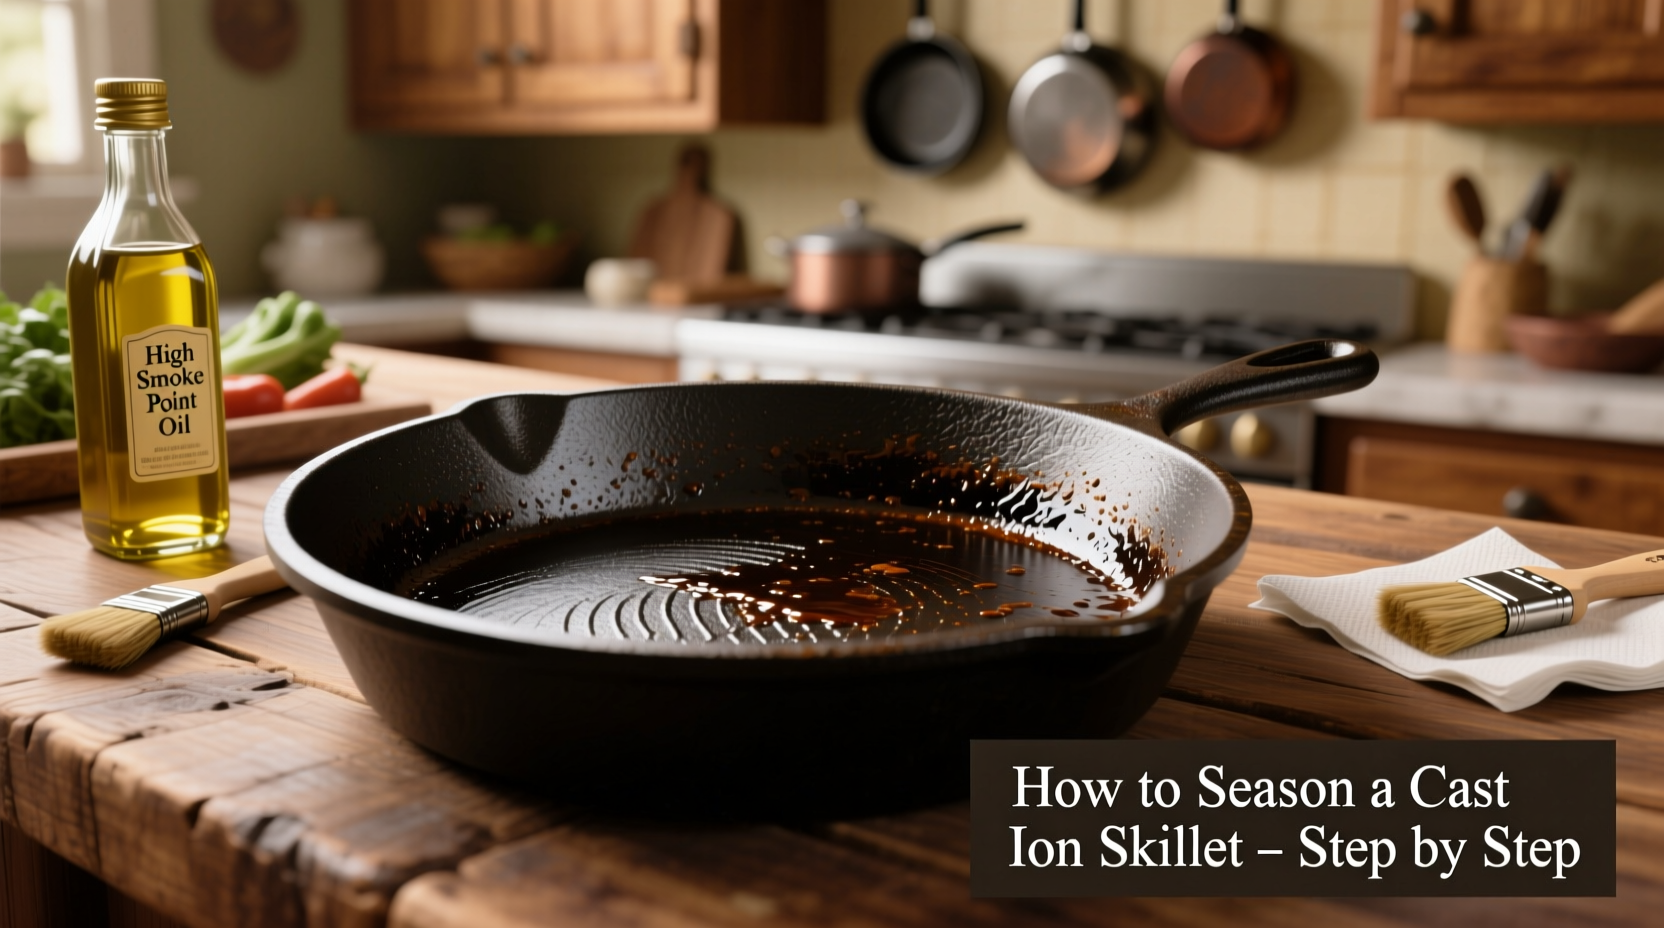
Seasoning is not just “cooking oil on metal.” It’s a chemical transformation where fat or oil undergoes polymerization when exposed to high heat in the presence of oxygen. This process turns liquid oil into a hard, smooth, plastic-like coating bonded directly to the iron surface.
The resulting layer prevents food from sticking, protects against rust, and allows for easier cleanup. Over time, repeated heating and oiling deepen this layer, enhancing its performance. A properly seasoned skillet should have a deep, even sheen—dark brown to black—and feel slick to the touch.
“Seasoning isn’t about covering up iron; it’s about cultivating a living surface that evolves with your cooking.” — Daniel Gritzer, Culinary Lead at Serious Eats
A poorly seasoned pan will show patchy discoloration, feel rough, or cause eggs to tear apart when scrambled. These issues are fixable—but only if you understand what went wrong.
Tip: Never wash a cast iron skillet with soap and leave it wet. Moisture leads to rust, which destroys seasoning.The Science Behind the Perfect Season: Oil Selection and Heat
Not all oils work equally well for seasoning. The key factor is the oil’s smoke point—the temperature at which it begins to break down—and its fatty acid profile. Oils high in polyunsaturated fats tend to polymerize more effectively than saturated ones.
However, recent testing by culinary labs suggests that stability under heat matters more than previously thought. Some oils may polymerize quickly but produce a brittle, uneven layer. Others create a durable, flexible finish ideal for long-term use.
| Oil Type | Smoke Point (°F) | Polymerization Efficiency | Recommended? |
|---|---|---|---|
| Flaxseed Oil | 225–300 | High (but brittle) | Use with caution – flakes over time |
| Canola Oil | 400 | Good balance | Yes – reliable and affordable |
| Grapeseed Oil | 420 | Excellent | Yes – stable and effective |
| Vegetable Shortening (e.g., Crisco) | 360–370 | Very Good | Yes – classic choice, consistent results |
| Olive Oil | 375–410 (extra virgin) | Poor | No – low smoke point, unstable |
| Avocado Oil (refined) | 520 | Fair | Moderate – expensive, inconsistent layers |
While flaxseed oil gained popularity after a widely shared blog post claimed it produced superior seasoning, follow-up studies revealed its tendency to craze and peel after repeated use. Canola and grapeseed oils now top recommendations from institutions like America’s Test Kitchen due to their stability and cost-effectiveness.
The ideal oil should be thin enough to spread evenly, withstand oven temperatures above 450°F, and leave minimal residue. Apply in micro-thin layers—any excess will pool and burn, leaving a sticky, uneven finish.
Step-by-Step Guide to Seasoning Your Cast Iron Skillet
Whether reviving an heirloom piece from a garage sale or preparing a new unseasoned skillet, this method ensures a strong foundation for lifelong performance.
- Clean the skillet thoroughly. If new, wash with warm water and a stiff brush to remove factory wax or dust. For used skillets, scrub off rust or old seasoning using steel wool or a chainmail scrubber. Avoid dish soap unless absolutely necessary—and rinse immediately.
- Dry completely. Place the skillet upside-down on the middle rack of a cold oven. Turn the oven to 200°F and let it sit for 10 minutes. Any remaining moisture will evaporate. Remove and confirm it’s bone-dry.
- Apply a thin layer of oil. Using a paper towel or lint-free cloth, rub a small amount of oil (about 1/2 teaspoon) over the entire surface—including sides, bottom, and handle. Then, take a clean towel and wipe it *off* as if you made a mistake. This removes excess and prevents pooling.
- Place in a preheated oven. Set oven to 450–500°F (depending on oil’s smoke point). Put the skillet upside-down on the center rack. Place a sheet of aluminum foil or a baking sheet on the lower rack to catch drips.
- Bake for one hour. This allows the oil to fully polymerize. After one hour, turn off the oven and let the pan cool inside—this slow cooling helps stabilize the bond.
- Repeat 2–3 times. One round builds a base layer. Two to three rounds yield a smoother, more durable finish. Wait until fully cooled before applying the next coat.
Maintenance: Keeping Your Skillet Naturally Non-Stick
Seasoning doesn’t end after the first bake. Every time you cook with fats at high heat, you’re reinforcing the surface. But poor habits can undo your work quickly.
- Never soak in water. Even brief soaking encourages rust. Clean while warm, using hot water and a brush.
- Avoid acidic foods early on. Tomatoes, wine, vinegar-based sauces can strip weak seasoning. Wait until several months of regular use before simmering sauces.
- Re-oil after cleaning. Once dry, apply a faint trace of oil with a paper towel. This protects against oxidation between uses.
- Cook with fat regularly. Frying bacon, searing steaks, or sautéing onions in oil naturally enhances the seasoning.
For stubborn food bits, use coarse salt and a little oil as an abrasive scrub. Rinse minimally and reheat on the stove to dry thoroughly. This traditional method cleans without damaging the patina.
“The best seasoning comes from cooking, not just baking. Use your pan fearlessly—it was built to last.” — Shirley Corriher, Food Scientist and Author
Common Mistakes That Ruin Seasoning
Even experienced cooks fall into traps that compromise their skillet’s performance. Recognizing these errors is half the battle.
- Using too much oil
- Excess oil doesn’t polymerize—it burns and leaves a sticky, gummy layer. Always wipe the pan nearly dry after oiling.
- Washing with soap and air-drying
- Leaving a wet pan on the counter guarantees rust. Dry immediately over heat or in the oven.
- Storing in humid environments
- Bathrooms, basements, or near dishwashers expose iron to moisture. Store in a dry cabinet with light ventilation.
- Using metal utensils excessively
- While safe in moderation, aggressive scraping can chip seasoning. Wooden or silicone tools preserve the surface longer.
Real Example: Reviving a Family Heirloom
Martha, a home cook in Ohio, inherited her grandmother’s 1940s Wagner cast iron skillet. It arrived covered in rust and stained with decades of neglect. She scrubbed it with vinegar and steel wool until bare metal showed through. After drying it in the oven, she applied three thin coats of canola oil, baking each at 475°F.
Her first test? Scrambled eggs. They slid out effortlessly. Over six months of weekly use—pan-frying potatoes, searing chicken, baking cornbread—she never used soap, always dried it on the burner, and occasionally baked on another layer of oil.
Today, the skillet has a mirror-like sheen and performs better than her non-stick pans. “It feels like I’ve brought something back to life,” she says. “And now my kids are learning to cook on it too.”
Checklist: Seasoning & Maintenance Routine
- ☐ Clean skillet and remove rust or debris
- ☐ Dry completely in oven or on stovetop
- ☐ Apply thin layer of high-smoke-point oil
- ☐ Wipe off excess with clean cloth
- ☐ Bake upside-down at 450–500°F for 1 hour
- ☐ Cool in oven, repeat 2–3 times
- ☐ After each use: clean gently, dry fully, lightly oil
- ☐ Store in dry place with breathable cover
Frequently Asked Questions
Can I season a cast iron skillet on the stovetop?
Yes, though less common. Heat the pan on medium, apply a thin oil layer, and swirl until it smokes lightly. Continue for 5–10 minutes until glossy. Repeat 2–3 times. Less uniform than oven seasoning but useful for spot repairs.
Why is my skillet sticky after seasoning?
This means too much oil was left on the surface. To fix it, place the pan back in the oven at 500°F for 30–60 minutes to burn off the excess. Let cool and re-season with thinner application.
How often should I re-season my cast iron?
If well-maintained, a skillet may only need full re-seasoning once a year—or when signs of wear appear (rust, dullness, sticking). Regular cooking with oil maintains the layer continuously.
Conclusion: Build Confidence Through Care
A cast iron skillet isn’t just cookware—it’s a legacy tool that grows stronger with attention. Proper seasoning unlocks its full potential: a naturally non-stick surface free of synthetic coatings, capable of searing, frying, baking, and even braising.
Success comes not from perfection but consistency. Each wipe, each roast, each careful clean contributes to a resilient finish that only improves over time. Whether you're starting with a $15 Lodge or a vintage Griswold, the principles remain the same.
💬 Have a cast iron success story or tip? Share your experience below—help others build confidence in mastering this timeless kitchen essential.