
Trimming your dog’s nails is a necessary part of pet care, but it becomes significantly more challenging when dealing with black nails. Unlike light-colored nails, where the pinkish quick—the blood vessel and nerve inside the nail—is visible, black nails obscure this critical landmark. Accidentally cutting into the quick causes pain, bleeding, and anxiety for both dog and owner. Yet, neglecting nail trims leads to overgrowth, discomfort, and even postural issues over time. The solution lies in technique, patience, and preparation. With the right approach, you can confidently maintain your black-nailed dog’s paw health while avoiding injury.
Understanding the Anatomy of a Dog’s Nail
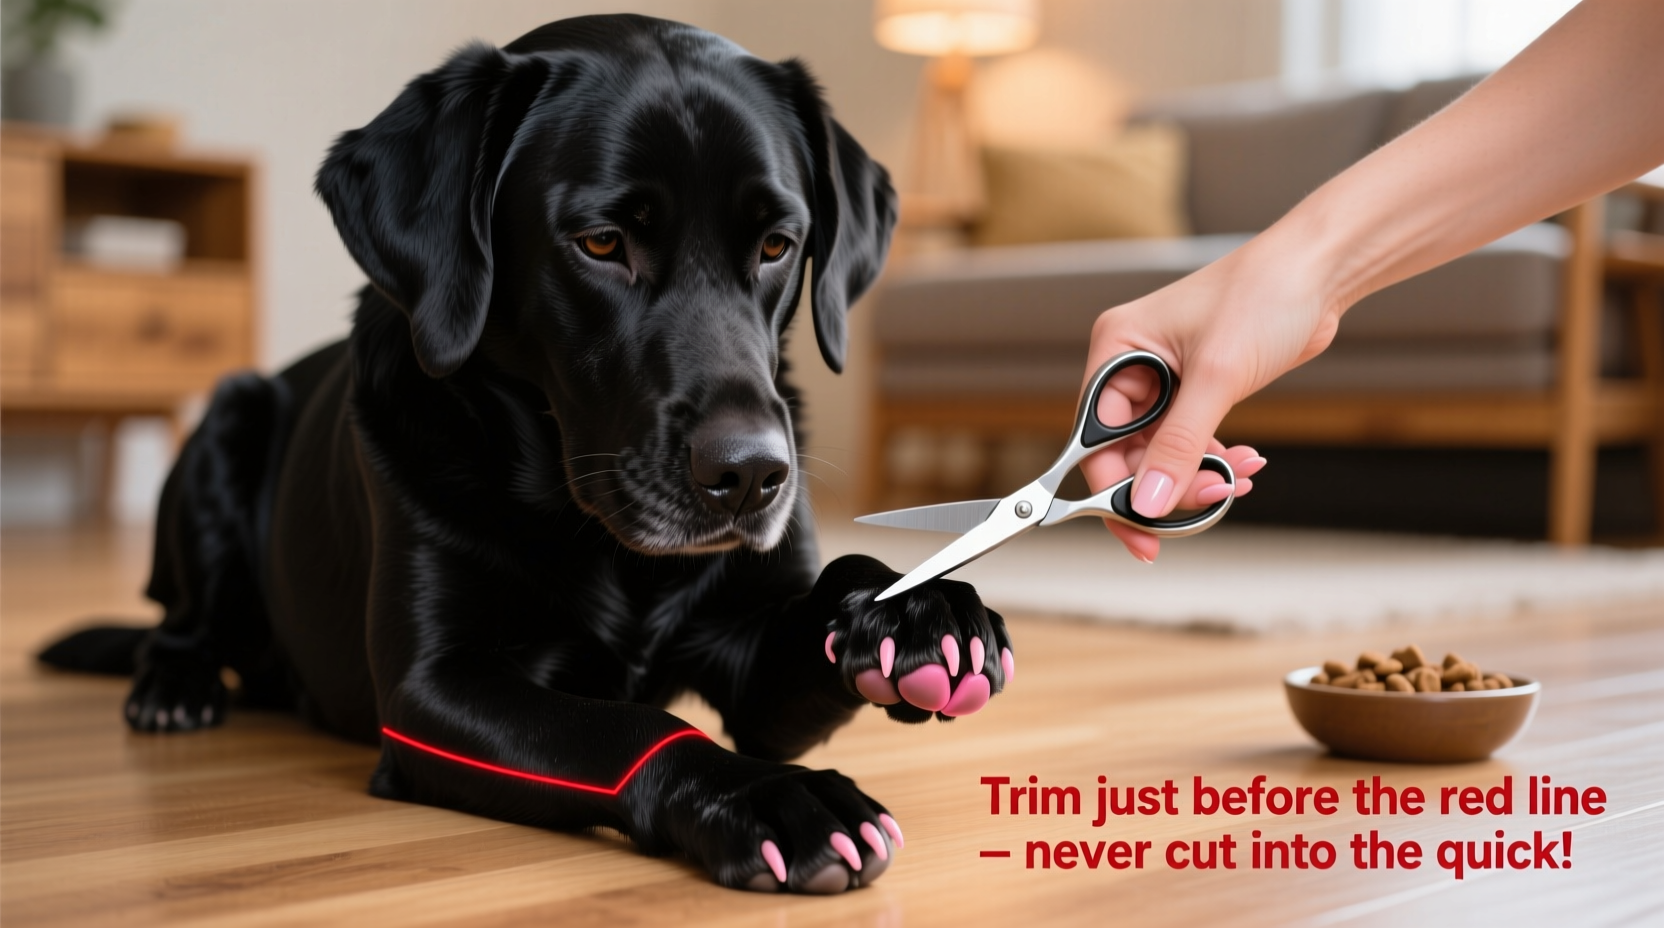
A dog’s nail consists of a hard outer shell made of keratin and an inner core called the quick. The quick supplies blood and sensation to the nail and extends partway into the nail bed. In white or translucent nails, the quick appears as a pink area, making it easy to avoid during trimming. But in black or darkly pigmented nails, the quick is hidden from view, creating uncertainty about where to cut.
The length of the quick varies between dogs and even between individual toes. Active dogs who walk on hard surfaces may naturally wear down their nails, shortening the quick over time. Sedentary or indoor dogs often have longer nails and longer quicks, increasing the risk of bleeding during trimming.
“Even with black nails, gradual trimming helps recede the quick over time, making future cuts safer.” — Dr. Laura Simmons, DVM, Canine Dermatology & Wellness Specialist
Essential Tools for Trimming Black Dog Nails
Using the correct tools increases precision and reduces stress. Not all clippers are created equal, and choosing the right one matters—especially when visibility is limited.
| Tool Type | Best For | Limitations |
|---|---|---|
| Guillotine Clippers | Small to medium dogs with thinner nails | Can squeeze the quick if misaligned; less control on thick black nails |
| Scissor-Style Clippers | Dogs with thick or curved nails | Larger size may intimidate some dogs; requires steady hands |
| Grinder (Dremel-style) | Precision shaping and frequent maintenance | Noisy; some dogs fear vibration; not ideal for very thick nails initially |
| Professional Nail Clipper with Safety Guard | All sizes; especially useful for beginners | Higher cost; less common in pet stores |
In addition to clippers, keep styptic powder or cornstarch nearby. These stop bleeding instantly if you accidentally nick the quick. A flashlight can also help—shining it from underneath the paw may reveal the shadow of the quick in some black nails due to slight translucency.
Tip: Test your clippers on a pencil first to get a feel for pressure and angle before approaching your dog’s paws.Step-by-Step Guide to Safely Trim Black Dog Nails
Trimming black nails requires a methodical approach. Rushing increases the risk of error. Follow this timeline to build confidence and ensure safety.
- Prepare Your Environment: Choose a quiet room with good lighting. Have treats, clippers, styptic powder, and a towel ready. Ensure your dog is calm—consider a short walk beforehand to burn excess energy.
- Examine Each Paw: Gently hold each paw and observe the nail’s curve. Look at the underside—some black nails have a small central groove or indentation that may indicate the quick’s path.
- Use the 45-Degree Angle Rule: Position the clipper to cut at a 45-degree angle, starting from the underside of the nail tip. This mimics the natural shape and avoids blunt ends that can snag.
- Cut in Small Increments: Remove only 1/16th of an inch at a time. After each cut, inspect the newly exposed surface. If you see a small dark circle in the center, that’s the beginning of the quick—stop immediately.
- Check the Cross-Section: As you trim, the nail’s interior changes. A healthy cut shows a solid oval of white or gray. When a tiny black or pink dot appears in the center, you’ve reached the quick’s proximity.
- Smooth the Edges: Use a grinder or nail file to smooth sharp tips, reducing the chance of accidental scratches or splitting.
- Reward and Repeat: Give praise and a treat after each successfully trimmed nail. If your dog becomes restless, stop and resume later. Multiple short sessions are better than one stressful event.
This incremental process gradually conditions the quick to recede, allowing for shorter trims over weeks or months. Never attempt to cut deeply in hopes of “getting it over with”—this almost guarantees bleeding.
Common Mistakes and How to Avoid Them
Even well-intentioned owners make errors when trimming black nails. Awareness of these pitfalls improves outcomes.
- Cutting Too Much at Once: Trying to shorten long nails in a single session risks hitting the quick. Instead, trim every 5–7 days to encourage the quick to retreat.
- Ignoring Subtle Cues: Dogs may flinch or pull their paw back slightly before actual pain occurs. Respect these signals—they’re early warnings.
- Using Dull Clippers: A blunt blade crushes rather than cuts, causing discomfort and increasing resistance. Sharpen or replace clippers regularly.
- Skipping Desensitization: Many dogs fear paw handling. Begin by touching their paws daily, offering treats, and simulating clipping motions without actually cutting.
- Overlooking Rear Nails: Front nails typically grow faster, but rear nails can become overgrown too—especially in dogs with dewclaws.
Real Example: Helping Max Overcome Long-Overdue Trims
Max, a 4-year-old Labrador Retriever, lived indoors and rarely walked on pavement. His nails clicked loudly on hardwood floors, and his owner, Sarah, knew they needed attention. But every time she tried to clip them, Max pulled away—especially since his nails were jet black.
Instead of forcing the issue, Sarah consulted her vet, who recommended a gradual plan. She began by handling Max’s paws for 30 seconds each evening, giving him a treat afterward. After a week, she introduced the clippers—clicking them near his ear so he associated the sound with positivity.
During the first real session, she trimmed just one nail on each paw, removing a minimal sliver. She used a flashlight under the paw and noticed a faint grayish ring in the cut surface—no central dot yet. Over the next six weeks, she repeated the process every five days. By the fourth round, the cross-section revealed a small dark center, signaling she was nearing the quick. She stopped there.
Within two months, Max’s nails were at a healthy length, and the quick had visibly receded. He now tolerates trims calmly, and Sarah completes the full set in one relaxed session.
Max’s story illustrates that patience and consistency trump speed. Even severely overgrown black nails can be corrected safely with a structured approach.
Do’s and Don’ts Checklist
“The key isn’t perfection on the first try—it’s progress without pain.” — Carlos Mendez, Certified Pet Groomer
| Do’s | Don’ts |
|---|---|
| Trim small amounts frequently | Attempt deep cuts on long nails |
| Use a flashlight to check nail underside | Ignore signs of discomfort in your dog |
| Keep styptic powder within reach | Use dull or damaged clippers |
| File or grind sharp edges after clipping | Skip paw handling practice |
| Reward calm behavior with treats | Proceed if your dog is stressed or agitated |
Frequently Asked Questions
How can I tell if I’m close to the quick in a black nail?
After each cut, examine the flat surface of the trimmed nail. If you see a small dark or pinkish circle in the center, you’re near the quick. Solid gray or white means you’re still safe. Some experienced groomers use a bright LED light behind the nail—if the nail glows slightly, the quick may be visible as a darker zone.
What should I do if I cut the quick?
Stay calm. Apply styptic powder or press a bit of cornstarch onto the bleeding nail with gentle pressure for 30–60 seconds. Most bleeds stop quickly. Comfort your dog, offer a treat, and end the session. Avoid further trimming that day. The nail will heal in a few days, but monitor for signs of infection like swelling or discharge.
How often should I trim my dog’s black nails?
Every 3–4 weeks is ideal for most dogs. Indoor dogs may need trims more frequently than active outdoor dogs. If you hear clicking on hard floors, it’s time to trim. Regular maintenance prevents the quick from extending too far and makes each session easier.
Final Thoughts and Next Steps
Clipping black dog nails doesn’t have to be intimidating. While the lack of visibility adds complexity, the principles of careful, incremental trimming apply universally. Success comes not from a single perfect cut, but from consistent, mindful care over time. You’re not just maintaining appearance—you’re supporting your dog’s comfort, posture, and joint health with every trim.
Start today by gathering your tools and spending five minutes handling your dog’s paws. Build trust, learn the rhythm of safe cutting, and celebrate small victories. Whether you're a first-time dog owner or refining your grooming skills, each step forward contributes to a happier, healthier companion.
💬 Have a tip or experience with trimming black dog nails? Share your story in the comments—your insight could help another pet owner avoid a common mistake.