
Dog nail trimming is a necessary part of pet care, but it becomes especially challenging when dealing with dark or black nails. Unlike light-colored nails, where the pinkish quick—the blood vessel and nerve bundle inside the nail—is clearly visible, black nails obscure this critical landmark. Cutting too close can cause pain, bleeding, and lasting anxiety in your dog. However, with the right approach, tools, and understanding, you can confidently trim your dog’s black nails without incident.
The key lies not in guessing, but in observation, technique, and patience. This guide delivers actionable strategies used by professional groomers and veterinarians to locate the quick safely and make nail trims a calm, even positive experience for both you and your dog.
Understanding the Canine Nail Anatomy
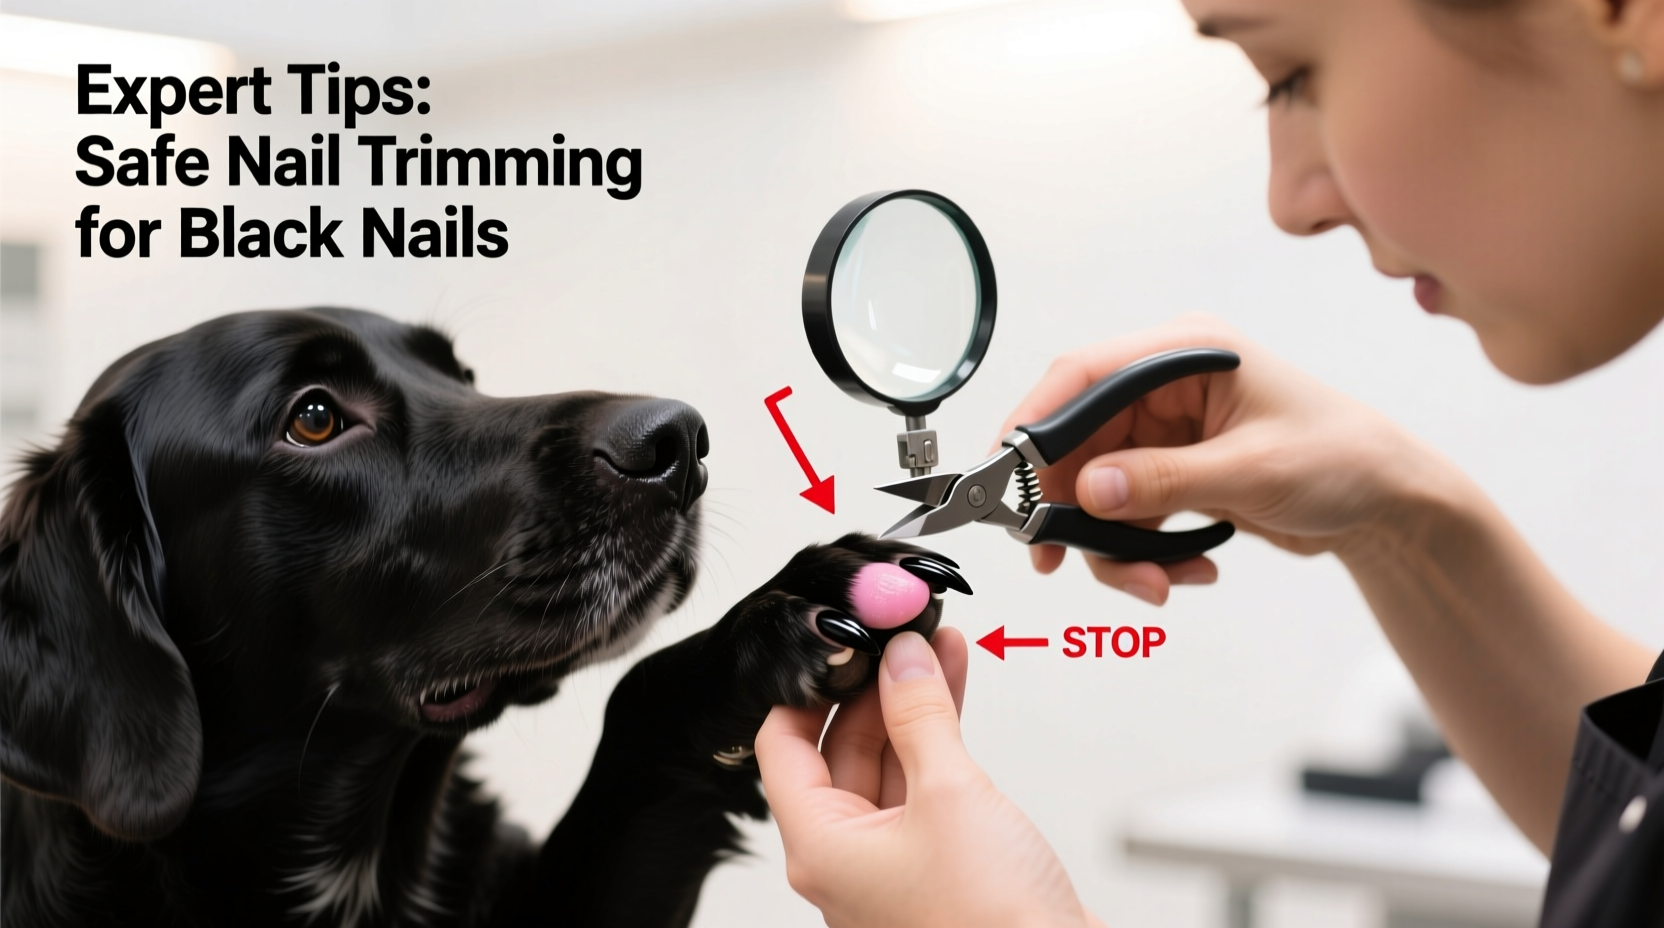
The canine nail consists of a hard outer shell (the claw) and an inner core known as the quick. The quick contains nerves and blood vessels, making it extremely sensitive. In white or clear nails, the quick appears as a pink area extending partway into the nail. But in black nails, pigmentation masks this visibility, creating uncertainty during trimming.
It’s important to recognize that the quick grows along with the nail. If nails are consistently left untrimmed, the quick can extend further toward the tip, making future trims more difficult. Regular maintenance prevents overgrowth and gradually encourages the quick to recede, giving you a larger margin of error over time.
“Even experienced owners can flinch at black nails, but consistency and correct technique reduce risk significantly.” — Dr. Linda Harper, DVM, Small Animal Care Specialist
How to Safely Locate the Quick in Black Nails
While you can’t see inside a black nail, several indirect methods help determine where the quick ends and safe trimming begins.
1. Use Side Lighting and Magnification
Shine a bright flashlight or penlight from the side of the nail at a low angle. This backlighting technique may reveal subtle shadows or a darker central core—indicative of the quick’s location. For better results, use a magnifying glass or a phone with a macro lens to examine the nail closely.
Tip: Perform this inspection in a dimly lit room to enhance contrast and shadow definition.2. Examine the Nail’s Cross-Section
Look at the underside of the nail. Most dog nails are oval or slightly flattened on one side. The center of the nail often has a small groove or depression that leads directly to the quick. Avoid cutting into this central zone. Instead, trim small slivers from the outer edge, working slowly toward the center.
3. Watch for the “Smile” Sign
As you begin trimming, look at the newly cut surface. When the quick is near, the center of the nail will develop a small dark circle or dot—often called the “smile” because of its curved appearance. This is the blood vessel approaching the cut plane. Stop immediately when you see it.
Step-by-Step Guide to Stress-Free Trimming
Follow this methodical process to minimize risk and keep your dog calm:
- Prepare your tools: Use sharp, guillotine-style or scissor clippers designed for dogs. Dull blades crush rather than cut, increasing discomfort.
- Choose a quiet time: Pick a moment when your dog is relaxed—after a walk or play session works well.
- Inspect each nail: Use a flashlight to study the shape, length, and possible shadow of the quick.
- Trim in small increments: Cut only 1/16th of an inch at a time, especially on black nails. It’s safer to make multiple passes than to rush.
- Check the cut surface: After each snip, examine the end of the nail. Look for the emerging dark center.
- Stop at the warning sign: If you see a tiny black or gray dot in the center, stop. You’re within 1–2 millimeters of the quick.
- Smooth the edges: Use a nail file or grinder to round sharp tips, reducing snagging and splitting.
- Offer praise and treats: Reinforce calm behavior throughout the process.
Common Mistakes to Avoid
Even well-meaning pet owners make errors that lead to accidents or long-term fear. Recognizing these pitfalls helps prevent them.
| Mistake | Why It’s Harmful | Better Approach |
|---|---|---|
| Cutting too much at once | High risk of hitting the quick, causing pain and bleeding | Trim in tiny sections; err on the side of caution |
| Using dull clippers | Crushing causes discomfort and may split the nail | Sharpen or replace clippers regularly |
| Ignoring early signs of the quick | Leads to accidental quicking and negative associations | Inspect each cut surface carefully |
| Forcing a resistant dog | Increases fear and makes future trims harder | Use gradual desensitization and positive reinforcement |
Real Example: Helping a Fearful Rescue Dog
Max, a three-year-old mixed breed rescued from a shelter, had severely overgrown black nails. His previous owner never trimmed them, and Max associated handling with discomfort. His adoptive family tried clipping once, hit the quick, and caused bleeding—afterward, Max hid whenever he saw the clippers.
A certified dog trainer recommended a six-week desensitization plan: first letting Max sniff the clippers with treats, then touching his paws daily, then mimicking the clipping motion without cutting. They began trimming one nail per day, using side lighting and only removing the very tip. By week four, Max allowed two nails to be done at once. After six weeks, all nails were properly maintained—and Max now offers his paw when asked.
This case shows that patience and consistency rebuild trust, even after negative experiences.
Essential Tools and Alternatives
Beyond traditional clippers, consider these options for greater control:
- Nail grinders (Dremel tools): Grind down nails gradually, reducing the chance of cutting too deep. Ideal for black nails since material is removed slowly.
- LED nail finders: Electronic devices that use light transmission to detect the quick through the nail. Though results vary with very thick or deeply pigmented nails, they can offer useful guidance.
- Styptic powder or gel: Keep on hand to stop bleeding instantly if you do nick the quick. Cornstarch can work in a pinch.
Preventative Maintenance Checklist
To avoid emergencies and keep nails healthy, follow this monthly routine:
- ✅ Inspect all nails weekly for length, cracks, or splits
- ✅ Trim every 3–4 weeks, even if only a small amount is removed
- ✅ File or grind sharp tips to prevent snagging
- ✅ Reward calm behavior during and after trimming
- ✅ Monitor for signs of quick recession (shorter safe zone over time)
- ✅ Schedule professional help if your dog remains anxious
Frequently Asked Questions
What should I do if I cut the quick?
Stay calm. Apply styptic powder or cornstarch to the tip and hold gentle pressure for 1–2 minutes. Most bleeds stop quickly. Comfort your dog, but avoid over-coddling, which can reinforce fear. Prevent infection by keeping the area clean for the next 24 hours.
Can the quick recede over time?
Yes. With regular, conservative trimming, the quick gradually shortens as it adapts to the new nail length. This process takes weeks to months but makes future trims easier and safer.
How short is too short?
If the nail no longer touches the ground when your dog stands, it’s too short. Ideally, nails should be trimmed so they don’t click loudly on hard floors but still make slight contact. Over-shortening can affect posture and gait.
Conclusion: Confidence Through Consistency
Safely trimming black nails isn’t about perfect vision—it’s about smart technique, careful observation, and consistent practice. By using lighting, incremental trimming, and positive reinforcement, you protect your dog from pain and build a cooperative grooming relationship. Remember, every small step counts. A few seconds of careful trimming today prevents discomfort tomorrow.
💬 Have a success story or a tricky nail challenge? Share your experience below—your insight could help another pet owner avoid a common mistake and build confidence.