Nail stickers have revolutionized at-home manicures, offering intricate designs and vibrant colors without the mess or drying time of polish. But while they’re easy to use, achieving a truly long-lasting, flawless finish requires more than just peeling and sticking. Many people experience lifting, bubbling, or premature chipping—issues that stem not from the product itself, but from the application process. With the right preparation, technique, and aftercare, you can make your nail stickers last up to two weeks with a polished, professional look. This guide shares expert-backed strategies to help you master the art of at-home nail sticker application.
1. Prepare Your Nails Like a Pro
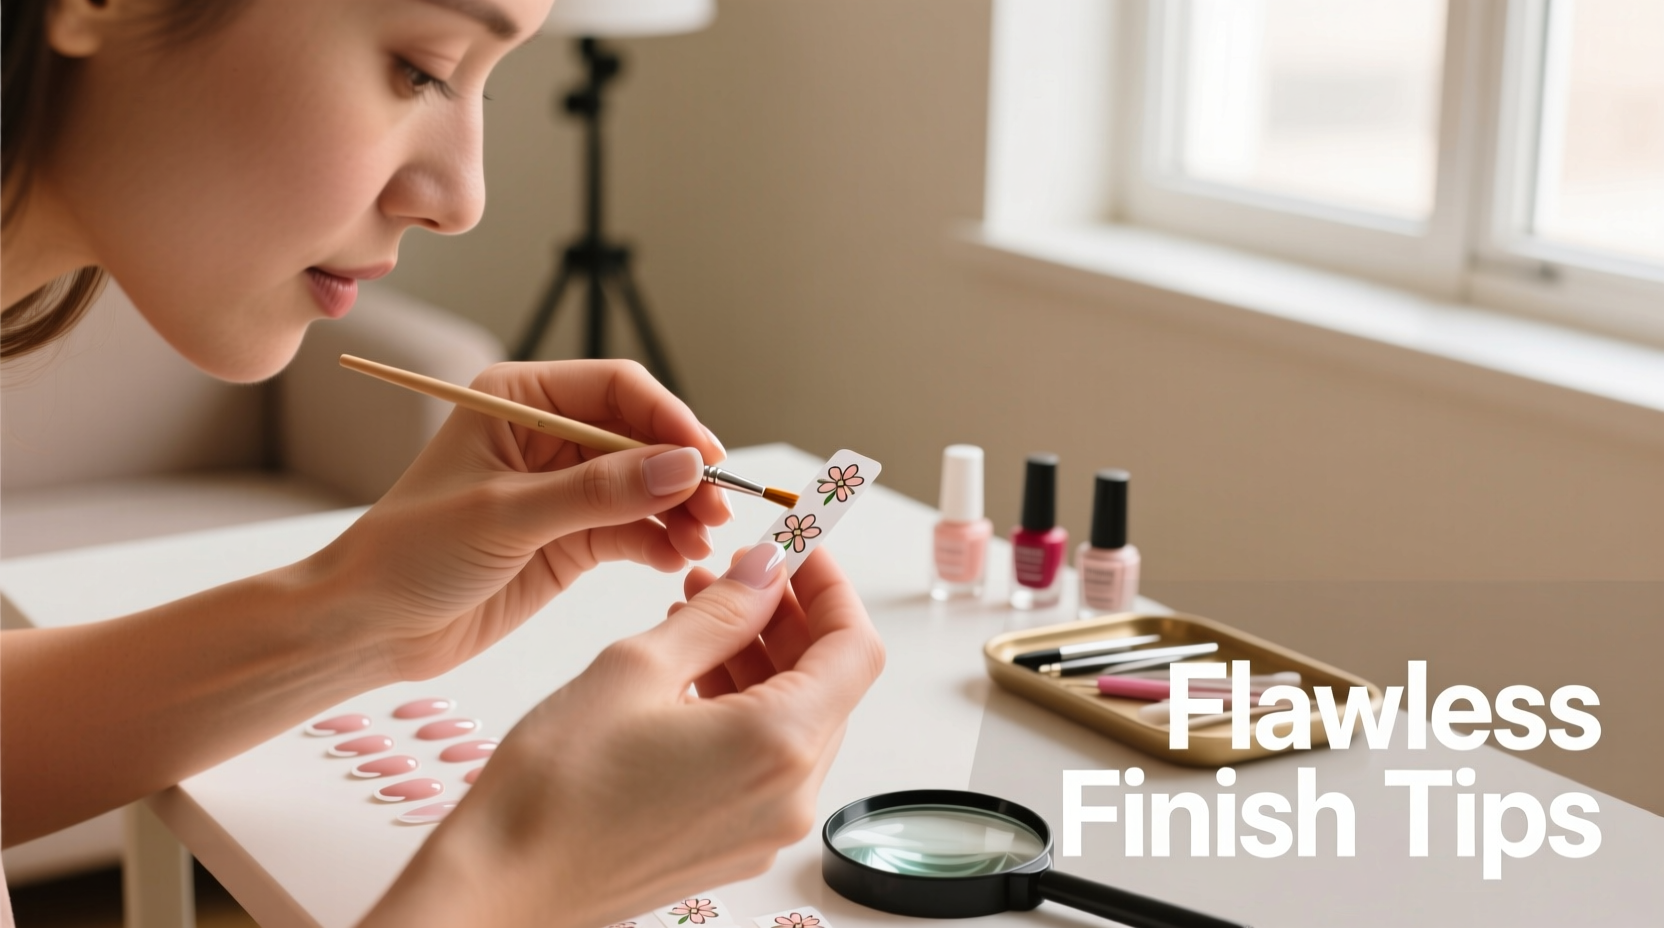
The foundation of any durable manicure is proper nail prep. Skipping this step is the most common reason for early wear failure. Nail stickers adhere best to clean, oil-free surfaces, so thorough preparation is non-negotiable.
Tip: Use 90% isopropyl alcohol instead of regular hand sanitizer—it evaporates quickly and removes invisible oils more effectively.- Shape and buff: File your nails into your preferred shape using a fine-grit file. Lightly buff the surface to remove shine—this creates micro-texture for better adhesion.
- Clean thoroughly: Wash hands with soap, then wipe each nail with a lint-free pad soaked in rubbing alcohol. Avoid touching nails afterward to prevent transferring skin oils.
- Push back cuticles: Gently push back cuticles with a wooden stick. Do not cut them unless necessary, as open skin can lead to infection and uneven edges.
- Dehydrate the nail plate: Apply a nail dehydrator or additional alcohol swipe and let it dry completely before proceeding.
2. Choose the Right Stickers and Tools
Not all nail stickers are created equal. Some are made with thicker adhesive layers and higher-grade vinyl, which resist moisture and daily wear better than cheaper alternatives. Look for brands that specify “long-wear” or “water-resistant” on packaging.
Equally important are the tools you use. A basic kit should include:
- Precision tweezers (for positioning)
- A dual-ended stick (cuticle pusher on one end, pointed tip on the other)
- Small scissors or nail sticker trimmer
- An LED lamp (if using gel-based stickers)
- A top coat compatible with vinyl or gel decals
| Sticker Type | Adhesion Strength | Lifespan (with care) | Best For |
|---|---|---|---|
| Standard Vinyl | Moderate | 5–7 days | Quick designs, temporary wear |
| Gel Nail Wraps | High | 10–14 days | Durable, glossy finish |
| Magnetic Transfer Foils | Low-Moderate | 3–5 days | Accent nails, special effects |
3. Step-by-Step Application for Flawless Results
Even the best stickers fail if applied incorrectly. Follow this detailed sequence to ensure precision and longevity.
- Select the correct size: Match the sticker to your nail bed. It should cover the surface without overlapping onto the skin. Trim slightly smaller if needed.
- Peel carefully: Use tweezers to lift one edge of the sticker. Avoid touching the adhesive side with fingers.
- Align and place: Position the sticker starting from the cuticle area. Lower it slowly to avoid trapping air bubbles.
- Smooth outward: Using the flat end of a cuticle stick or your fingertip, press from the center toward the sides and free edge. This eliminates bubbles and ensures full contact.
- Seal the edges: Once in place, run the tool around the perimeter to secure the adhesive seal.
- Apply top coat: Use a thin layer of high-shine top coat, wrapping it slightly over the edges of the sticker. This seals the design and prevents lifting.
- Cure if required: For gel stickers, cure under an LED lamp for 30–60 seconds. Repeat for a second coat if desired.
4. Real-World Example: From Frustration to Flawless
Sophia, a graphic designer from Portland, loved nail art but struggled with her stickers peeling within three days. She followed online tutorials but still had issues with corners lifting after handwashing. After consulting a nail technician, she realized she was skipping dehydration and not sealing edges properly. She began using 90% alcohol wipes, trimming stickers to fit precisely, and applying two layers of quick-dry top coat. The result? Her next set lasted 12 days with only minor tip wear. “I was shocked at how much difference the prep made,” she said. “Now I get compliments every time.”
5. Expert Insight on Longevity and Finish
“Most people treat nail stickers like temporary tattoos—they apply and forget. But for salon-level durability, you need to treat them like a hybrid manicure. That means prepping the nail, sealing the edges, and maintaining them like gel polish.” — Lena Torres, Certified Nail Technician & Educator
Torres emphasizes that adhesion begins before the sticker even touches the nail. “The natural oils on your fingertips will sabotage any adhesive if not removed. And always cap the free edge—that’s where water sneaks in and causes lifting.”
6. Maintenance and Troubleshooting Tips
Your job isn’t done after application. Daily habits significantly impact how long your stickers stay intact.
- Wear gloves when washing dishes or cleaning.
- Reapply a thin layer of top coat every 2–3 days to refresh the seal.
- Avoid using your nails as tools (e.g., opening cans or texting aggressively).
- If a corner starts to lift, apply a tiny drop of nail glue underneath and press down, then reseal with top coat.
7. Common Mistakes to Avoid
Even experienced users fall into these traps:
- Applying over old polish: Residue prevents proper adhesion.
- Skipping cuticle cleanup: Skin debris blocks the sticker from sealing at the base.
- Using thick top coats: Heavy formulas can wrinkle or distort delicate stickers.
- Exposing nails to water too soon: Wait at least 30 minutes after application before showering or handwashing.
8. FAQ: Your Top Questions Answered
Can I apply nail stickers over acrylics or gel extensions?
Yes, absolutely. Just ensure the surface is clean and lightly buffed. Gel and acrylic nails often have a slick finish, so dehydrating is crucial. Avoid stickers with strong solvents if your extensions are sensitive.
How do I remove nail stickers without damaging my nails?
Soak a cotton pad in acetone-free remover and hold it over the nail for 1–2 minutes. Gently slide a cuticle stick under the edge—the sticker should lift easily. Never peel aggressively.
Are nail stickers safe for weak or brittle nails?
Yes, and they may even offer protection. Unlike polish removers that dry out nails, stickers don’t require harsh stripping. Just avoid pulling at lifted edges, and moisturize cuticles regularly.
Final Thoughts: Elevate Your At-Home Manicure Game
Long-lasting, flawless nail stickers aren’t a matter of luck—they’re the result of careful preparation, precise application, and consistent maintenance. By treating your at-home manicure with the same attention professionals give, you can enjoy stunning, durable designs without frequent touch-ups. Whether you're preparing for a special event or simply want to express your style, these expert techniques ensure your nails look impeccable from day one to day fourteen.
💬 Ready to transform your nail routine? Try these tips with your next sticker set and share your results in the comments below—we’d love to see your flawless finishes!