For cats that enjoy the outdoors or are part of a managed colony, a well-built outdoor shelter is more than a luxury—it's essential for their health and comfort. Harsh weather, dampness, and temperature extremes can quickly turn an exposed environment into a hazard. A properly constructed waterproof cat house provides insulation, protection from rain and wind, and a clean, dry space where your pet can rest safely. This guide outlines proven strategies to design and build a shelter that lasts through seasons while keeping cats warm, dry, and content.
Choose the Right Materials for Longevity and Insulation
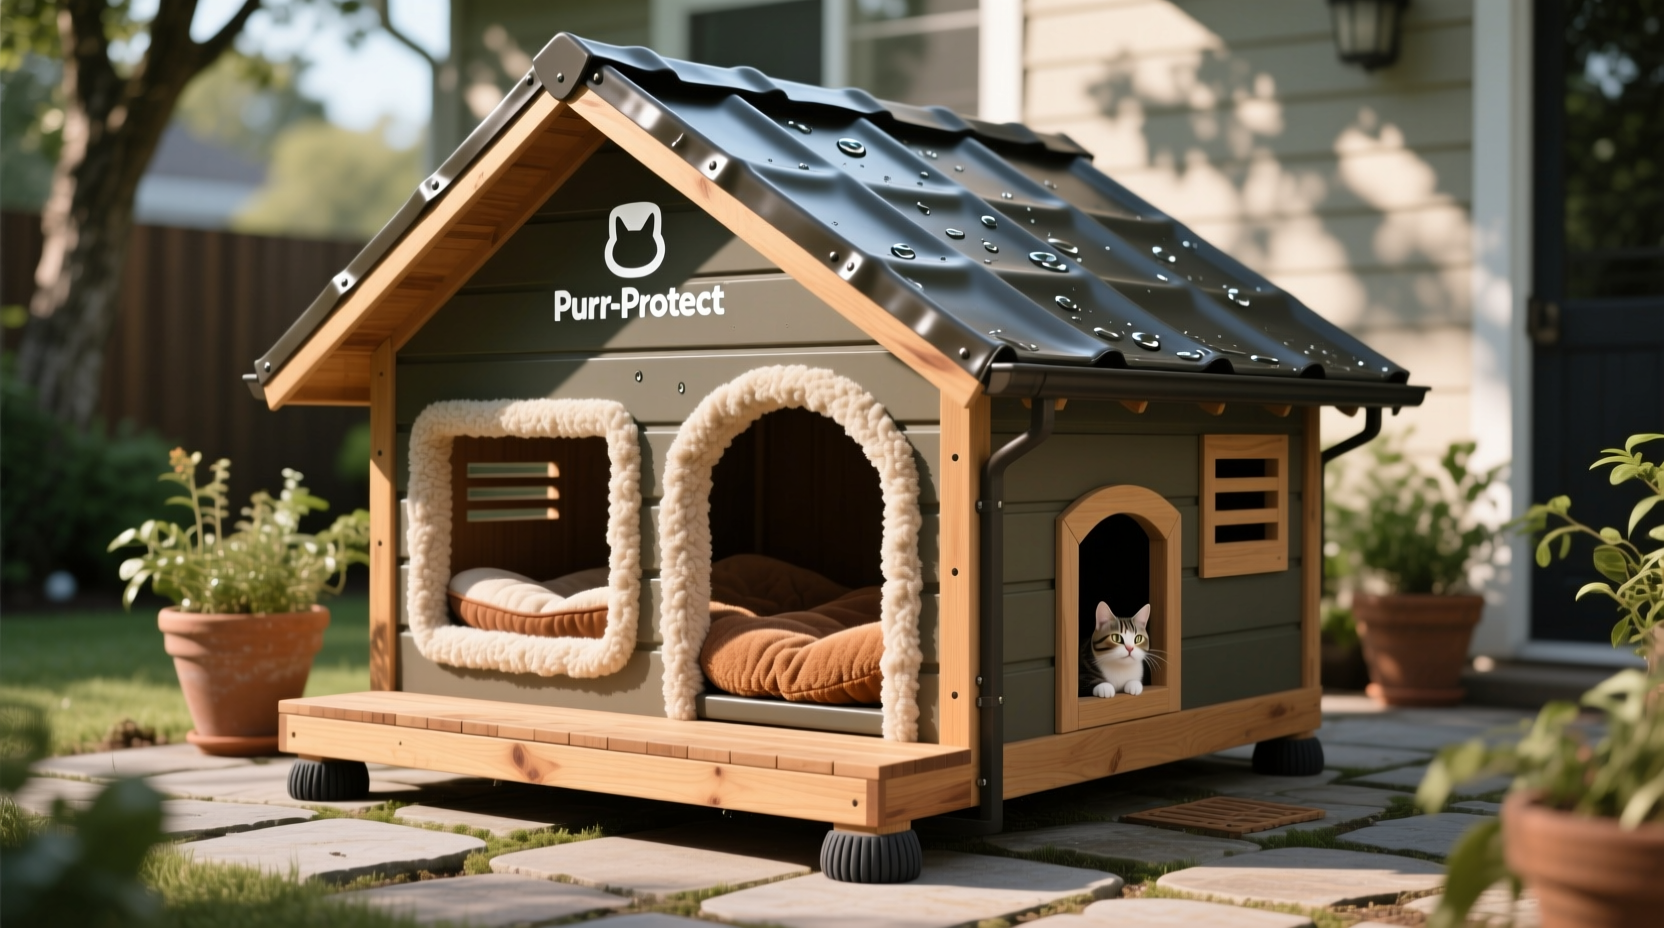
The foundation of any durable outdoor cat house lies in material selection. Unlike indoor shelters, outdoor structures face constant exposure to moisture, UV rays, and fluctuating temperatures. Using subpar materials leads to rot, mold, and heat loss—putting your cat at risk.
Opt for exterior-grade plywood or composite wood panels for walls and roofing. These resist warping and decay better than standard lumber. For insulation, closed-cell foam boards (like XPS) are ideal—they don’t absorb water and maintain thermal performance even when damp. Avoid fiberglass unless it’s fully sealed, as it loses effectiveness when wet and can irritate a cat’s skin if exposed.
Tip: Elevate the entire structure on short legs or a raised platform to prevent ground moisture from seeping into the base.Design for Weather Resistance and Drainage
A waterproof cat house isn't just about sealing seams—it starts with smart architectural design. Sloped roofs are critical; they allow rainwater to run off rather than pool. Aim for at least a 20-degree pitch and extend the roof overhang by 2–3 inches on all sides to shield entrances from sideways rain.
The entry point should be small (about 6–7 inches in diameter) and positioned away from prevailing winds. Consider adding a flap made of heavy-duty vinyl or rubber to block drafts and rain without restricting access. Never place the entrance directly beneath the edge of the roof, as dripping water could splash inside.
| Feature | Do | Avoid |
|---|---|---|
| Roof Design | Sloped with overhang | Flat roof or no overhang |
| Flooring | Waterproofed and elevated | Direct ground contact |
| Insulation | Closed-cell foam | Fiberglass (unsealed) |
| Entry Position | Side opposite wind direction | Facing dominant wind or rain |
Seal Every Joint and Seam Properly
No matter how good your materials are, unsealed joints will let water in. Use exterior-grade silicone caulk or polyurethane sealant on all corners, edges, and screw points. Pay special attention to where the roof meets the walls and around the door cutout.
After assembly, wrap the exterior with waterproof barrier paper or marine-grade paintable fabric tape. Then apply two coats of exterior paint or stain formulated for weather resistance. For added durability, some builders use aluminum sheeting or corrugated plastic roofing to cover the outer shell.
“Even a tiny gap can lead to major moisture buildup over time. Sealing isn’t optional—it’s structural.” — Dr. Lena Torres, Small Animal Veterinarian and Shelter Consultant
Step-by-Step Guide to Building a Waterproof Cat House
Follow this sequence to ensure every phase contributes to durability and comfort:
- Measure and cut exterior-grade plywood into six pieces: floor, two side walls, front/back walls, and roof (cut at an angle).
- Assemble the box using waterproof wood glue and stainless steel screws. Pre-drill holes to avoid splitting.
- Elevate the floor with treated wooden blocks or plastic feet to keep it 1–2 inches above ground level.
- Install insulation on interior walls and ceiling using adhesive-rated foam board. Cut precisely to fit snugly.
- Seal all seams inside and out with waterproof sealant. Let dry completely before proceeding.
- Add the sloped roof with overhang, securing it with hinges if you want future access for cleaning.
- Wrap and coat the exterior with weather-resistant barrier and two layers of outdoor paint.
- Fit the entry with a small doorway and attach a flexible storm flap on the outside.
- Line the interior with a removable, washable mat or straw bedding (never use towels—they retain moisture).
Real-World Example: Community Colony Shelter Upgrade
In Portland, Oregon, a volunteer-run feral cat group upgraded their aging shelters after noticing increased respiratory issues during winter. The old boxes were made from particleboard and had flat lids that collected rain. Cats often avoided them due to damp interiors.
The team rebuilt ten units using exterior plywood, insulated with 1-inch XPS foam, and sealed every seam with marine-grade caulk. Roofs were sloped and covered with rubberized roofing membrane. Each unit was raised on plastic pallets and placed in clusters facing east to catch morning sun.
Within one month, usage increased by 70%, and vet visits for cold-related illnesses dropped significantly. One volunteer noted, “The cats now stay dry even after three days of steady rain. That’s peace of mind we didn’t have before.”
Maintenance Checklist for Year-Round Protection
A waterproof cat house requires periodic care to remain effective. Use this checklist seasonally:
- Inspect for cracks, warping, or soft spots in wood
- Reapply sealant to joints and edges as needed
- Clean interior surfaces with pet-safe disinfectant
- Replace wet or soiled bedding promptly
- Check roof fasteners and reinforce if loose
- Clear debris from around the base to maintain airflow
- Ensure entry remains unobstructed but still weather-shielded
Frequently Asked Questions
How do I keep the cat house warm in winter?
Insulation is key. Use rigid foam panels on walls and ceiling, and add straw—not hay or blankets—for bedding. Straw sheds moisture and traps heat better. You can also install a self-warming pet pad (non-electric) for extra comfort.
Can I use a plastic storage bin as a cat house?
Yes, large bins can work in a pinch, but modifications are crucial. Cut a small entry hole, elevate the bin, insulate the interior with foam, and drill ventilation holes near the top. Seal the lid seam with weatherstripping to prevent leaks.
How often should I clean the shelter?
Aim for a full clean every 4–6 weeks, more often in wet climates. Remove bedding, scrub interior surfaces with a vinegar-water solution or pet-safe cleaner, and let dry completely before reassembling.
Final Thoughts: Build It Once, Build It Right
A waterproof outdoor cat house doesn’t need to be elaborate, but it must be thoughtfully designed and meticulously sealed. By choosing resilient materials, incorporating proper drainage, and maintaining the structure regularly, you create a sanctuary that protects your cat from the elements year-round. Whether you're housing a single adventurous housecat or supporting a community colony, a durable shelter reflects care, responsibility, and respect for animal welfare.
💬 Have you built a cat shelter that survived harsh winters? Share your design tips or lessons learned in the comments—your experience could help others protect more paws.