
Trimming a dog’s nails is an essential part of pet care, but when the nails are black, visibility becomes a major challenge. Unlike white or translucent nails, black nails obscure the quick—the sensitive, blood-rich tissue inside—making it difficult to know where to stop. Accidentally cutting into the quick causes pain, bleeding, and can make your dog fearful of future grooming. However, with the right tools, techniques, and patience, you can safely grind your dog’s black nails at home. This guide provides practical, veterinarian-backed strategies to ensure a smooth, stress-free experience for both you and your pet.
Understanding the Anatomy of a Dog’s Nail
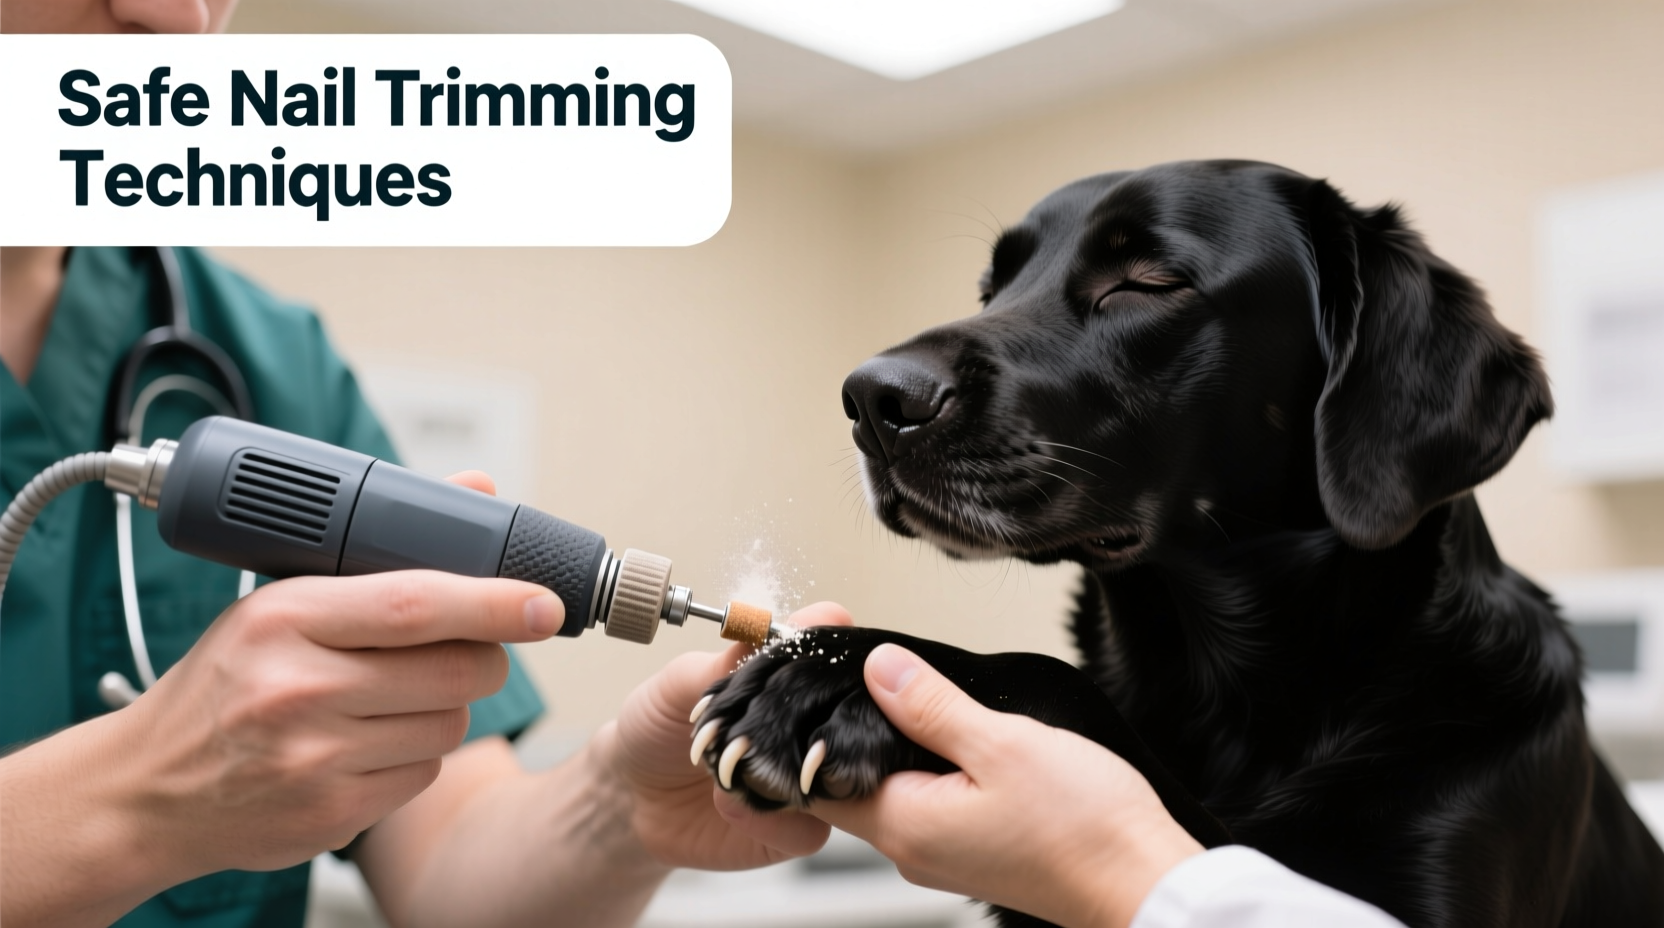
A dog’s nail consists of two main parts: the hard outer shell and the soft inner core known as the quick. The quick supplies blood and nerves to the nail, which is why cutting into it results in discomfort and bleeding. In light-colored nails, the quick appears as a pinkish center, making it easy to identify. But in black nails, this visual cue is absent, increasing the risk of over-trimming.
Despite the lack of visibility, the quick still follows predictable growth patterns. It typically extends about halfway into the nail in healthy dogs, though this varies by breed, age, and activity level. Active dogs that walk on pavement often wear down their nails naturally, keeping the quick shorter. Indoor or less active dogs may develop longer nails and a more extended quick, requiring careful management.
“Even with black nails, the structure is consistent. The key is working gradually and knowing the signs that you’re approaching the quick.” — Dr. Rachel Nguyen, DVM, Canine Dermatology & Grooming Specialist
Choosing the Right Nail Grinder
Using a nail grinder instead of clippers offers greater control, especially with black nails. Grinders file the nail down incrementally, reducing the chance of sudden cuts into the quick. Not all grinders are created equal, however. Selecting the appropriate tool is critical for safety and effectiveness.
| Grinder Type | Best For | Considerations |
|---|---|---|
| Rotary (Dremel-style) | Dogs comfortable with noise; precise shaping | Louder; requires acclimation |
| Oscillating | Nervous or noise-sensitive dogs | Less aggressive; slower grinding |
| Cordless Electric | Portability and ease of use | Battery life may limit session time |
| Manual File | Very short sessions or extremely anxious pets | Labor-intensive; not ideal for thick nails |
For most owners, a rotary grinder like the Dremel 7300-PT or a pet-specific model such as the Boshel Pet Nail Grinder offers the best balance of power and precision. Look for variable speed settings and a guard attachment to prevent slipping.
Tip: Introduce the grinder to your dog while it's turned off first. Let them sniff it, then turn it on nearby so they get used to the sound before any contact.Step-by-Step Guide to Grinding Black Nails Safely
Safety begins long before the grinder touches the nail. Proper preparation reduces anxiety and increases cooperation. Follow this sequence for a successful session:
- Choose a calm environment: Pick a quiet room with minimal distractions. Have treats, a towel, and the grinder ready.
- Restrain gently: Use a non-slip mat or hold your dog securely but calmly. For nervous dogs, consider enlisting a helper.
- Inspect each nail: Look for texture changes. The tip is usually smooth and hard. As you approach the quick, the surface may appear duller or slightly flexible.
- Begin grinding at low speed: Hold the grinder at a slight angle and touch the tip of the nail lightly. Use short bursts of 2–3 seconds to avoid heat buildup.
- Watch for warning signs: If the nail starts to look gray or develops a small dark circle in the center, stop immediately—you’re nearing the quick.
- File one side at a time: Instead of grinding straight across, work from the top and sides to maintain shape and reduce pressure.
- Reward frequently: Offer praise and treats after each nail to reinforce positive behavior.
Never rush. It’s better to do two or three nails per day than force the entire process in one stressful session. Over time, regular grinding will cause the quick to recede, allowing for shorter nails in the future.
Recognizing and Avoiding Common Mistakes
Even well-intentioned owners can make errors that compromise safety or comfort. Being aware of these pitfalls helps prevent accidents and build trust with your pet.
- Grinding too fast or too long: This generates heat, which can burn the nail and cause pain even if the quick isn’t cut.
- Ignoring behavioral cues: Panting, trembling, or pulling away are signs your dog is stressed. Pause and reassess.
- Not using proper restraint: A sudden movement can lead to accidental injury. Ensure your dog is stable but not frightened.
- Skipping desensitization: Dogs unfamiliar with the grinder’s sound or vibration may panic. Gradual exposure is essential.
“I once had a client who tried grinding all four paws in one go. The dog yelped on the third nail, and now refuses any handling. Slow, positive reinforcement builds lasting cooperation.” — Lisa Tran, Professional Pet Groomer, 12 years experience
Mini Case Study: Helping Max, the Rescue Terrier
Max, a 4-year-old Jack Russell Terrier, was adopted from a shelter with severely overgrown black nails. His quicks extended far beyond the nail tips, and he flinched at any paw handling. His new owner, Sarah, consulted a vet technician who advised a slow desensitization plan.
Over three weeks, Sarah introduced the grinder daily—first just holding it near Max, then turning it on beside him, eventually touching his nails without grinding. She started by filing only the very tip of one nail per night, rewarding him generously. By week four, Max allowed all nails to be ground in two short sessions. Within eight weeks, his quicks had visibly receded, and he stood calmly during grooming.
This case illustrates that patience and consistency yield better long-term results than forced trimming.
Checklist: Safe Black Nail Grinding Routine
- ✅ Choose a quiet time when your dog is relaxed
- ✅ Charge or test the grinder beforehand
- ✅ Have styptic powder or cornstarch on hand (for emergencies)
- ✅ Begin with 10–15 seconds of acclimation to the sound
- ✅ Work on 1–3 nails per session if needed
- ✅ Stop if the nail looks gray or your dog resists
- ✅ Reward with treats and affection after each step
Frequently Asked Questions
What should I do if I hit the quick?
If bleeding occurs, remain calm. Apply styptic powder or cornstarch to the nail and hold gentle pressure for 1–2 minutes. Most bleeding stops quickly. Comfort your dog and end the session. Avoid grinding that nail again for a few days.
How often should I grind my dog’s black nails?
Every 2–4 weeks is typical, depending on growth rate. Regular maintenance prevents overgrowth and helps the quick recede gradually. Check nails weekly for signs of length or splitting.
Can I use human nail files on my dog?
While possible in emergencies, human files are inefficient for thick canine nails and may cause uneven edges. Pet-specific grinders or coarse emery boards designed for dogs are safer and more effective.
Final Thoughts and Call to Action
Grinding black dog nails doesn’t have to be intimidating. With the right tools, a methodical approach, and plenty of positive reinforcement, you can keep your dog’s paws healthy and pain-free. Remember, every small step builds confidence—for both you and your pet. Start today by simply introducing the grinder, even if no filing takes place. Consistency and care will transform nail maintenance from a chore into a bonding ritual.
💬 Have a success story or tip for grinding black nails? Share your experience in the comments and help fellow pet owners feel more confident at home grooming!