Dogs love water—whether it’s splashing through puddles, swimming in lakes, or enduring a bath. But moisture trapped in their ear canals creates an ideal environment for bacteria and yeast to grow. Left unchecked, this can lead to painful ear infections, especially in breeds with floppy ears like Cocker Spaniels, Basset Hounds, or Poodles. The key to prevention? Proper drying. Knowing how to effectively and safely dry your dog’s ears at home is a crucial part of responsible pet care. With the right tools, technique, and consistency, you can significantly reduce the risk of otitis externa—the medical term for outer ear inflammation—and keep your dog comfortable year-round.
Why Drying Your Dog’s Ears Matters
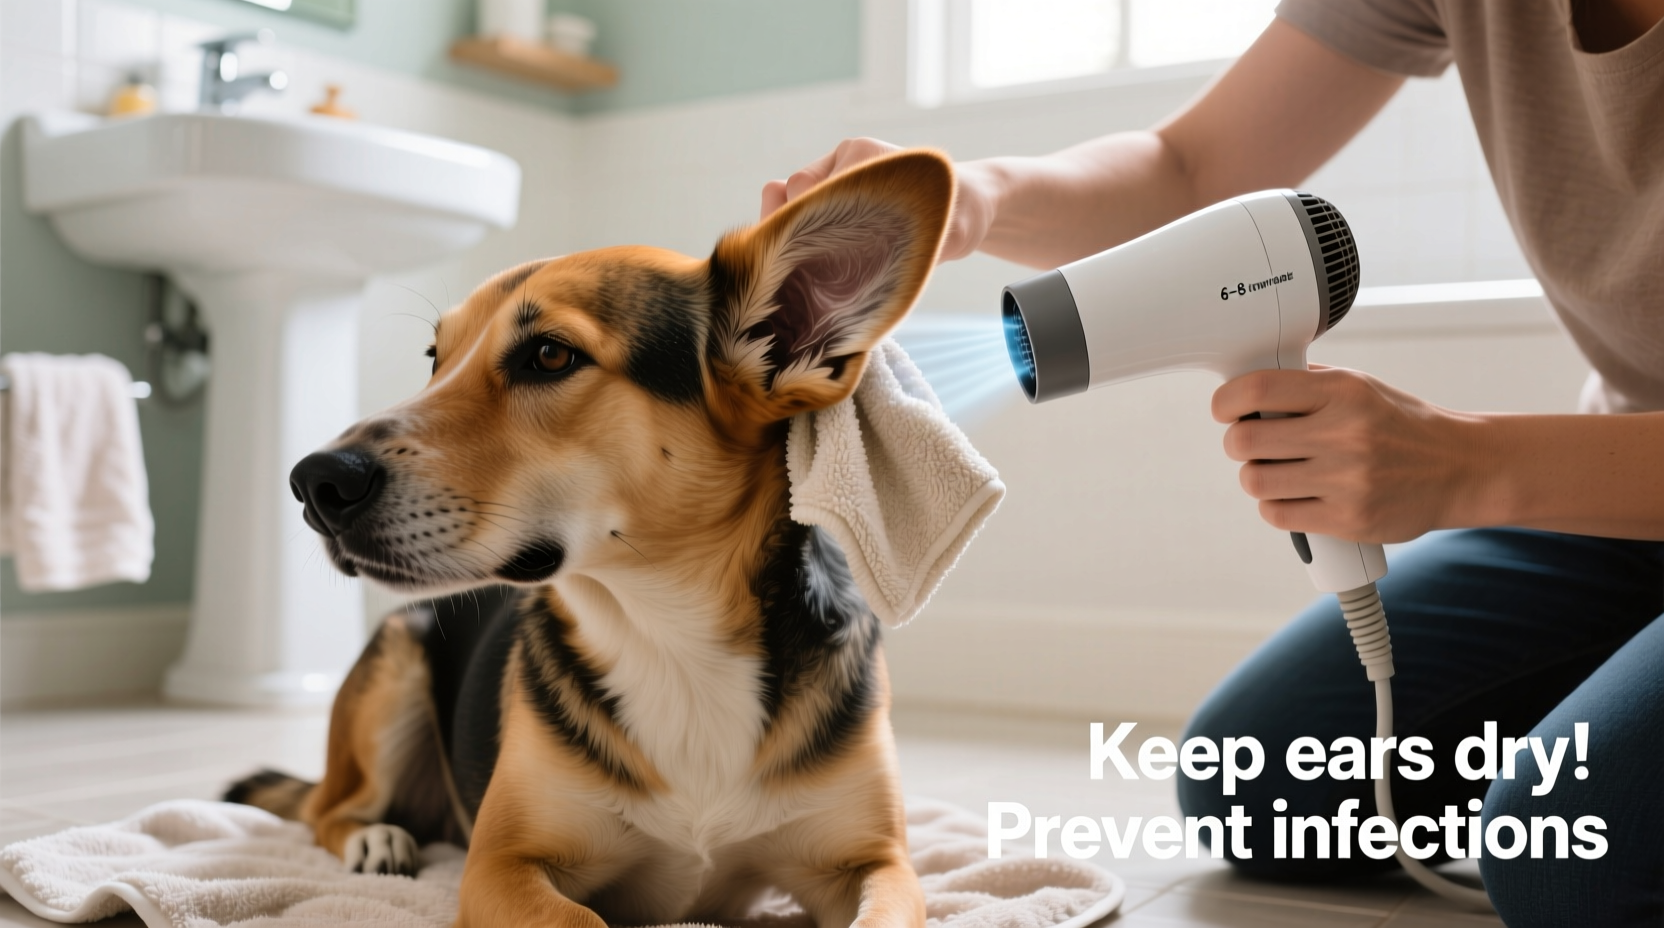
Mother Nature didn’t design most dog ears to drain efficiently. Their L-shaped ear canals trap moisture, making them prone to dampness after swimming, bathing, or even high-humidity days. When water lingers, it softens the skin lining the ear canal, weakening its natural defenses. This opens the door to microbial overgrowth. According to the American Veterinary Medical Association (AVMA), ear infections are among the top five reasons for veterinary visits in dogs. Many of these cases could be prevented with proper post-moisture care.
Chronic ear issues not only cause discomfort but may lead to more serious complications such as hearing loss, ruptured eardrums, or the need for surgical intervention. Regular drying isn’t just about cleanliness—it’s about long-term health.
Breeds Most at Risk
Dogs with heavy ear flaps, excessive hair in the ear canal, or those who swim frequently are particularly vulnerable. Breeds commonly affected include:
- Cocker Spaniels
- Golden Retrievers
- Poodles and Poodle mixes
- Basset Hounds
- Springer Spaniels
Even short-eared breeds aren’t immune, especially if they’re frequent swimmers. Prevention should be a routine, not a reaction.
Tip: Always dry your dog’s ears within 15–30 minutes after exposure to water for maximum effectiveness.Step-by-Step Guide to Safely Dry Your Dog’s Ears
Drying your dog’s ears doesn’t require professional training, but it does require patience and precision. Follow this methodical approach to ensure thoroughness without causing harm.
- Gather Supplies: Use a soft, absorbent towel, cotton balls or pads (not swabs), and optionally, a veterinarian-approved drying solution.
- Restrain Gently: Have your dog sit or stand calmly. Offer treats to create a positive association.
- Lift the Ear Flap: Gently pull the ear flap straight up to expose the vertical portion of the ear canal.
- Wipe the Outer Ear: Use a dry cotton ball to wipe the visible parts of the ear. Never insert anything deep into the canal.
- Apply Drying Solution (Optional): If recommended by your vet, apply a few drops of an alcohol-free drying agent. Avoid solutions with hydrogen peroxide or vinegar unless directed.
- Massage the Base: Hold the ear closed and gently massage the base for 10–15 seconds to distribute the solution and dislodge moisture.
- Allow Shaking: Let your dog shake its head—this helps expel loosened debris and moisture.
- Final Wipe: Use a fresh cotton ball to wipe away any residue from the outer ear.
This entire process should take no more than 3–5 minutes per ear and can be done at home with minimal stress when introduced gradually.
Do’s and Don’ts of Ear Drying
| Do’s | Don’ts |
|---|---|
| Use soft cotton balls or gauze pads | Insert cotton swabs (Q-tips) into the ear canal |
| Use vet-approved drying solutions | Use alcohol-heavy products that irritate sensitive skin |
| Dry ears after every bath or swim | Ignore signs of redness, odor, or discharge |
| Trim excess hair around ear openings | Pull or tug roughly on the ear flap |
| Reward your dog with treats during the process | Skip drying because the ear looks dry on the surface |
Real Example: Managing Moisture in a Swimming Labrador
Tucker, a 4-year-old yellow Labrador, loved retrieving sticks from a nearby lake three times a week. Within months, his owner noticed he was scratching his ears constantly and shaking his head aggressively. A vet visit confirmed a mild yeast infection due to chronic moisture buildup. After treatment, the vet advised a strict ear-drying protocol post-swim.
The owner began using a microfiber towel to dab Tucker’s outer ears immediately after exiting the water, followed by a few drops of a prescription drying solution. They also started trimming the hair around his ear openings monthly. Within six weeks, the itching stopped. Now, Tucker’s ears are checked and dried after every outing, and he hasn’t had a recurrence in over a year. This case highlights how simple preventive steps can resolve recurring issues.
“Moisture control is half the battle in preventing canine ear infections. Owners who dry ears properly reduce infection risk by up to 70%.” — Dr. Laura Simmons, DVM, Veterinary Dermatology Specialist
Essential Tools and Products
Not all ear-drying products are created equal. Here’s what to look for:
- Absorbent Materials: Microfiber towels or cotton pads work best—they wick moisture without irritating delicate skin.
- Drying Solutions: Choose alcohol-free formulas with ingredients like boric acid, chlorhexidine, or natural drying agents. Brands like Epi-Otic Advanced or Vet Solutions are widely trusted.
- Ear Hair Trimming Tools: For breeds with hairy canals, use blunt-tip scissors or a manual ear hair plucker to improve airflow.
- Portable Ear Dryers (Optional): Some owners use low-heat pet-safe dryers on cool settings, but these must be used cautiously and never held close to the ear.
Checklist: Safe Ear Drying Routine at Home
Follow this checklist every time your dog gets wet:
- ☑ Towel-dry the outer ear immediately after water exposure
- ☑ Lift the ear flap and inspect for visible moisture
- ☑ Use a cotton ball to gently absorb surface moisture
- ☑ Apply a vet-recommended drying solution if needed
- ☑ Massage the base of the ear for 10–15 seconds
- ☑ Allow your dog to shake its head
- ☑ Wipe away any residual moisture or debris
- ☑ Reward with a treat to reinforce cooperation
Frequently Asked Questions
Can I use a hair dryer to dry my dog’s ears?
No. Household hair dryers—even on cool settings—can be too loud and intense, causing stress or accidental burns. The noise alone may frighten your dog. If you must use a dryer, opt for a quiet, pet-specific model on the lowest cool setting, and keep it at least 12 inches away.
How often should I dry my dog’s ears?
After every instance of water exposure—bathing, swimming, or heavy rain. For dogs prone to infections, some vets recommend weekly maintenance drying even without moisture exposure to maintain a dry environment.
What are the signs of an ear infection?
Watch for head shaking, ear scratching, redness, swelling, dark discharge, foul odor, or sensitivity when touching the ear. If you notice any of these, stop home treatments and consult your veterinarian promptly.
Conclusion: Make Ear Care a Habit, Not a Crisis Response
Safely and thoroughly drying your dog’s ears is one of the simplest yet most impactful things you can do for their long-term health. It takes just minutes, requires minimal supplies, and can prevent costly vet visits and unnecessary pain. Whether your dog is a backyard puddle jumper or a competitive swimmer, consistent ear care should be non-negotiable.
💬 Start today—dry those ears, build the habit, and give your dog the comfort they deserve. Have a tip or story about your ear-care routine? Share it below and help other pet owners protect their furry friends!