Cat owners know that a clean litter box isn’t just about aesthetics—it’s essential for feline health, household hygiene, and maintaining a harmonious home. When yesterday’s litter is left unattended, odors build up, bacteria multiply, and even the most tolerant cats may start avoiding the box altogether. The good news: with consistent, thoughtful maintenance, you can keep your litter box fresh, odor-free, and inviting to your pet. This guide outlines proven strategies for effectively cleaning yesterday’s used litter and sustaining long-term cleanliness.
Why Daily Litter Maintenance Matters
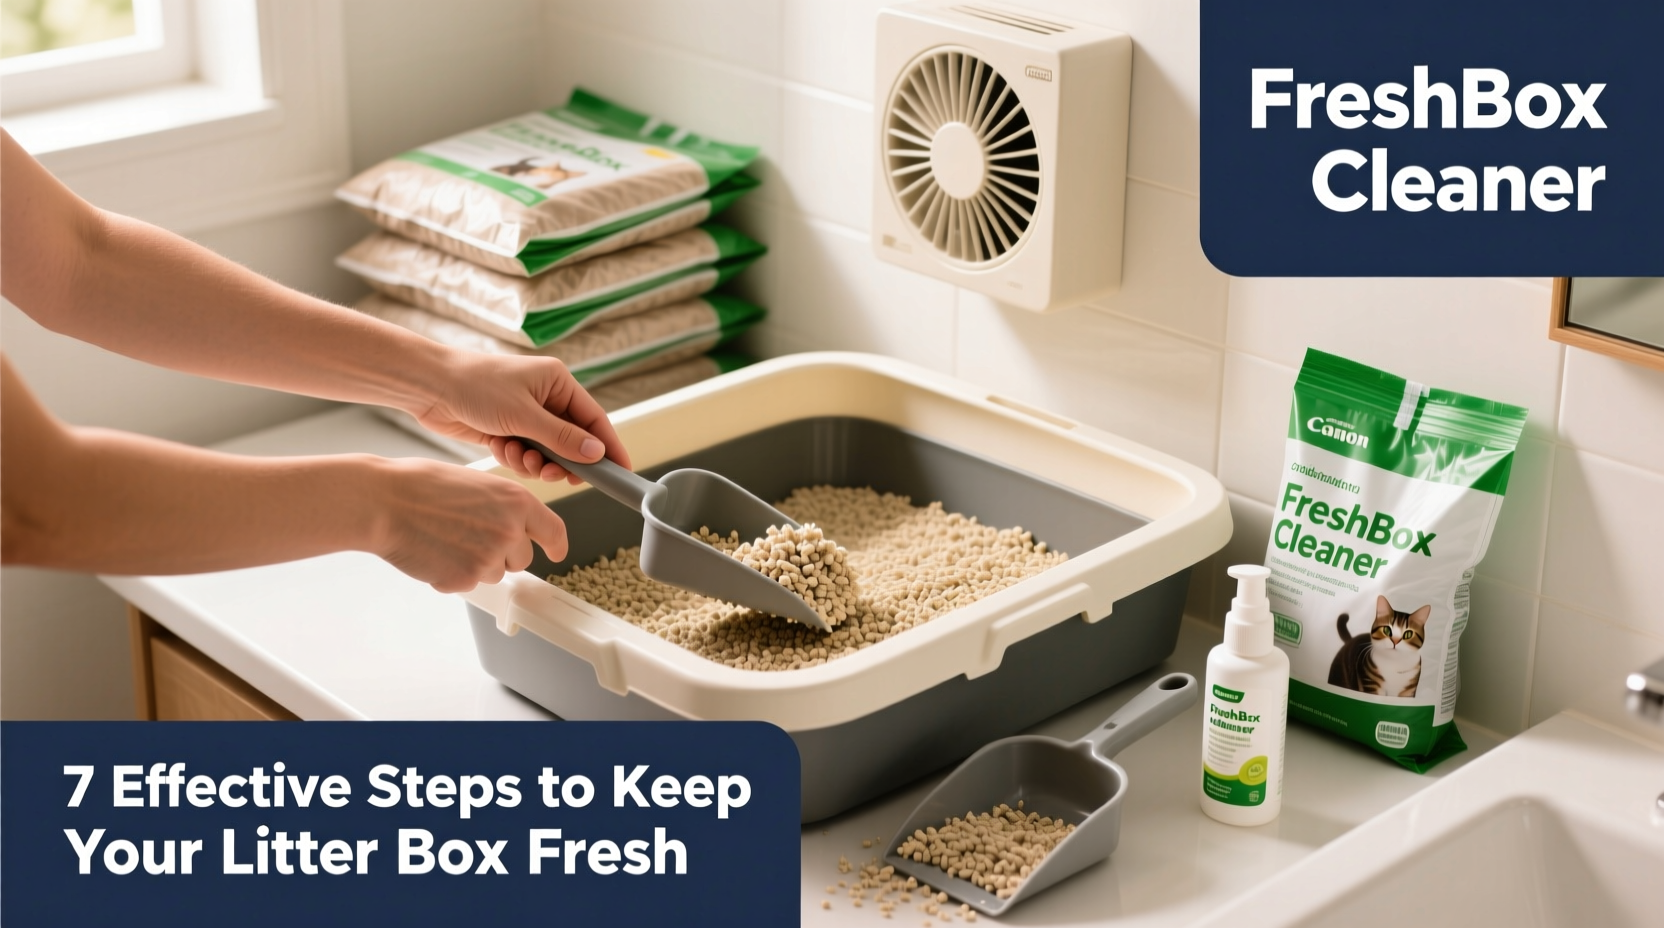
Cats are naturally fastidious animals. They prefer a clean environment for elimination, much like humans do. When waste accumulates, even for just one day, ammonia from urine begins to break down, releasing pungent gases that linger in the air and on surfaces. Solid waste also starts decomposing, attracting insects and fostering bacterial growth. Over time, poor litter hygiene can lead to urinary tract infections, stress-related behaviors like inappropriate elimination, and strained human-pet relationships.
Dr. Lena Patel, a certified feline behaviorist, explains:
“Cats often stop using their litter box not because of defiance, but because it fails to meet their cleanliness standards. A single day of neglect can be enough to trigger avoidance.”
Regular cleaning isn’t optional—it’s a cornerstone of responsible pet ownership. Addressing yesterday’s litter promptly ensures your cat feels safe and respected in their space.
Step-by-Step Guide to Cleaning Yesterday’s Cat Litter
Cleaning used litter effectively involves more than scooping out clumps. A thorough process ensures residual odors and contaminants are removed. Follow this timeline-based routine for optimal results:
- Prepare Your Tools (5 minutes)
Gather a sturdy litter scoop, disposable gloves, trash bags, paper towels, and a pet-safe disinfectant. If you’re doing a full change, have fresh litter ready. - Scoop Solid Waste and Clumps (10 minutes)
Remove all feces and urine clumps. Work systematically across the box to avoid missing spots. Dispose of waste in a sealed bag—never flush clay or crystal litters, as they can damage plumbing. - Spot-Clean Stains and Odors (10 minutes)
Check the liner or bottom of the box for dampness or residue. Dab soiled areas with paper towels, then apply a pet-safe enzymatic cleaner to neutralize lingering odors. Avoid bleach or ammonia-based cleaners—they repel cats and can be toxic. - Replace Used Litter (Optional, 15 minutes)
If the litter is heavily saturated or old, remove all contents. For clumping litter, partial changes every 2–3 weeks are sufficient; non-clumping types may require weekly full replacements. - Wash the Box (15 minutes)
Rinse the empty box with warm water. Use mild dish soap or a vet-recommended disinfectant. Scrub corners and edges where bacteria hide. Never use abrasive pads that scratch plastic surfaces. - Dry and Refill (10 minutes)
Dry the box completely with a clean towel—moisture breeds bacteria. Add 2–3 inches of fresh litter, spreading it evenly. - Reset Location and Monitor (Ongoing)
Return the box to its usual spot. Observe your cat’s next few uses to ensure comfort and acceptance.
Best Practices for Sustained Freshness
Cleaning yesterday’s litter is only half the battle. Preventing tomorrow’s mess requires proactive habits. Consider these best practices:
- Scoop at least once daily. Morning or evening scooping prevents odor buildup and shows respect for your cat’s preferences.
- Use high-quality, clumping, low-dust litter. These formulas trap moisture and odors more effectively and reduce airborne particles.
- Maintain multiple boxes in multi-cat homes. The rule of thumb: one box per cat, plus one extra. This reduces territorial stress and cross-contamination.
- Ventilate the area. Place the litter box in a well-ventilated room, but away from drafts or loud appliances that might startle your cat.
- Rotate deep cleans monthly. Even with daily scooping, perform a complete wash and refill every 30 days to reset hygiene levels.
Do’s and Don’ts of Litter Box Maintenance
| Do’s | Don’ts |
|---|---|
| Use unscented litter to avoid overwhelming your cat’s sensitive nose | Use heavily perfumed litters that may irritate respiratory systems |
| Place the box in a quiet, accessible location | Keep it beside noisy washers or in hard-to-reach closets |
| Wear gloves and wash hands after cleaning | Handle waste bare-handed or skip handwashing |
| Choose larger boxes for bigger or senior cats | Use shallow containers that restrict movement |
| Monitor usage patterns for health clues | Ignore changes in frequency, color, or consistency of waste |
Real Example: How One Owner Fixed Litter Box Avoidance
Sarah, a cat owner from Portland, noticed her 7-year-old tabby, Milo, had started urinating beside the litter box. Initially frustrated, she consulted her vet, who ruled out medical issues. Upon reviewing her routine, Sarah realized she was only scooping every other day due to a busy work schedule. She committed to a strict morning and evening scooping regimen, switched to a plant-based clumping litter, and added a second box on another floor. Within a week, Milo returned to proper usage. “I underestimated how sensitive he was to smell,” Sarah said. “Now I scoop daily without fail—and our home smells better too.”
Essential Checklist for Daily and Weekly Care
Stay on track with this simple checklist:
✔ Daily:- Scoop solids and clumps
- Check for unusual waste (diarrhea, blood, excessive straining)
- Top off with fresh litter if needed
- Inspect box for cracks or odor retention
- Wipe exterior with disinfectant
- Empty and refresh non-clumping litter
- Deep clean the entire box
- Replace liners or mats
- Evaluate litter type and box design
Frequently Asked Questions
How often should I completely change the litter?
For clumping litter, a full change every 3–4 weeks is typically sufficient if you scoop daily. Non-clumping litters should be replaced weekly. Always inspect for odor retention or texture breakdown, which may necessitate earlier changes.
Can I use baking soda to control odor?
Yes—sprinkling a thin layer of baking soda at the bottom of the box before adding litter helps absorb moisture and neutralize smells. Avoid mixing it directly into scented litters, as this can create an overpowering aroma for cats.
What if my cat refuses to use the cleaned box?
This could signal discomfort with the cleaning products used. Ensure you rinse thoroughly and use only pet-safe cleaners. Some cats also dislike sudden changes in litter type or box location. Reintroduce gradually and observe behavioral cues.
Final Thoughts: Make Cleanliness a Habit, Not a Chore
Keeping your cat’s litter box fresh doesn’t require extraordinary effort—just consistency and attention to detail. By addressing yesterday’s litter promptly and following a structured care routine, you protect your cat’s health, preserve your home’s air quality, and strengthen your bond through trust and respect. Think of litter maintenance not as a tedious task, but as an act of care that reflects your commitment to your pet’s well-being.
💬 Ready to transform your litter routine? Start tonight by scooping thoroughly and setting a daily reminder. Share your experience or tips with fellow cat owners in the comments—because every clean box makes a difference.