Dog toys with squeakers hold a special place in canine hearts. The high-pitched sound mimics prey noises, triggering natural hunting instincts and providing hours of entertainment. But over time, even the most durable squeaky toys can fall silent. Whether due to punctures, moisture damage, or internal dislodging, a dead squeaker doesn’t mean the end of the toy’s life. With a few practical DIY techniques, you can often bring the squeak back—or replace it entirely—without spending on a new toy. These methods are budget-friendly, eco-conscious, and surprisingly simple.
Understanding How Squeakers Work
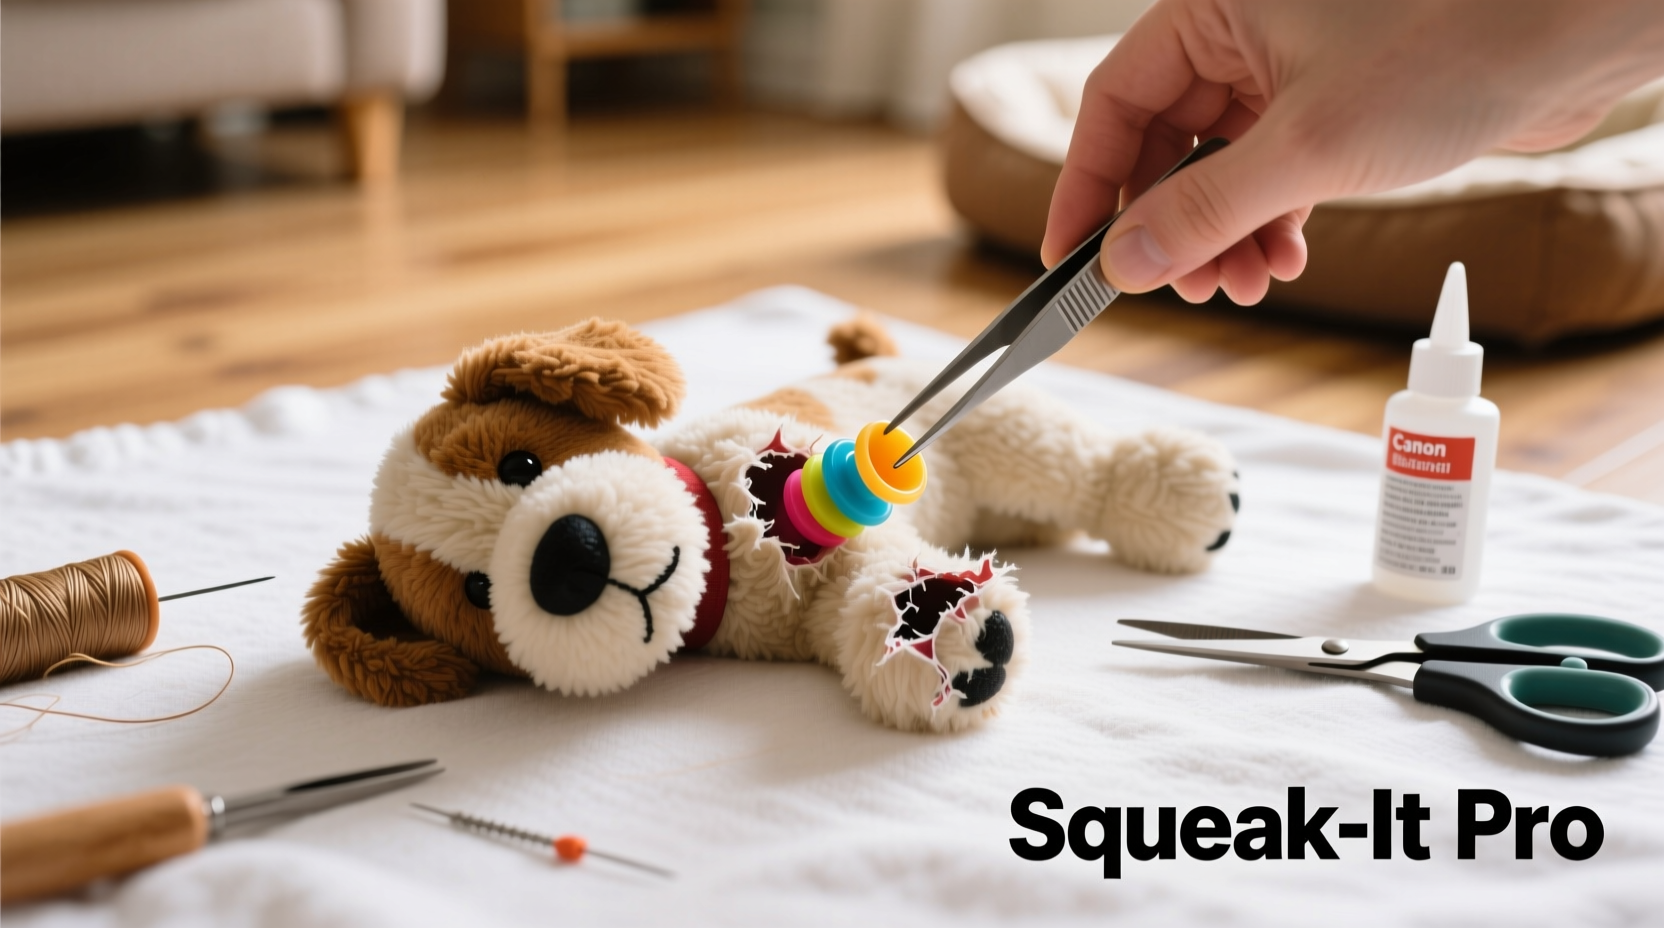
Squeaky dog toys typically contain a small plastic or rubber disc housed inside an air chamber. When compressed, the disc vibrates rapidly, producing the familiar squeak. This mechanism is delicate and prone to failure from repeated chewing, punctures, or moisture exposure. If your dog has chewed through the outer fabric, the air seal breaks, rendering the squeaker ineffective. Alternatively, the squeaker may have shifted out of position or become clogged with lint or saliva.
Before attempting repairs, inspect the toy carefully. Gently squeeze different areas while listening closely. Sometimes the squeaker still functions but is buried under layers of stuffing or misaligned. In other cases, a visible hole or dampness indicates more involved intervention.
Tip: Always wash your hands before and after handling damaged toys, and sanitize tools to avoid introducing bacteria.Step-by-Step Guide to Restore a Squeaky Toy
- Inspect and Isolate the Damage: Examine the toy for tears, loose seams, or wet spots. Gently press all sides to determine if any part still produces sound.
- Clean the Surface: Wipe down the toy with a damp cloth and mild pet-safe disinfectant. Let it dry completely before proceeding.
- Locate the Squeaker: Feel for a small rigid disc inside the toy. It’s usually near the center or along a seam. If you hear a faint rattle, the squeaker is likely intact but displaced.
- Reposition the Squeaker: Massage the fabric around the squeaker to guide it back into an area where pressure will compress the air chamber. Avoid pulling or cutting unless necessary.
- Test the Sound: Squeeze firmly where the squeaker should be. If it works, reinforce weak seams with stitching to prevent future displacement.
This method works best when the squeaker is intact but simply trapped or misaligned. No disassembly required—just patience and gentle manipulation.
DIY Squeaker Replacement: Materials and Process
If repositioning fails, replacing the squeaker is a viable option. Many household items can mimic the original function. The goal is to insert a small device that creates noise when compressed.
Common Household Alternatives to Squeakers
- Empty film canisters (cleaned and dried)
- Small water bottles cut to size
- Inflated ziplock bags (sealed tightly)
- Crinkled aluminum foil balls (temporary)
- Purchase replacement squeakers online (inexpensive and durable)
“Many pet owners don’t realize how easy it is to replace a squeaker. A $2 component can save a favorite toy—and your dog’s emotional attachment to it.” — Dr. Lena Torres, Veterinary Behavior Specialist
Replacement Procedure
- Cut open a seam using small scissors or a seam ripper. Make the incision as small as possible.
- Remove the old squeaker and any damp stuffing.
- Insert your chosen replacement. Ensure it’s securely placed and produces sound when pressed.
- Add fresh polyester stuffing if needed to maintain firmness.
- Sew the opening closed with strong thread using a whipstitch or ladder stitch for durability.
After repair, monitor your dog during initial play sessions. Some dogs may chew aggressively at the new seam, especially if they sense changes in texture or structure.
Tip: Use dental floss or upholstery thread for extra strength when resewing seams—it resists fraying better than standard thread.Do’s and Don’ts of Squeaky Toy Repair
| Do’s | Don’ts |
|---|---|
| Use pet-safe cleaning agents | Use glue or adhesives near stuffing |
| Wash and dry the toy before repair | Leave sharp tools within pet reach |
| Choose non-toxic replacement materials | Allow your dog to play unsupervised with repaired toys initially |
| Stitch seams tightly and double-knot threads | Reuse water-damaged or moldy stuffing |
| Test sound output before final closure | Ignore signs of structural weakness in fabric |
Real Example: Bringing Bella’s Bunny Back to Life
Maria noticed her Border Collie, Bella, had lost interest in her favorite bunny toy after the squeak disappeared. The toy had a small tear near the ear, and the inner squeaker was partially exposed but cracked. Instead of discarding it, Maria cleaned the toy, removed the broken squeaker, and inserted a mini plastic pill bottle she’d saved from a prescription. She secured it with stuffing and sewed the seam using nylon thread. After testing the compression noise, she let Bella play under supervision. To Maria’s delight, the bunny regained its appeal—and Bella hasn’t left it alone since.
This case highlights how minor interventions can preserve emotional value. Dogs often form attachments to specific toys, and restoring functionality can renew engagement and reduce anxiety.
Frequently Asked Questions
Can I use tape to fix a squeaky toy?
While duct tape or fabric tape might temporarily cover a hole, it’s not recommended for long-term fixes. Dogs can chew off tape pieces, which may cause digestive issues if ingested. Sewing provides a safer, more durable solution.
Where can I buy replacement squeakers?
Replacement squeakers are available on major online retailers like Amazon, Etsy, and pet supply websites. They typically come in packs of 50–100 for under $10. Look for sizes ranging from 15mm to 25mm depending on your toy’s cavity.
Is it safe to let my dog play with a repaired toy?
Yes, as long as the repair is secure and uses non-toxic materials. Always supervise the first few play sessions to ensure no parts loosen or become choking hazards. Discard the toy immediately if new damage appears.
Checklist: How to Successfully Fix a Squeaky Dog Toy
- ✅ Inspect the toy for damage and locate the squeaker
- ✅ Clean and dry the exterior thoroughly
- ✅ Test if the squeaker still rattles or functions weakly
- ✅ Attempt repositioning before cutting
- ✅ Gather replacement materials if needed (new squeaker, stuffing, thread)
- ✅ Carefully open a seam and remove faulty components
- ✅ Insert working squeaker and test compression sound
- ✅ Reseal with strong, tight stitches
- ✅ Supervise initial play to ensure safety
Conclusion
A silent squeaky toy doesn’t need to be retired. With basic tools and a little know-how, most toys can be restored to full functionality. These DIY methods not only save money but also reduce waste and honor the bond between pets and their favorite playthings. Whether repositioning a displaced squeaker or installing a new one, the process is accessible to anyone comfortable with light sewing and careful handling.
💬 Have a squeaky toy success story? Share your repair tips or creative replacements in the comments—your experience could help another pet owner breathe new life into a beloved toy!