For outdoor or semi-outdoor cats, staying warm during winter is not just about comfort—it's a matter of survival. A well-insulated shelter can prevent hypothermia, reduce stress, and protect against wind, rain, and snow. While commercial options exist, building your own insulated cat house allows you to customize size, materials, and thermal performance. This guide walks through every phase of constructing a durable, weatherproof, and highly efficient shelter using accessible materials and basic tools.
Why Insulation Matters for Outdoor Cat Shelters
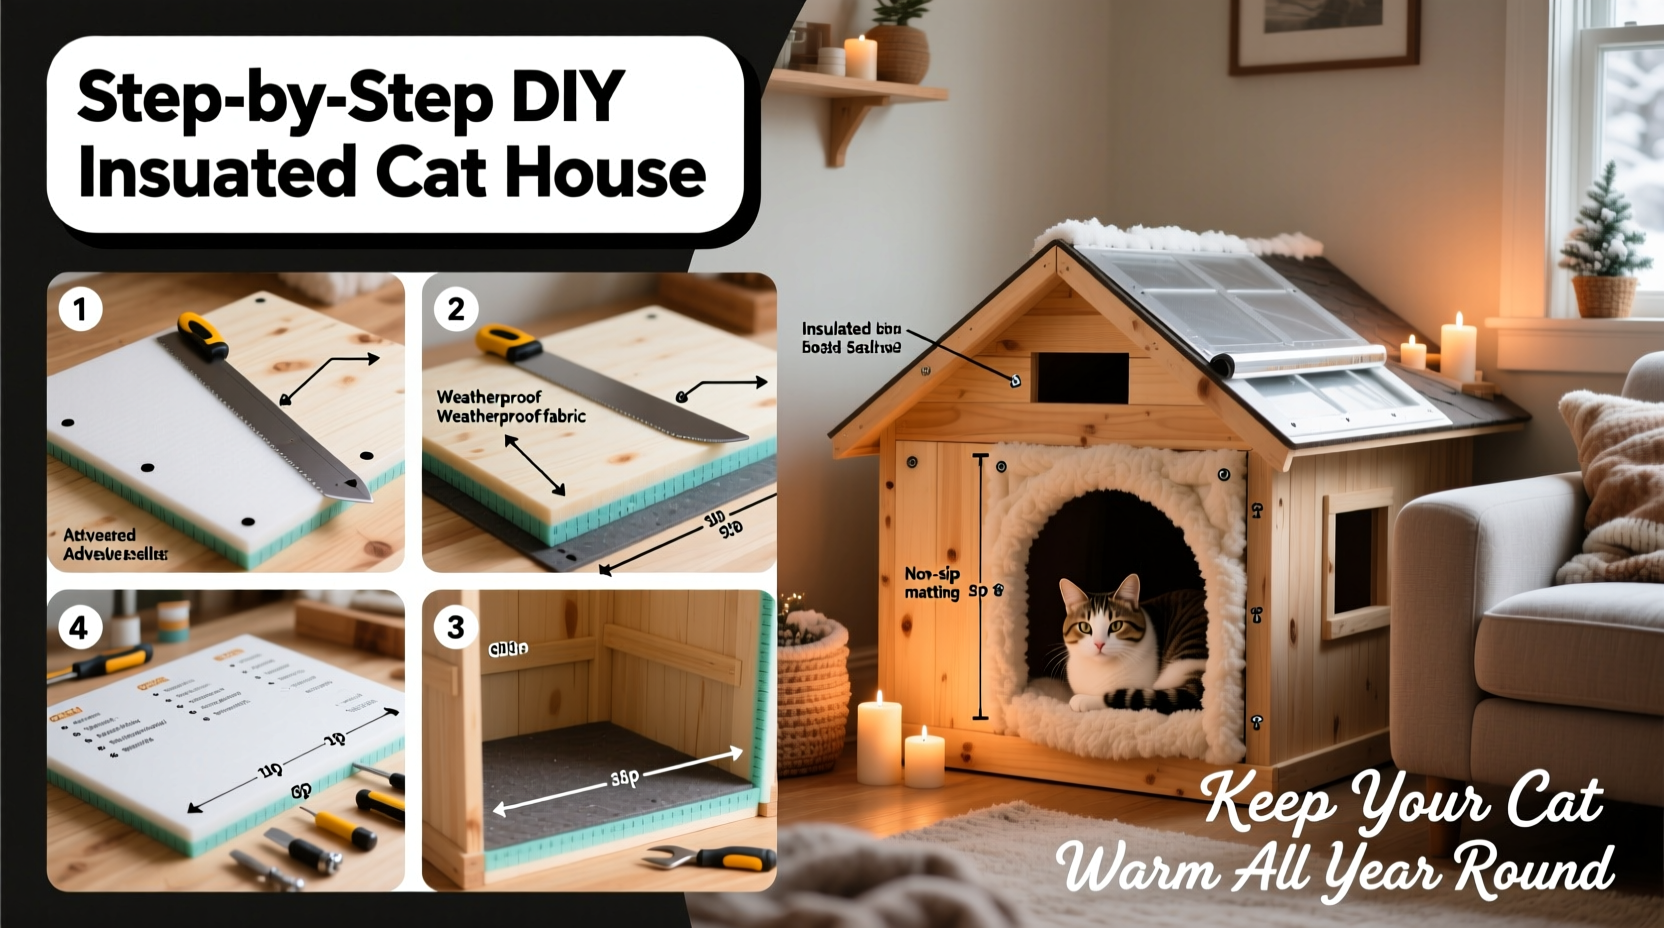
Cats maintain a higher body temperature than humans—around 100��102.5°F—but their small size means they lose heat quickly in cold environments. Without proper insulation, even mild winter conditions can become dangerous. An effective shelter doesn’t just block wind; it traps body heat and minimizes thermal transfer between the interior and outside air.
The goal isn’t to heat the space artificially but to create a microclimate where the cat’s own warmth sustains a stable internal temperature. Research from Alley Cat Allies shows that properly insulated shelters can maintain internal temperatures up to 30°F warmer than the outside air—even without external heating sources.
“Simple, well-insulated shelters made from repurposed materials have saved countless community cats during harsh winters.” — Dr. Jennifer Schulz, Feline Welfare Veterinarian
Materials and Tools You’ll Need
Before beginning construction, gather all necessary supplies. Most items are available at hardware stores or can be repurposed from household items.
| Category | Item | Purpose |
|---|---|---|
| Structure | Plastic storage tote (18–24 gallon) or wooden crate | Forms the main body of the shelter |
| Insulation | Rigid foam board (½” or 1”) – extruded polystyrene (XPS) | High R-value per inch; moisture-resistant |
| Entry | Flexible vinyl flap or heavy-duty draft excluder | Reduces airflow while allowing access |
| Flooring | Pressure-treated plywood (optional) | Elevates structure off wet ground |
| Tools | Utility knife, measuring tape, marker, screws, waterproof glue | Cutting, assembling, securing components |
| Bedding | Straw (not hay), Mylar blankets, or thermal pet pads | Non-absorbent warmth retention |
Step-by-Step Construction Guide
- Select and Prepare the Shelter Base
Choose a plastic tote with a lid or build a simple wooden box (18” x 24” x 18” is ideal for one to two cats). If using wood, seal all seams with silicone caulk to prevent water ingress. - Elevate the Structure
Place the shelter on blocks, pallets, or a piece of plywood to keep it above ground level. This prevents moisture wicking and improves insulation efficiency. - Cut Entry Hole
On one short side, measure 6 inches from the bottom and cut a 6-inch diameter hole. Keeping the entrance low helps trap warm air, which sinks, while blocking wind. - Install Insulation Panels
Measure each interior wall, floor, and ceiling. Cut rigid foam boards to fit snugly. Use waterproof construction adhesive to secure them. Seal edges with expanding foam spray to eliminate gaps. - Add Door Flap
Attach a flexible vinyl strip or make a double-layered fabric flap with insulating batting. Ensure it hangs freely so cats can push through easily but closes behind them. - Weatherproof the Exterior
Wrap the entire exterior (except the entry) with reflective emergency blanket material or aluminum foil tape. This reflects radiant heat back inward and sheds water. - Install Bedding
Line the floor with 4–6 inches of straw. It insulates even when compressed and resists mold. Do not use towels or blankets—they absorb moisture and lose insulating value. - Final Cover
Place a tarp or sloped roof over the top to shed rain and snow. Secure it with bungee cords or ropes tied around the base.
Seasonal Adjustments for Year-Round Use
A truly year-round cat house must adapt to changing conditions. In summer, overheating becomes a risk, especially in humid climates. Modify the design seasonally:
- Spring/Fall: Remove excess bedding; ensure ventilation holes near the roof allow airflow without creating drafts at floor level.
- Summer: Replace insulation on one side with breathable mesh panels. Elevate further to catch breezes. Provide shade with trees or umbrellas.
- Winter: Double-layer walls with additional foam. Bury the sides partially in mulch or snow (which acts as natural insulation).
“We monitor our colony shelters monthly. Those with seasonal adjustments see lower illness rates across all seasons.” — Maria Tran, Urban Cat Rescue Coordinator
Real-World Example: The Brooklyn Alley Project
In Brooklyn, New York, a volunteer group maintains 14 outdoor cat shelters across three alleys. After a particularly harsh winter in 2022, four un-insulated boxes recorded internal temps below freezing. The team rebuilt them using this exact method—plastic totes lined with XPS foam, straw bedding, and flaps.
Over the next winter, data loggers showed average internal temperatures of 48°F despite outside lows of 15°F. No cats required medical treatment for cold exposure that season. One shelter, placed under a fire escape and surrounded by recycled denim insulation, maintained 52°F for 72 hours during a snowstorm.
Maintenance Checklist
To ensure long-term effectiveness, perform regular checks. Use this checklist monthly:
- Inspect for cracks, mold, or pest infestations
- Replace damp or compressed straw
- Clean interior surfaces with pet-safe disinfectant
- Check door flap mobility
- Re-seal any gaps with outdoor-rated caulk
- Verify elevation remains stable and dry
Frequently Asked Questions
Can I use a cardboard box instead?
Cardboard offers minimal protection and degrades quickly when wet. It may work temporarily in dry conditions but should never be relied upon for long-term shelter. Invest in a plastic tote or wooden frame for durability.
Is heating safe for outdoor cat houses?
Heated pads designed specifically for animal shelters are safe if properly installed and protected from chewing. Never use human heating devices like space heaters or microwaveable pads—they pose fire and burn risks.
How many cats can one shelter hold?
Ideally, one shelter fits 2–3 cats. More than that increases humidity and reduces individual space, leading to discomfort. For larger colonies, cluster multiple small shelters several feet apart rather than building one large unit.
Final Thoughts
A well-built insulated cat house is more than a kindness—it’s a lifeline. By applying principles of thermal retention, moisture control, and smart design, you can create a sanctuary that protects cats through freezing winters and sweltering summers alike. The materials are affordable, the process is manageable for beginners, and the impact is immediate.
Whether you’re caring for a single stray or supporting a feral colony, taking the time to build a high-performance shelter demonstrates deep compassion and practical wisdom. These animals rely on us for survival. With this guide, you now have everything needed to provide warmth, safety, and dignity—all year round.
💬 Have you built a cat shelter? Share your modifications, results, or photos in the comments—your experience could help others save lives.