Cats are naturally drawn to small, scurrying objects that mimic prey. A well-made mouse toy can provide hours of entertainment while encouraging healthy hunting instincts. While store-bought toys are convenient, many contain synthetic materials or weak stitching that doesn’t hold up to enthusiastic pouncing. Creating your own mouse toy allows you to choose safe, durable fabrics and add natural cat attractants like catnip. This guide walks you through every stage—from selecting the right materials to hand-stitching a toy that’s both fun and long-lasting.
Why Handmade Mouse Toys Are Worth It
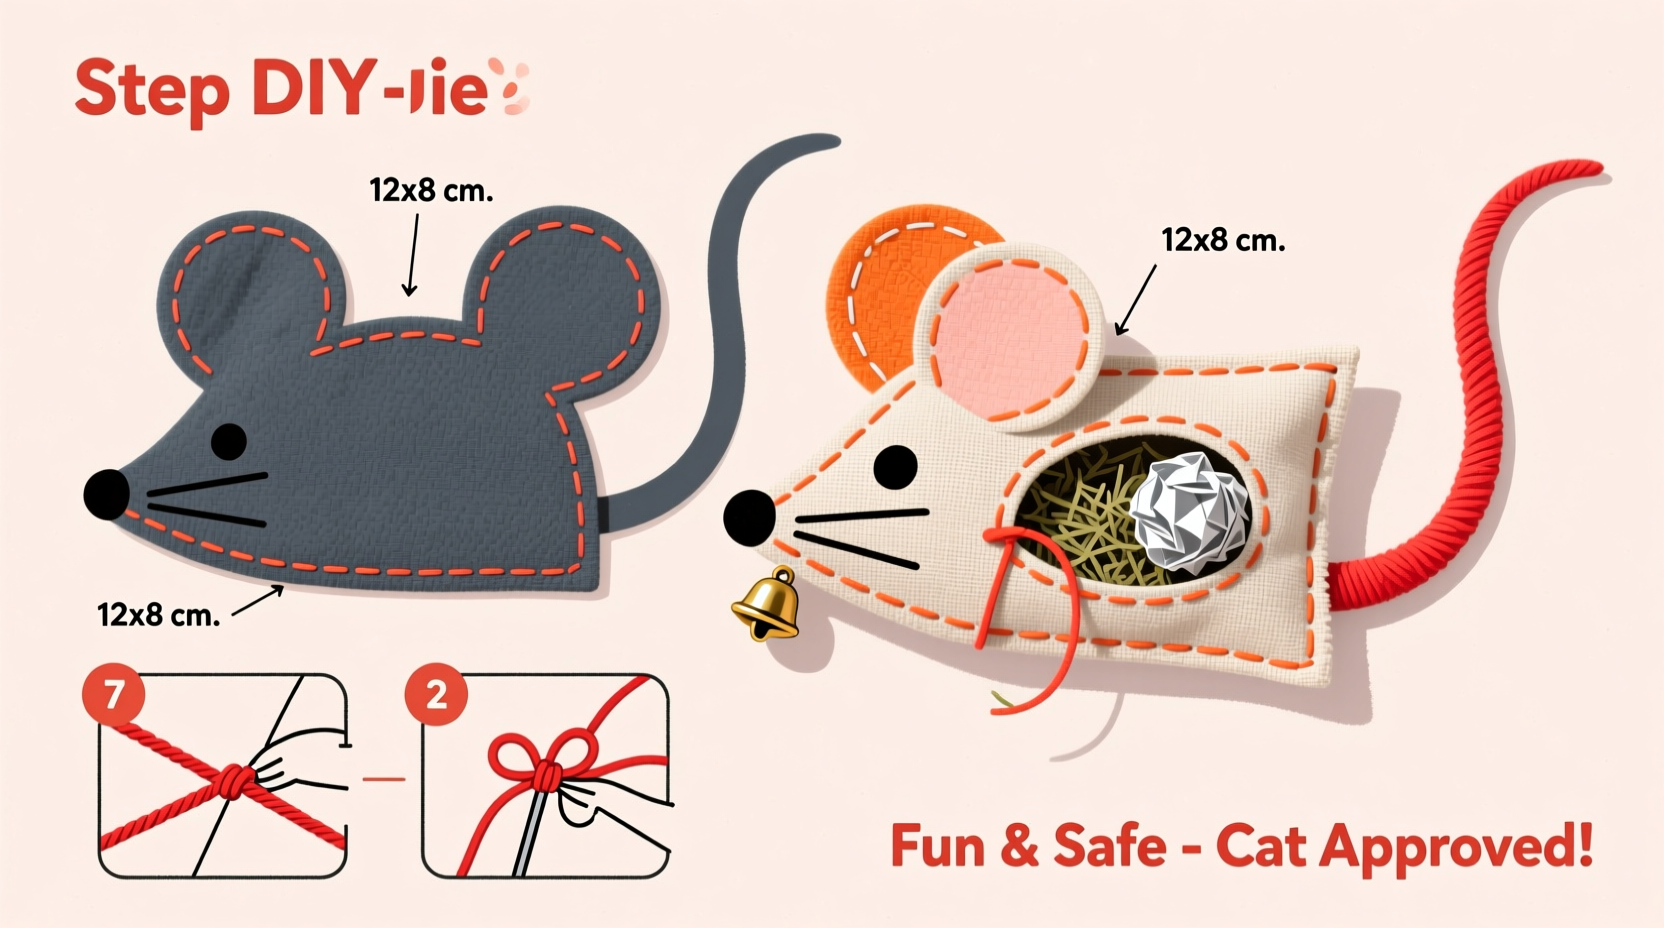
Commercial cat toys often prioritize appearance over durability. Many fall apart after just a few play sessions, exposing stuffing or plastic parts that pose choking hazards. Homemade toys let you control quality, safety, and sustainability. You can repurpose fabric scraps, avoid chemical-laden fillers, and tailor the size and texture to your cat’s preferences. Plus, the act of sewing a toy adds a personal touch—your cat may not know it was handmade, but they’ll sense the care in its design.
“Cats respond strongly to texture, movement, and scent. A thoughtfully crafted toy engages all three.” — Dr. Lena Patel, Feline Behavior Specialist
Materials You’ll Need
Gathering the right supplies is the first step toward a successful project. Choose materials that balance softness for appeal and toughness for longevity. Avoid loose weaves or fraying fabrics that could unravel during play.
- Fabric scraps (cotton, felt, denim, or fleece – at least two contrasting colors)
- Embroidery floss or strong polyester thread
- Sharp hand-sewing needles or a sewing machine needle (size 70/10)
- Scissors (fabric-specific if possible)
- Pins or clips for holding layers together
- Chalk or washable fabric marker
- Darning needle (for stuffing and closing)
- Toy-grade polyfill or wool stuffing
- Organic catnip (optional, but highly effective)
- Small jingle bell (optional, for auditory stimulation)
- Pattern template (drawn freehand or printed)
Step-by-Step Sewing Instructions
Follow this detailed sequence to create a plush, double-sided mouse toy with a tail, ears, and irresistible inner filling.
- Create the pattern: Sketch a mouse shape approximately 3.5 inches long on paper. Include a rounded body, pointed snout, two ears, and a long tail. Cut it out as a stencil.
- Trace and cut fabric: Place the template on two different fabrics—one for the top, one for the bottom. Trace around it twice on each fabric, then cut four pieces total (two body tops, two body bottoms).
- Pin and align: Pair one top and one bottom piece, placing them right sides together. Pin along the edges to prevent shifting.
- Sew the body: Using a backstitch by hand or a tight zigzag stitch on a machine, sew around the entire outline, leaving a 1.5-inch gap on the belly for turning and stuffing. Backstitch at start and end for reinforcement.
- Clip curves: Gently snip tiny wedges along curved areas (like ears and snout) to reduce bulk when turned right-side out. Be careful not to cut the stitches.
- Turn and shape: Flip the mouse right side out using a pencil or chopstick to push out ears and tail. Smooth all edges with fingers.
- Stuff firmly: Insert polyfill in small amounts, focusing extra stuffing in the head and tail base. Add 1 teaspoon of dried catnip and optionally slide in a mini jingle bell before closing.
- Close the opening: Fold the seam allowance inward and use a ladder stitch (invisible stitch) to close the gap tightly.
- Add details: Embroider eyes and whiskers with black embroidery floss. For added realism, glue on tiny felt ears or use contrasting thread to outline features.
- Attach the tail (if separate): If using a fabric strip for the tail, fold it lengthwise, sew shut, stuff lightly, then whip-stitch it securely to the rear.
Design Variations and Customization Tips
Once you’ve mastered the basic mouse, experiment with variations to keep your cat engaged. Rotate designs every few weeks to prevent boredom.
| Variation | Materials Used | Best For |
|---|---|---|
| Fuzzy feet mouse | Fleece body, suede scraps for paws | Cats who love to bite and kick |
| Noise mouse | Crinkle paper insert + bell | Curious or hearing-sensitive cats |
| Feather-tail mouse | Ribbon or faux fur tail | Chasers and pouncers |
| Seasonal mouse | Red/green fabric, holiday prints | Interactive gift-giving or themed play |
Consider making multiple mice in different textures—some smooth, some nubby—to see which your cat prefers. Cats often develop favorites based on tactile feedback during biting and pawing.
Common Mistakes and How to Avoid Them
Even experienced crafters make errors that compromise toy safety or durability. Learn from these common pitfalls.
- Using weak thread: Standard cotton thread breaks easily. Opt for polyester or upholstery thread.
- Under-stuffing: A limp toy loses appeal quickly. Firm stuffing maintains shape and encourages batting.
- Leaving long thread tails: Trim all ends closely to prevent chewing hazards.
- Omitting secure closures: Knots should be buried within seams or sealed with a dot of non-toxic fabric glue.
- Adding unsafe elements: Avoid buttons, beads, or ribbons that can detach. If used, sew them through all layers with reinforced stitching.
“Always test a new toy under supervision. Even well-made items can become hazards if your cat finds a way to dismantle them.” — Rachel Tran, Pet Product Safety Consultant
Real Example: Bella the Hunter’s Favorite Toy
Sarah, a cat owner from Portland, noticed her rescue cat Bella ignored most store toys. She decided to make a custom mouse using scrap denim from an old jacket and filled it with organic catnip. She stitched on a thick yarn tail and added a quiet bell. Within minutes of introducing it, Bella began “killing” the toy, carrying it around and hiding it under furniture. After three months of daily play, the toy still holds up—only needing minor re-stuffing. Sarah now makes a new mouse every six weeks and rotates them to maintain novelty.
Checklist: Before Giving the Toy to Your Cat
- ✅ All seams are tight with no loose threads
- ✅ No small parts can be pulled off
- ✅ Stuffing is firm and evenly distributed
- ✅ Catnip is sealed inside (not exposed on surface)
- ✅ Toy has been inspected for sharp pins or residue
- ✅ First play session will be supervised
Frequently Asked Questions
Can I wash the mouse toy?
Yes, but gently. Hand wash in cool water with mild soap and air dry completely before reuse. Avoid wringing, as this can distort the shape or loosen stuffing.
Is catnip safe for all cats?
Most cats react positively to catnip, but about 30% show no interest due to genetics. Very young kittens and senior cats may also be less responsive. If your cat becomes overly aggressive or anxious, discontinue use.
How long should a handmade mouse toy last?
With moderate play, expect 2–6 months depending on your cat’s intensity. Inspect weekly for wear, especially around the tail and ears. Repair minor tears immediately to extend life.
Final Thoughts and Encouragement
Sewing a mouse cat toy isn’t just a craft—it’s an act of care. Every stitch contributes to safer, more engaging play that supports your cat’s physical and mental well-being. The process is simple enough for beginners yet offers room for creativity as you refine your technique. By choosing quality materials and thoughtful design, you create more than a toy: you build a tool for enrichment, exercise, and bonding.
💬 Ready to make your first mouse? Gather your scraps, pick a cozy evening, and start sewing. Share your creation online or gift one to a fellow cat lover—handmade joy is meant to be passed on!