
Creating a custom bird cage isn’t just about saving money—it’s about designing a space that meets your bird’s physical and emotional needs while complementing your home’s aesthetic. Many commercially available cages are too small, made with questionable materials, or lack thoughtful design. By building your own, you control the size, materials, ventilation, and safety features. This guide walks you through every phase of constructing a durable, secure, and attractive bird cage from scratch.
Why Build Your Own Bird Cage?
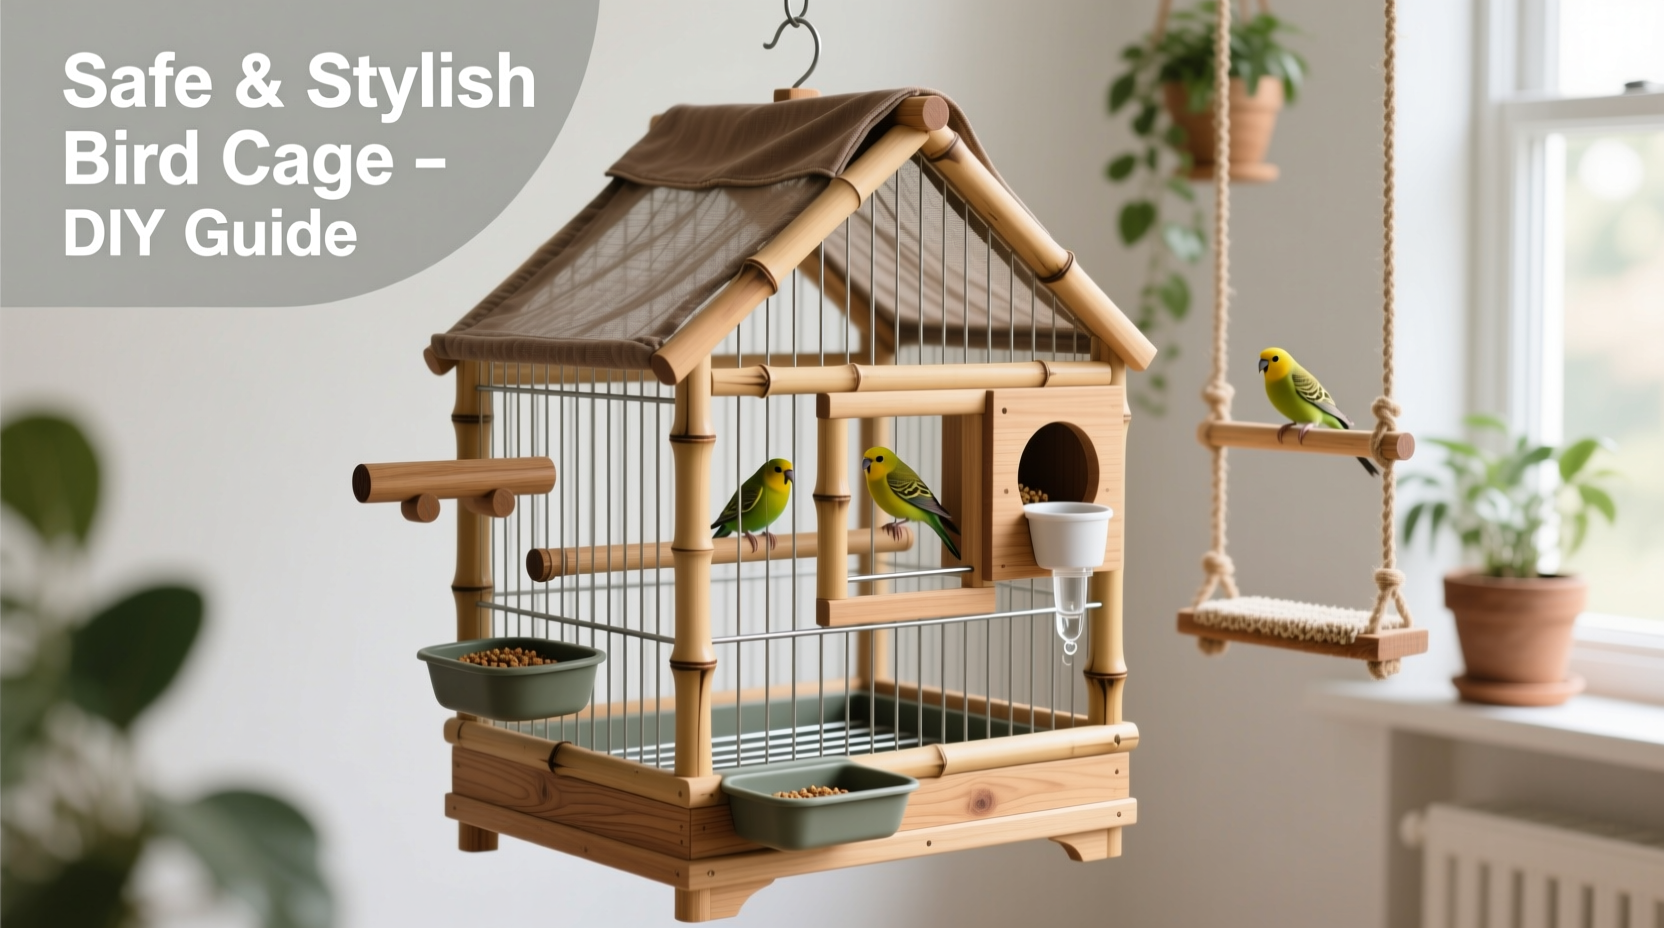
Store-bought cages often prioritize cost over comfort. They may have bar spacing that’s unsafe, poor door mechanisms, or finishes that emit toxic fumes. A handmade cage allows customization based on your bird’s species, size, and personality. Whether you have a parakeet, cockatiel, or conure, a well-built DIY cage can offer more horizontal space for climbing, better airflow, and room for enrichment like perches, toys, and feeding stations.
“Birds thrive in environments where they can move freely and express natural behaviors. A thoughtfully designed cage is the foundation of good avian welfare.” — Dr. Lena Reyes, Avian Veterinarian
Planning and Design: Key Considerations
Before cutting any material, sketch a detailed plan. Consider these factors:
- Species-specific needs: Smaller birds like finches need more flight space; larger parrots benefit from strong perches and chewable elements.
- Cage dimensions: Minimum width should be twice the bird’s wingspan. Height matters less than floor space for most species.
- Bar spacing: Critical for safety. Too wide, and the bird can escape or get stuck. Recommended spacing:
- Finches & Canaries: ½ inch
- Budgies: ¾ inch
- Cockatiels: ¾–1 inch
- Conures & Small Macaws: 1 inch
- Orientation: Horizontal bars on at least two sides allow climbing—a vital activity for foot health and mental stimulation.
- Accessibility: Include multiple doors (front, side, top) for cleaning, feeding, and interaction.
Materials and Tools Checklist
Selecting the right components ensures longevity and safety. Avoid galvanized metal treated with zinc coatings—these can cause heavy metal poisoning if ingested.
📋 **Checklist: What You’ll Need**- Stainless steel or powder-coated wire mesh (non-toxic finish)
- Wooden frame (untreated hardwood like maple or birch for base/sides)
- Aluminum angle brackets or stainless steel L-brackets
- Wire cutters, gloves, and pliers
- Measuring tape and level
- Screwdriver or drill with appropriate bits
- Non-toxic wood sealant (water-based polyurethane)
- Hinges and latches (stainless steel)
- Tray liner or removable metal/plastic tray
- Sandpaper (medium grit)
Step-by-Step Construction Guide
🕒 **Timeline: 6–8 hours (plus drying time for sealants)**- Measure and cut the wire mesh: Cut six panels—two for sides, one front, one back, one top, one bottom—using wire cuters and wearing gloves. For example, for a 36” x 24” x 30” cage, adjust each panel accordingly. File down sharp edges.
- Build the base frame: Construct a rectangular wooden frame matching the cage floor dimensions. Sand thoroughly and apply two coats of non-toxic sealant. Let dry for 24 hours.
- Attach the bottom mesh: Secure the wire mesh to the wooden base using stainless steel staples or screws with washers. Ensure no sharp ends protrude into the cage interior.
- Assemble vertical panels: Connect the side, front, and back mesh panels using aluminum or stainless steel corner brackets. Pre-drill holes to avoid splitting. Reinforce joints for stability.
- Add the top panel: Attach the final mesh piece with hinges on one long edge to create a flip-up roof access. Install a secure latch opposite the hinges.
- Install doors: Cut an opening in the front panel (minimum 8” x 8”) and attach a secondary mesh door with small-gap hinges and a bird-safe lock. Ensure smooth operation without pinching.
- Fit the tray: Slide in a removable metal or plastic tray beneath the floor mesh for easy cleaning. Alternatively, line the base with disposable paper and change daily.
- Final inspection: Walk through each joint, edge, and fastener. Confirm no sharp points, loose wires, or gaps where a bird could get trapped.
Safety and Style: Balancing Function and Aesthetics
A beautiful cage shouldn’t compromise safety. Here’s how to enhance visual appeal without risking your bird’s well-being.
| Do’s | Don’ts |
|---|---|
| Use powder-coated wire in neutral tones (black, gray, white) | Paint bars with household paint (toxic when chewed) |
| Add decorative wooden trim sealed with food-safe finish | Include dangling ribbons, strings, or fabrics (entanglement risk) |
| Incorporate natural branch perches of varying diameters | Use sandpaper perch covers (they damage feet) |
| Place near natural light—but not in direct sun | Locate near kitchens or bathrooms (fumes and humidity) |
Real Example: Sarah’s Custom Cockatiel Cage
Sarah, a graphic designer in Portland, built a wall-mounted aviary-style cage for her two cockatiels. She used 1-inch spaced stainless steel mesh and a walnut base sealed with beeswax. The cage spans 4 feet wide, allowing flight between perches. She included a slide-out tray, three access doors, and integrated LED lighting for evening visibility. After six months, her birds show increased activity and reduced stress vocalizations. “They use every level,” she says. “And guests always compliment how it looks like furniture, not a pet enclosure.”
Maintenance and Long-Term Care
Your work doesn’t end at assembly. Regular upkeep keeps the cage hygienic and structurally sound.
- Clean the tray daily and disinfect weekly with vinegar-water solution (1:1 ratio).
- Inspect welds and fasteners monthly for corrosion or loosening.
- Rotate perches every few weeks to prevent foot sores.
- Never use aerosols or strong cleaners near the cage.
“Even the safest cage becomes hazardous if neglected. Daily attention is part of responsible ownership.” — Marcus Tran, Avian Behavior Consultant
Frequently Asked Questions
Can I use PVC-coated wire mesh?
Only if it’s specifically labeled bird-safe. Most PVC coatings degrade over time and release harmful particles when chewed. Stainless steel or powder-coated steel are safer long-term options.
How do I stop the cage from scratching my floor?
Attach felt pads to the bottom edges or place the cage on a rubber-backed mat. Elevating it slightly on legs also helps with airflow and protection.
Is welding necessary for durability?
No. While welded mesh is strongest, properly secured bolted or bracketed cages are safe for medium-sized birds. Just ensure all connections are tight and reinforced.
Final Thoughts: Craftsmanship Meets Compassion
Building a bird cage from scratch reflects a deeper commitment to your pet’s quality of life. It’s not merely a housing solution but a habitat engineered for joy, movement, and security. When done right, your DIY cage becomes a centerpiece of both care and design—a testament to what’s possible when functionality meets intention.
🚀 Ready to start building? Gather your materials this week and begin sketching your design. Share your finished project online to inspire other bird owners—your craftsmanship might encourage someone else to create a safer, happier home for their feathered friend.