Crafting personalized pet accessories has become a popular hobby, especially when it comes to customizing dog bowls with glitter finishes. Achieving a smooth, even coat of glitter inside a bowl requires consistent rotation during the curing process—something nearly impossible to do by hand. A turner automates this task, ensuring professional-quality results without expensive equipment. While commercial turners exist, building your own is not only cost-effective but also customizable to your workspace and project scale. This guide walks through every step of constructing a reliable, low-cost turner using common hardware and basic tools.
Why You Need a Turner for Glitter Dog Bowls
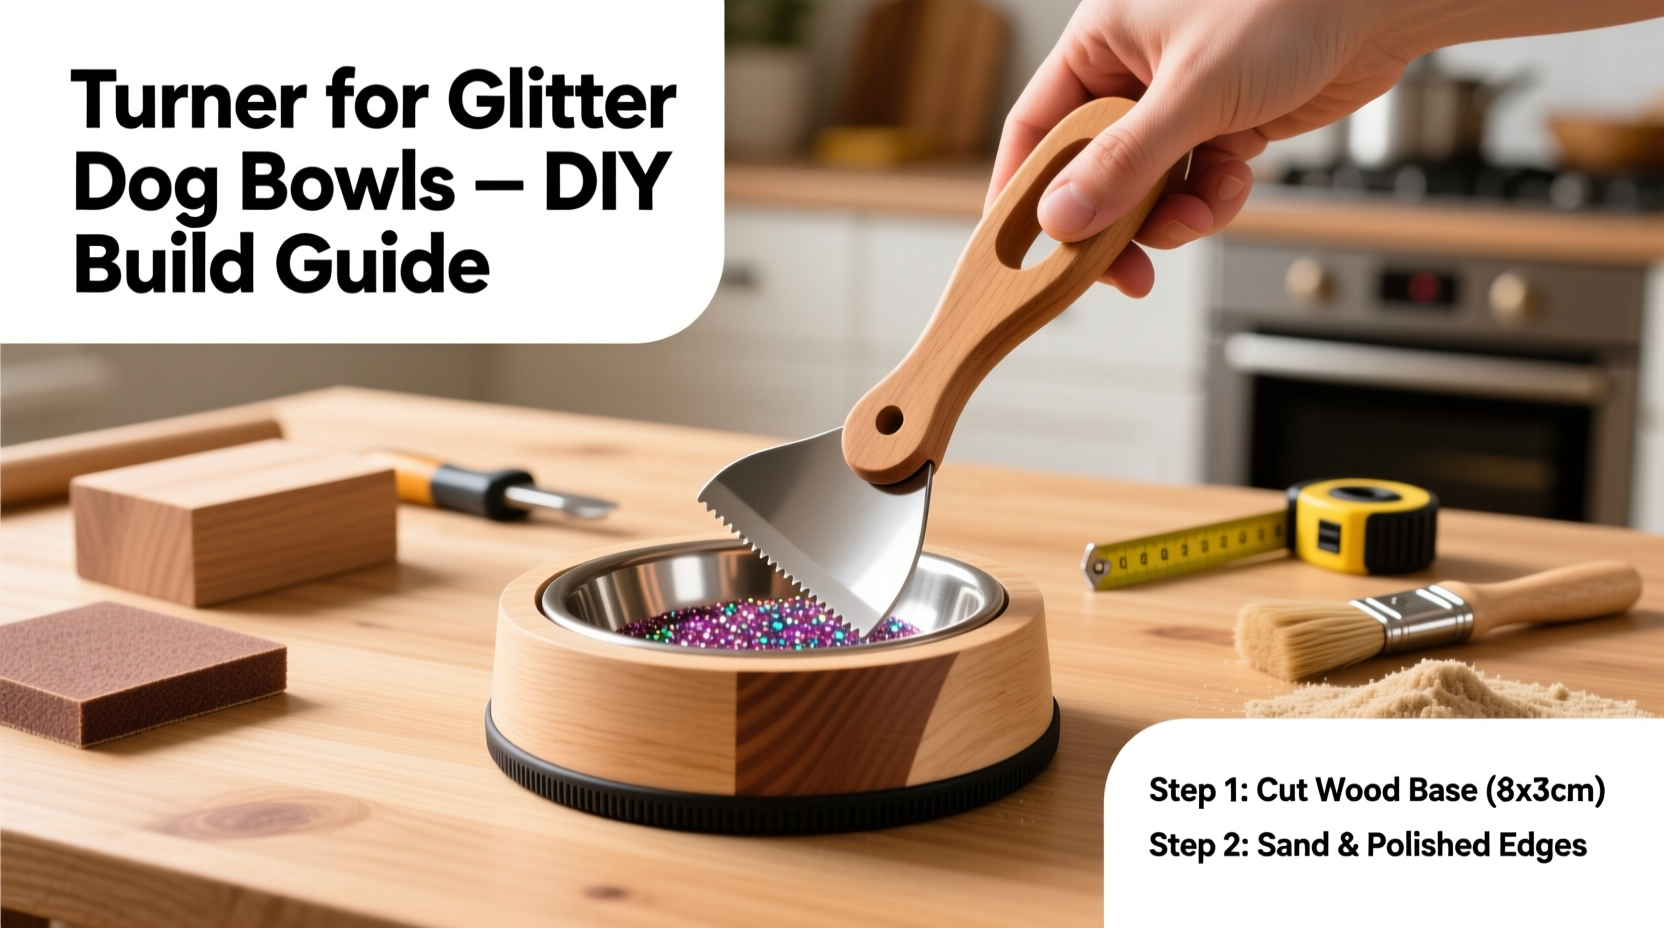
When applying glitter or epoxy coatings to dog bowls, consistency is key. Hand-spinning a bowl leads to uneven distribution, drips, and poor adhesion. A turner rotates the bowl slowly and steadily, allowing the material to settle uniformly as it cures. Without one, you risk wasted supplies and subpar finishes. Commercial turners can cost over $100, making a DIY version an attractive alternative—especially for crafters producing multiple bowls weekly.
“Even rotation is non-negotiable when working with viscous coatings like epoxy. Inconsistent turning leads to pooling and weak spots.” — Jordan Lee, Industrial Coatings Technician
Materials and Tools Required
Building a functional turner doesn’t require advanced machinery. Most components are available at local hardware stores or online retailers. Below is a complete list of what you’ll need:
- DC gear motor (12V, 10–30 RPM recommended)
- Motor mount or L-bracket
- Power supply (12V adapter or battery pack)
- Rubber wheel or tire attachment (for grip)
- Wooden base (approx. 12” x 6” x ¾” plywood or MDF)
- Vertical support post (wooden dowel or metal rod, ~18” long)
- Bearings or bushings (optional, for smoother rotation)
- Screws, washers, and nuts (assorted sizes)
- Drill and drill bits
- Screwdriver and wrench set
- Hot glue gun or epoxy adhesive
- On/off switch (optional but useful)
Step-by-Step Assembly Guide
Follow these steps carefully to assemble a stable, efficient turner that will last through dozens of projects.
- Prepare the Base: Cut the wooden base to size. Sand edges smooth. This platform will hold all components and must remain level during operation.
- Mount the Motor: Secure the DC gear motor near one end of the base using screws and an L-bracket. Position it so the motor shaft extends slightly beyond the edge.
- Attach the Drive Wheel: Fix a rubber wheel to the motor shaft. This creates friction against the dog bowl’s outer rim. Use a set screw or adhesive to prevent slippage.
- Install the Support Post: At the opposite end of the base, attach a vertical post. This holds the top of the bowl in place while allowing free rotation. Drill a hole at the top to insert a small bolt or pin that fits into the bowl’s center indentation (if present).
- Add Stability Features: For heavier bowls, install a second support arm or use ball bearings around the post to reduce wobble.
- Wire the Power Supply: Connect the motor leads to a 12V power source. Include an on/off switch in-line for convenience. Test rotation direction and adjust polarity if needed.
- Test the Setup: Place a dog bowl on the turner so the rim contacts the rubber wheel and the center rests on the support post. Turn on the motor and observe for balance and smooth motion.
Optimizing Performance: Do’s and Don’ts
| Do | Don't |
|---|---|
| Use bowls with uniform outer rims for consistent contact with the drive wheel | Over-tighten the support post—this can restrict rotation |
| Balance the bowl before starting; slight wobbling causes uneven coating | Run the turner unattended for long periods without checking alignment |
| Apply painter’s tape to the rubber wheel to increase grip if slipping occurs | Use motors faster than 30 RPM—too much speed causes centrifugal flinging of glitter |
| Clean the drive wheel regularly to prevent residue buildup | Place the turner on an unstable surface; vibrations affect finish quality |
Real Example: Sarah’s Home Craft Business
Sarah, a pet product crafter from Portland, started making glitter dog bowls as gifts for friends. After receiving repeated requests, she launched an Etsy shop. Initially, she tried rotating bowls by hand, spending 20 minutes per piece with inconsistent results. Drips and patchy glitter led to customer complaints. She invested $80 in a pre-made turner but found it too bulky for her apartment studio. Inspired by online forums, she built her own using a $25 motor and scrap wood. Her new DIY model was quieter, lighter, and fully adjustable. Within three months, her rejection rate dropped from 1 in 5 bowls to less than 1 in 20. “The homemade turner paid for itself in two weeks,” she says. “Now I can batch-coat six bowls at once while handling orders.”
Tips for Long-Term Use and Maintenance
- Keep the motor clean and dust-free. Wipe down after each use.
- Lubricate moving parts every few months with silicone spray.
- Store the turner covered when not in use to prevent debris from entering the mechanism.
- Label cords and connections clearly to avoid wiring confusion during reassembly.
- Consider adding a timer circuit to auto-shut off after 8–12 hours, matching typical epoxy cure times.
Frequently Asked Questions
Can I use an AC motor instead of DC?
While possible, AC motors typically run at much higher speeds (over 1000 RPM), which is far too fast for this application. A DC motor with gear reduction allows precise control at low RPM, making it ideal for slow, steady rotation.
What if my bowl doesn’t have a center indent for the support post?
You can create a cradle using foam padding or a 3D-printed adapter. Alternatively, use two opposing drive wheels powered by the same motor to rotate the bowl without a central support.
How long should I run the turner?
Most epoxy-based glitter coatings require 8 to 12 hours of continuous rotation. Check manufacturer instructions for exact cure times. Avoid stopping midway, as this can cause settling lines.
Final Checklist Before First Use
- Verify motor spins smoothly when powered
- Confirm bowl sits level and rotates freely
- Check all screws and mounts are tight
- Ensure power cord is secured and won’t tangle
- Test with a dry bowl before applying any coating
- Clear workspace of pets and children during operation
Conclusion
Creating beautiful, durable glitter dog bowls at home doesn’t require expensive gear. With a modest investment in time and materials, you can build a turner that delivers consistent, high-quality results. Whether you're crafting for fun or running a small business, this DIY solution enhances precision, saves effort, and improves finish reliability. Once assembled, your turner becomes a core tool in your creative workflow—one that scales with your ambitions.
💬 Have you built your own turner? Share your modifications or success stories in the comments below!