Cats thrive on movement, texture, and tactile stimulation. One of the most effective ways to engage their natural hunting instincts is through kicker toys—long, cylindrical plush toys designed for cats to bite, kick, and wrestle with using their back legs. While commercial options exist, many contain synthetic fibers or loose parts that pose risks. Crafting your own DIY cat kicker toy allows you to control materials, ensure safety, and tailor the design to your cat’s preferences—all at a fraction of the cost.
This guide walks you through every stage of creating a durable, enticing, and completely safe kicker toy from scratch. Whether you're new to sewing or simply want a more thoughtful alternative to store-bought toys, this project offers lasting value for both you and your feline companion.
Why Cats Need Kicker Toys
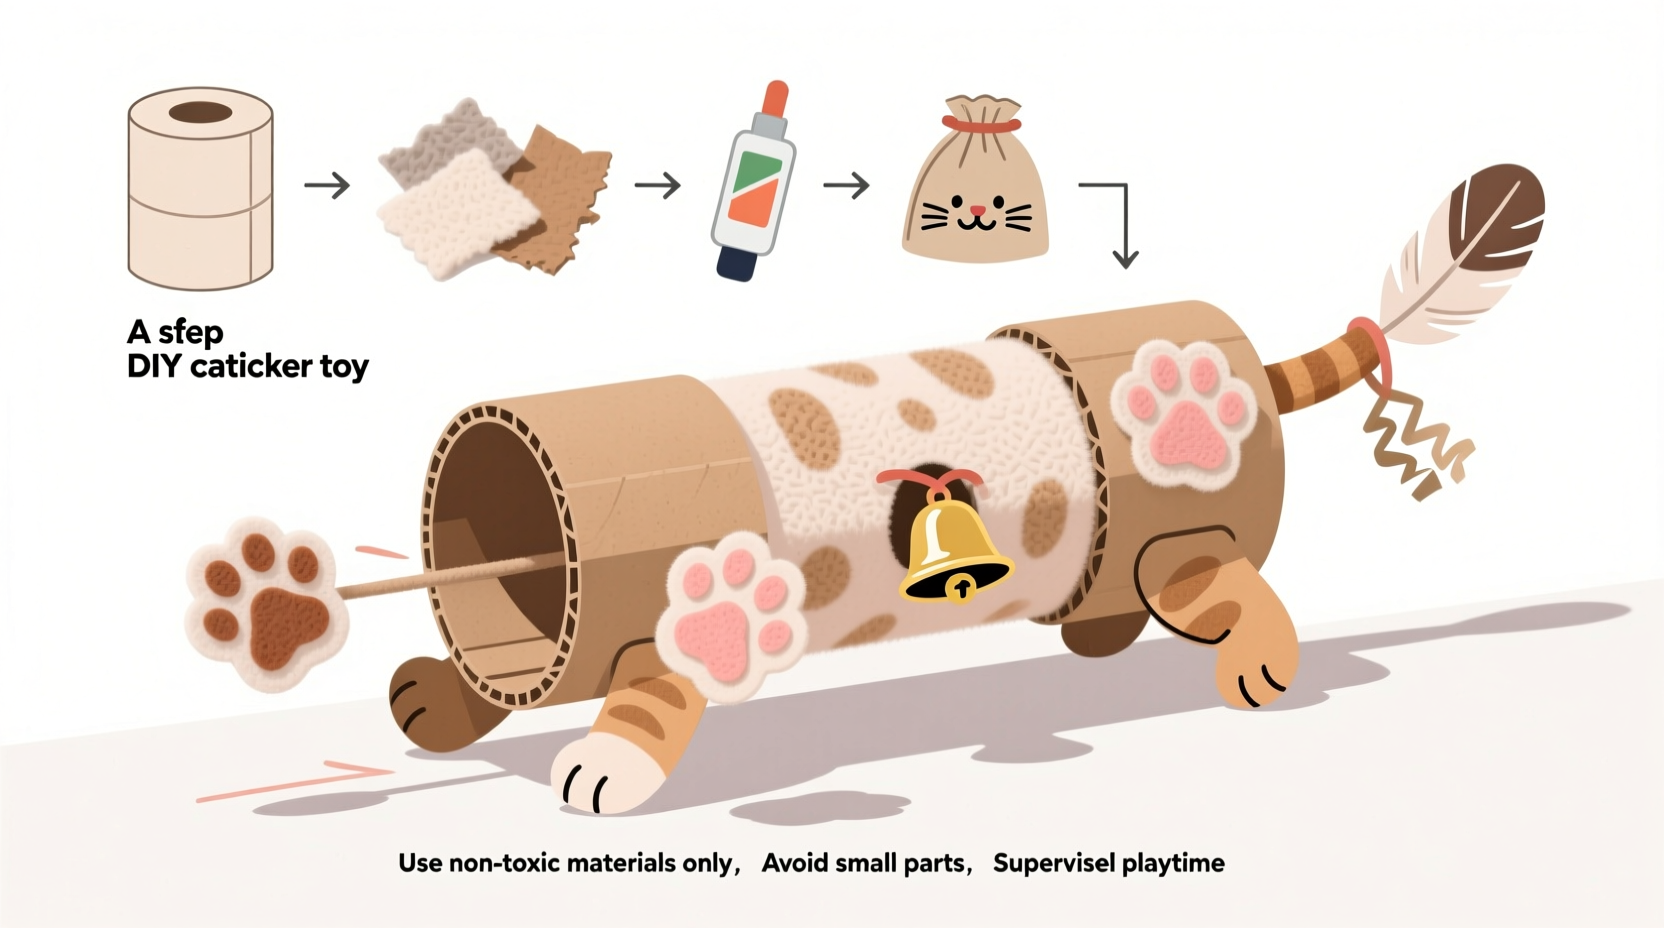
Kicker toys mimic prey-like movement and provide resistance when bitten or pawed, satisfying a cat’s predatory drive. Unlike wand toys or balls, kicker toys allow cats to fully engage their hind legs—a behavior often seen during mock attacks on small animals in the wild. Regular use of kicker toys supports muscle development, reduces stress, and prevents destructive behaviors caused by pent-up energy.
“Interactive toys like kickers are vital for indoor cats. They offer physical exercise and mental engagement, which directly contribute to long-term well-being.” — Dr. Lena Torres, Feline Behavior Specialist
Because cats often target soft, floppy areas during play, kicker toys also help redirect biting away from human hands and feet—especially important during kittenhood.
Materials You’ll Need
The key to a successful DIY kicker toy lies in choosing safe, non-toxic, and durable materials. Avoid anything with small detachable parts, excessive stuffing, or synthetic fragrances. Below is a curated list of recommended supplies:
| Material | Purpose | Safety Notes |
|---|---|---|
| Fleece or cotton fabric (scraps or remnant) | Main body and outer cover | Non-shedding, easy to clean, hypoallergenic |
| Polyester fiberfill (pet-safe) | Primary stuffing | Avoid wool or down—can clump if ingested |
| Organic catnip or silvervine (optional) | Attraction booster | Use sparingly; some cats are sensitive |
| Strong thread (polyester or nylon) | Sewing seams | Resists fraying under vigorous chewing |
| Needle (hand-sewing) or sewing machine | Assembly | Machine stitching is more durable |
| Ribbon or crinkle material (optional) | Sensory enhancement | Secure tightly; avoid long loose ends |
Step-by-Step Construction Guide
Follow these detailed steps to assemble a sturdy, cat-approved kicker toy in under an hour.
- Cut the Fabric: Cut two identical rectangles measuring 12 inches long by 3 inches wide. These will form the top and bottom of the toy.
- Sew the Long Edges: Place the rectangles together with the right sides facing inward. Sew along both long edges using a ¼-inch seam allowance. Backstitch at the beginning and end for strength.
- Turn Right Side Out: Carefully turn the tube right side out using a pencil or chopstick to push out the corners. Avoid puncturing the fabric.
- Add Internal Texture (Optional): Insert a small section of crinkle paper (from a cereal box inner liner) or a 6-inch ribbon tied in knots. This adds auditory and tactile interest.
- Begin Stuffing: Fill one end lightly with fiberfill. Add ½ teaspoon of dried catnip or silvervine if desired. Continue stuffing until the toy is firm but flexible—overstuffing can cause bursting.
- Shape the Ends: Gently pinch the open end and fold the raw edges inward about half an inch. This creates a clean closure.
- Sew Closed: Hand-stitch the opening shut using a whip stitch or ladder stitch. Knot securely and bury the thread tail inside the stuffing.
- Test for Safety: Tug gently on all seams and attachments. Ensure no threads are loose and nothing protrudes dangerously.
Design Variations and Customization Ideas
Once you’ve mastered the basic construction, consider personalizing future toys based on your cat’s personality:
- Texture Mix: Combine fleece with corduroy or mesh panels to stimulate paws and jaws.
- Scent Rotation: Alternate between catnip, valerian root, and silvervine every few weeks to maintain novelty.
- Length Adjustment: For larger cats, extend the rectangle to 15 inches for better full-body engagement.
- Interactive Add-Ons: Attach a short braided rope loop at one end for dragging games—but supervise use to prevent chewing.
Avoid adding bells, buttons, or plastic eyes. Even securely attached, these can become choking hazards if chewed off during intense play.
Mini Case Study: Reviving Play Behavior in a Senior Cat
Milo, a 10-year-old domestic shorthair, had grown increasingly sedentary over six months. His owner, Sarah, noticed he’d stopped chasing his usual toys and spent most days napping. Concerned about weight gain and low mood, she introduced a homemade kicker toy filled with silvervine and lined with crinkle material.
Within minutes of placing it near him, Milo batted it with curiosity, then launched into a full kicking sequence—something not seen in over a year. Over the next three weeks, daily 10-minute play sessions with the kicker improved his mobility and reduced nighttime vocalizations. The success was attributed to the toy’s size, which allowed him to engage without strain, and the scent enhancer, which reignited his interest.
This case highlights how even subtle changes in toy design can reawaken instinctual behaviors in aging cats.
Safety Checklist Before Playtime
Before handing the toy to your cat, verify the following:
- All seams are double-stitched or reinforced.
- No loose threads extend beyond ¼ inch.
- Stuffing is evenly distributed with no lumps.
- Any added elements (ribbons, crinkle) are securely enclosed.
- The toy passes the “tug test”—no components detach under moderate pressure.
- You plan to supervise initial interactions, especially with aggressive chewers.
Frequently Asked Questions
How often should I replace a DIY cat kicker toy?
Inspect the toy weekly. Replace it immediately if there are signs of tearing, exposed stuffing, or weakened seams. With regular use, most handmade kickers last 4–8 weeks depending on your cat’s intensity level.
Can I wash the toy?
Yes. Hand-wash in cold water with mild detergent and air-dry completely before reuse. Avoid machine washing unless the seams are professionally stitched, as agitation can weaken hand-sewn joints.
My cat ignores the toy. What should I do?
Try rubbing it with catnip or placing it near their favorite napping spot. Some cats take days to warm up to new toys. Rotate it out for a week, then reintroduce. Also, consider adjusting texture or length—some prefer softer or shorter versions.
Final Thoughts and Call to Action
Crafting a DIY cat kicker toy isn’t just a creative outlet—it’s an act of care. By investing a small amount of time and thought, you create a custom play tool that aligns with your cat’s natural behaviors and keeps them physically active and mentally sharp.
Every cat deserves enriching play, and now you have the knowledge to provide it safely and affordably. Try making one today, observe how your cat responds, and experiment with variations. Share your results, modifications, or photos in your community forums—your experience could inspire another pet parent to start sewing.
💬 Have you made a DIY kicker toy? What did your cat love (or hate)? Share your story and help others create better toys!