Every dog deserves a collar that reflects their personality—and what better way to celebrate your pup than by making one yourself? Crafting a personalized dog collar at home blends creativity with functionality, allowing you to design something both stylish and safe. Whether you're a seasoned crafter or a first-time DIYer, this guide walks you through selecting materials, adding meaningful touches, and assembling a collar that’s as durable as it is distinctive.
Why Make Your Own Dog Collar?
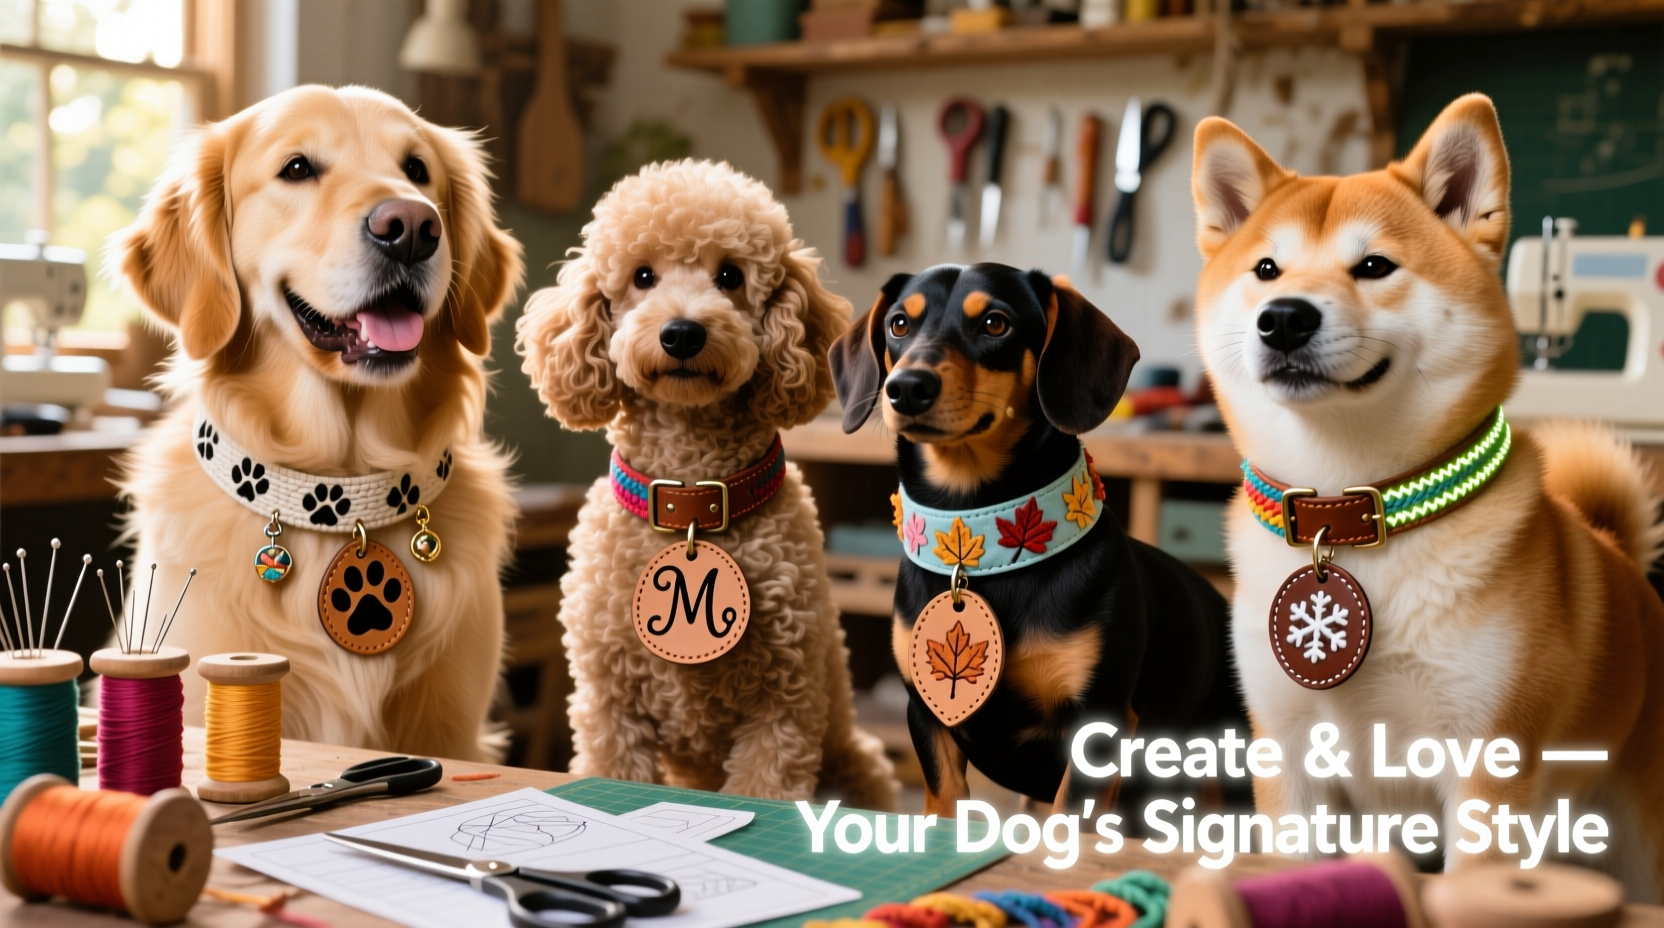
Store-bought collars often lack the personal flair pet owners want. Mass-produced designs may not suit every dog’s size, temperament, or style. By making your own, you control the fit, materials, and aesthetics. You can incorporate your dog’s name, favorite colors, or even meaningful symbols like paw prints or zodiac signs. Beyond customization, homemade collars allow you to prioritize safety—choosing hardware that won’t rust and webbing that resists wear.
“Handmade collars give pets a sense of identity while ensuring comfort and durability.” — Dr. Lena Reyes, Veterinary Behavior Specialist
Essential Materials and Tools
Before starting, gather the right supplies. Quality materials ensure longevity and safety, especially since collars are under constant strain during walks, play, and daily wear.
- Nylon or polyester webbing: Durable, lightweight, and available in various widths (¾ inch for small dogs, 1 inch for larger breeds).
- Buckle and D-ring: Choose heavy-duty plastic or metal hardware; side-release buckles are easiest to use.
- Sewing machine or heavy-duty needle and thread: Nylon thread is recommended for strength.
- Heat sealer or fray check: Prevents webbing from unraveling.
- Measuring tape and scissors: Precision ensures a proper fit.
- Embellishments: Patches, embroidery floss, fabric paint, or reflective strips.
Step-by-Step Guide to Building a Custom Collar
- Measure your dog’s neck: Wrap a soft tape measure snugly around the neck, leaving room for two fingers beneath. Add 2 inches for adjustment and hardware.
- Cut the webbing: Using sharp scissors, cut the webbing to length. Seal both ends with a lighter (carefully) or fray check.
- Attach the buckle: Slide the prong end of the buckle onto one end of the webbing and sew a box-and-X stitch for maximum strength.
- Sew on the D-ring: Position the D-ring 1–2 inches from the other end so it sits flat against the dog’s neck when worn. Reinforce with multiple stitches.
- Add personalization: Use fabric paint, iron-on patches, or hand embroidery to add your dog’s name or a fun motif.
- Test the fit: Fasten the collar and ensure it’s snug but not tight. The D-ring should lie flat without twisting.
Incorporating Reflective Elements for Safety
Nighttime walks require visibility. Sew reflective tape along the edge of the collar or choose glow-in-the-dark thread for stitching. Some crafters weave thin reflective ribbon into the webbing before sewing. This subtle addition enhances safety without compromising style.
Design Inspiration and Creative Touches
Personalization transforms a simple collar into a statement piece. Consider these ideas:
- Themed collars: Beach-loving dogs might sport a turquoise collar with seashell embroidery; holiday editions can feature plaid patterns or snowflake studs.
- Memory collars: For rescue dogs, include a charm engraved with their adoption date.
- Matching owner-pet sets: Coordinate your leash and collar with your own accessories using similar fabrics or color palettes.
- Behavioral cues: Use color coding—red for “caution,” yellow for “nervous”—to signal temperament to others.
| Design Idea | Best For | Materials Needed |
|---|---|---|
| Name embroidery | All dogs | Embroidery floss, transfer pen, stabilizer |
| Floral patchwork | Small breeds, fashion-forward pups | Felt flowers, fabric glue, iron-on adhesive |
| Adventure-ready | Active dogs | Water-resistant webbing, carabiner clip, GPS tag holder |
| Vintage charm | Retro-loving owners | Antique brass hardware, lace trim, leather tag |
Common Mistakes to Avoid
Even well-intentioned projects can go wrong. These pitfalls compromise safety or comfort:
- Poor stitching: Weak seams break under tension. Always double-stitch stress points.
- Over-decorating: Heavy charms or bulky patches can snag or irritate the dog’s neck.
- Incorrect sizing: Too loose risks escape; too tight causes chafing. Re-measure if your dog gains or loses weight.
- Using non-dog-safe materials: Avoid toxic glues, sharp embellishments, or fabrics that trap heat.
Real Example: Bella’s Rescue Collar Story
When Sarah adopted Bella, a shy border collie mix from a shelter, she wanted to create a collar that honored her new beginning. She chose a deep blue webbing—Bella’s favorite color, according to staff—and embroidered “Bella, Brave & Loved” in silver thread. She added a small heart-shaped tag with the adoption date. Over time, Bella grew more confident, and the collar became a symbol of her transformation. Neighbors began asking where they could get one, inspiring Sarah to start a small Etsy shop focused on rescue-themed designs.
FAQ
How long does it take to make a custom dog collar?
A basic collar takes 30–45 minutes for someone familiar with sewing. Embellished versions may take 1–2 hours, depending on complexity.
Can I wash a handmade collar?
Yes, but gently. Hand wash with mild soap and air dry. Remove any non-fabric embellishments beforehand to prevent damage.
Are leather collars better than nylon?
Leather is stylish and strong but heavier and less water-resistant. Nylon is lightweight, easy to clean, and ideal for active dogs. Choose based on lifestyle and climate.
Checklist: Before Wearing Your Homemade Collar
- ✅ Measured neck accurately
- ✅ Used strong, fray-resistant webbing
- ✅ Reinforced buckle and D-ring with secure stitching
- ✅ Added ID or contact information
- ✅ Checked for sharp edges or loose threads
- ✅ Tested fit and comfort on your dog
Conclusion: Craft Love, One Collar at a Time
Creating a personalized dog collar at home isn’t just about saving money—it’s an act of love. Every stitch carries intention, and every detail reflects your dog’s unique spirit. From choosing the perfect shade of webbing to embroidering their name with pride, the process strengthens the bond between pet and owner. With the right tools, attention to safety, and a spark of creativity, you can design a collar that stands out in the park and lasts through countless adventures.
💬 Share your custom collar creations online and inspire fellow pet parents! Tag your photos #HomemadeWithLovePup and start a trend of thoughtful, handcrafted pet gear.