Every dog deserves identification that reflects their personality while standing up to daily wear. Store-bought dog tags are functional, but crafting your own allows for unmatched personalization and durability when done right. With the right materials, tools, and attention to detail, you can create tags that are not only meaningful but also resistant to chipping, fading, and corrosion. This guide walks through proven methods to design and build long-lasting, custom dog tags at home—perfect for pet owners who value both style and practicality.
Selecting the Right Materials for Longevity
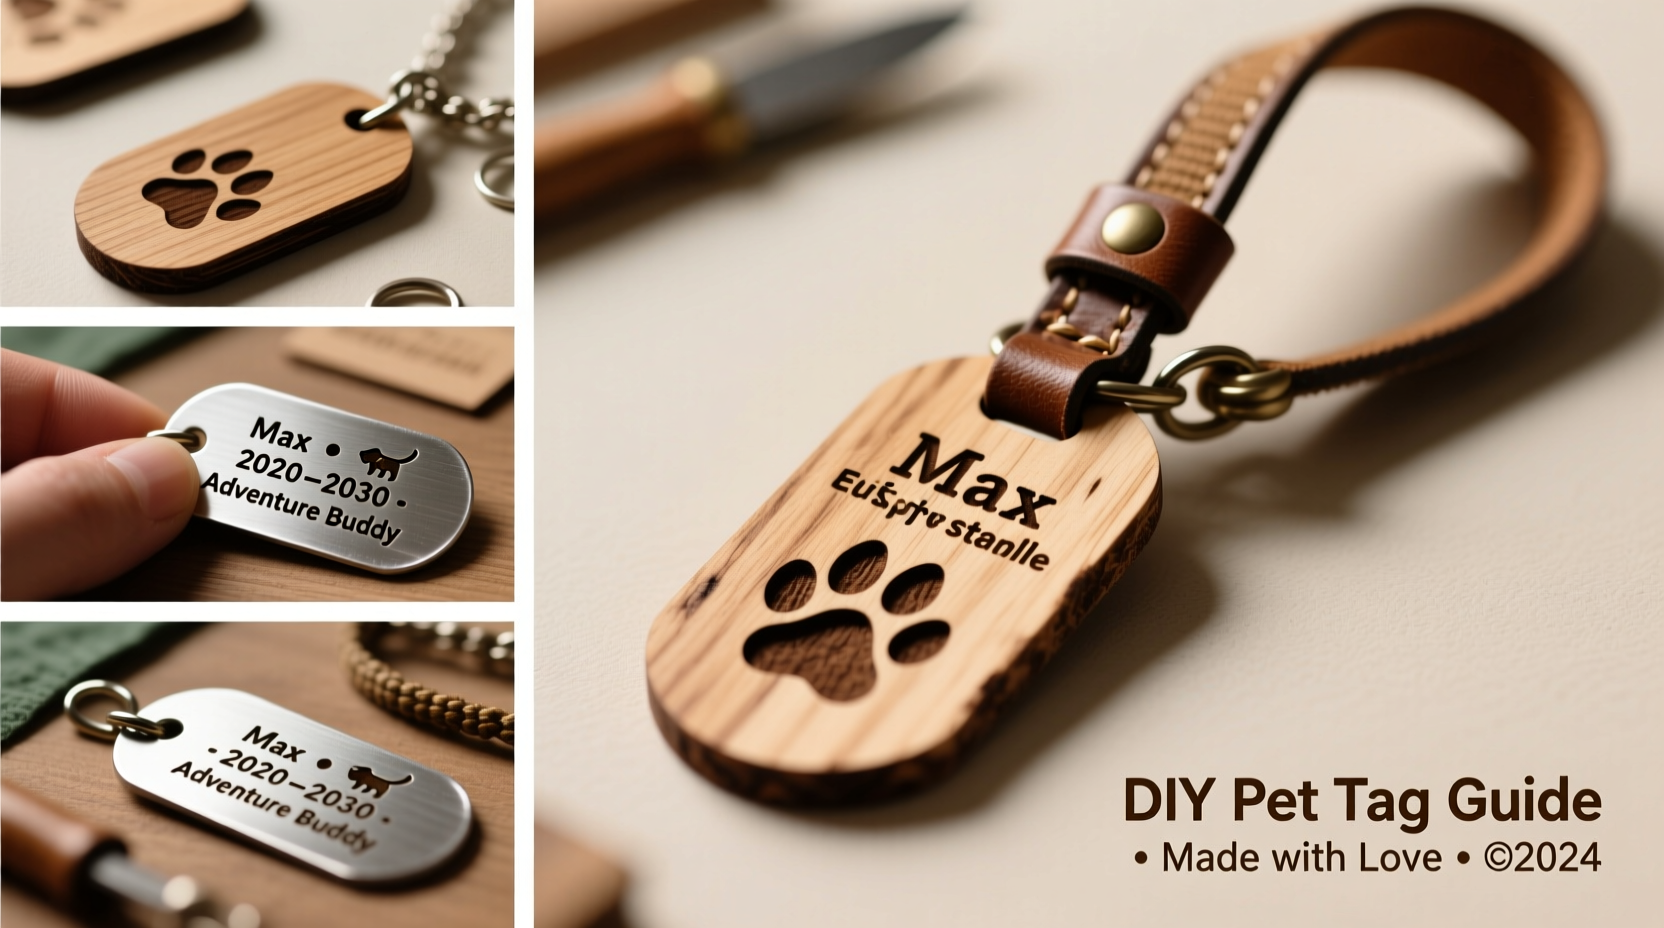
The foundation of a durable dog tag lies in material choice. Not all metals or substrates withstand chewing, scratching, and exposure to moisture equally. While aluminum is lightweight and easy to engrave, it dents easily. Stainless steel offers superior resistance to rust and impact, making it ideal for active dogs. For non-metal options, anodized aluminum or UV-protected acrylic sheets can work well if sealed properly.
Beyond metal type, consider thickness. Tags under 0.5mm may bend or break; aim for 1–2mm thickness for reliable sturdiness. If using polymer clay or resin, ensure full curing and apply multiple layers of waterproof sealant.
Tip: Test metal hardness by lightly scratching with a key—if it marks easily, it’s too soft for long-term use.Design Principles for Clarity and Personal Touch
A dog tag must be legible in emergency situations. Prioritize clear fonts and essential information: your dog’s name and your phone number at minimum. Include secondary contact details or medical notes (e.g., “Allergic to penicillin”) only if space allows without crowding.
Personalization elevates function into keepsake. Engraved paw prints, breed silhouettes, or favorite colors add charm. Use contrast effectively—dark lettering on light backgrounds or vice versa—to enhance readability. Avoid overly decorative scripts that compromise clarity.
“Legibility saves lives. A tag should communicate critical info within seconds, even in low light.” — Dr. Lena Reyes, Veterinary Emergency Specialist
Step-by-Step Guide to Crafting Metal Dog Tags
Making professional-grade metal tags at home is achievable with basic tools. Follow this timeline for polished results:
- Sketch your design on paper or digitally. Include layout zones for text and graphics.
- Cut the metal blank using aviation snips or a jeweler’s saw. File edges smooth.
- Polish the surface with fine-grit sandpaper (400+ grit), then wipe clean.
- Transfer your design via stencil, tape-on print, or freehand marker.
- Engrave letters and shapes using a rotary tool with a carbide bit or hand engraving set.
- Darken engravings by rubbing with black enamel paint or permanent marker, then wiping excess.
- Seal the tag with clear nail polish or jewelry-grade lacquer to prevent oxidation.
- Attach a split ring and test fit on collar.
Alternative Methods for Non-Metal Tags
For those avoiding metal, several alternatives offer durability with creativity:
- Polymer Clay: Sculpt, bake, and seal with UV-resistant varnish. Can embed charms or textures.
- Resin Tags: Pour epoxy into silicone molds, adding inkjet-printed designs beneath. Sand edges post-cure.
- Laser-Cut Wood: Use birch plywood, engrave with CO₂ laser, and seal with marine-grade polyurethane.
Each method requires sealing against moisture. Apply at least three thin coats of waterproof finish, allowing full drying between layers. Avoid adhesives that yellow over time, such as standard glue sticks or Mod Podge, unless specifically labeled archival and weatherproof.
Do’s and Don’ts: Material & Process Comparison
| Material | Do’s | Don’ts |
|---|---|---|
| Stainless Steel | Use diamond-coated engraving bits; apply anti-tarnish cloth storage | Don’t skip edge filing—sharp edges harm collars and skin |
| Anodized Aluminum | Engrave gently to avoid chipping coating; store indoors | Don’t expose to saltwater or acidic cleaners |
| Polymer Clay | Bake per manufacturer time/temp; seal with spray varnish | Don’t leave in hot cars—can warp above 175°F |
| Epoxy Resin | Mix thoroughly; pour in dust-free environment | Don’t rush demolding—wait full 24–72 hours |
Real Example: Max’s Adventure-Proof Tag
Sarah, a hiking enthusiast from Colorado, needed a tag for her Australian Shepherd, Max, who swims in alpine lakes and scrambles over rocks. She opted for a 1.5mm stainless steel disc, 1.25 inches wide. Using a Dremel with a pointed bit, she engraved “Max – Call Sarah: 719-XXX-XXXX” in bold block letters. After darkening the grooves with black paint, she applied two coats of clear enamel. The tag has survived nine months of rugged trails, weekly baths, and one accidental dishwasher cycle—all without fading or loosening.
“I wanted something tough enough to match his energy,” Sarah said. “Now people compliment his tag more than his bandana.”
Checklist: Building Your Own Dog Tag at Home
- ☐ Choose a durable base material (stainless steel, anodized aluminum, or sealed polymer)
- ☐ Measure and cut blank to desired size (1–1.5 inches typical)
- ☐ Smooth all edges with sandpaper or file
- ☐ Transfer design accurately using stencil or printed template
- ☐ Engrave or etch text and graphics with consistent depth
- ☐ Enhance visibility with contrasting fill (paint, marker, patina)
- ☐ Seal entire surface with waterproof, non-toxic coating
- ☐ Attach securely with a nickel-free split ring
- ☐ Test legibility after 48 hours of wear
Frequently Asked Questions
Can I use nail polish as a sealer?
Yes, but only as a temporary solution. Standard nail polish chips and fades quickly. Opt for gel nail polish or specialized metal sealants for lasting protection.
How do I make a tag for a puppy whose collar will grow?
Create two tags: one current size, one larger. Engrave both with the same contact info. Switch when needed. Alternatively, use an adjustable leather collar with a central tag slot.
Is it safe to laser-engrave coated metals at home?
Only in well-ventilated areas with proper safety goggles. Laser engraving coated metals can release toxic fumes. Consider using pre-anodized blanks designed for hobbyist lasers.
Final Thoughts and Next Steps
Homemade dog tags blend craftsmanship with care. When built thoughtfully, they outperform mass-produced versions in both emotional value and resilience. Whether you're engraving steel with precision tools or shaping polymer clay with kids, the result is a unique piece of identification that speaks to your dog’s identity and your commitment to their safety.
💬 Ready to craft a tag that tells your dog’s story? Gather your materials this weekend and start designing. Share your creation online to inspire others—because every great idea begins with a single paw print.