Every dog deserves a leash that’s both functional and fun. Store-bought options often lack personality or break down after repeated use. By making your own dog leash at home, you gain full control over materials, design, and durability. Whether you're crafting for a small Chihuahua or a sturdy Labrador, a handmade leash can be tailored to suit your pet’s size, energy level, and style. With basic tools and thoughtful planning, you can create something that lasts longer than mass-produced alternatives while reflecting your creativity.
Why Make Your Own Dog Leash?
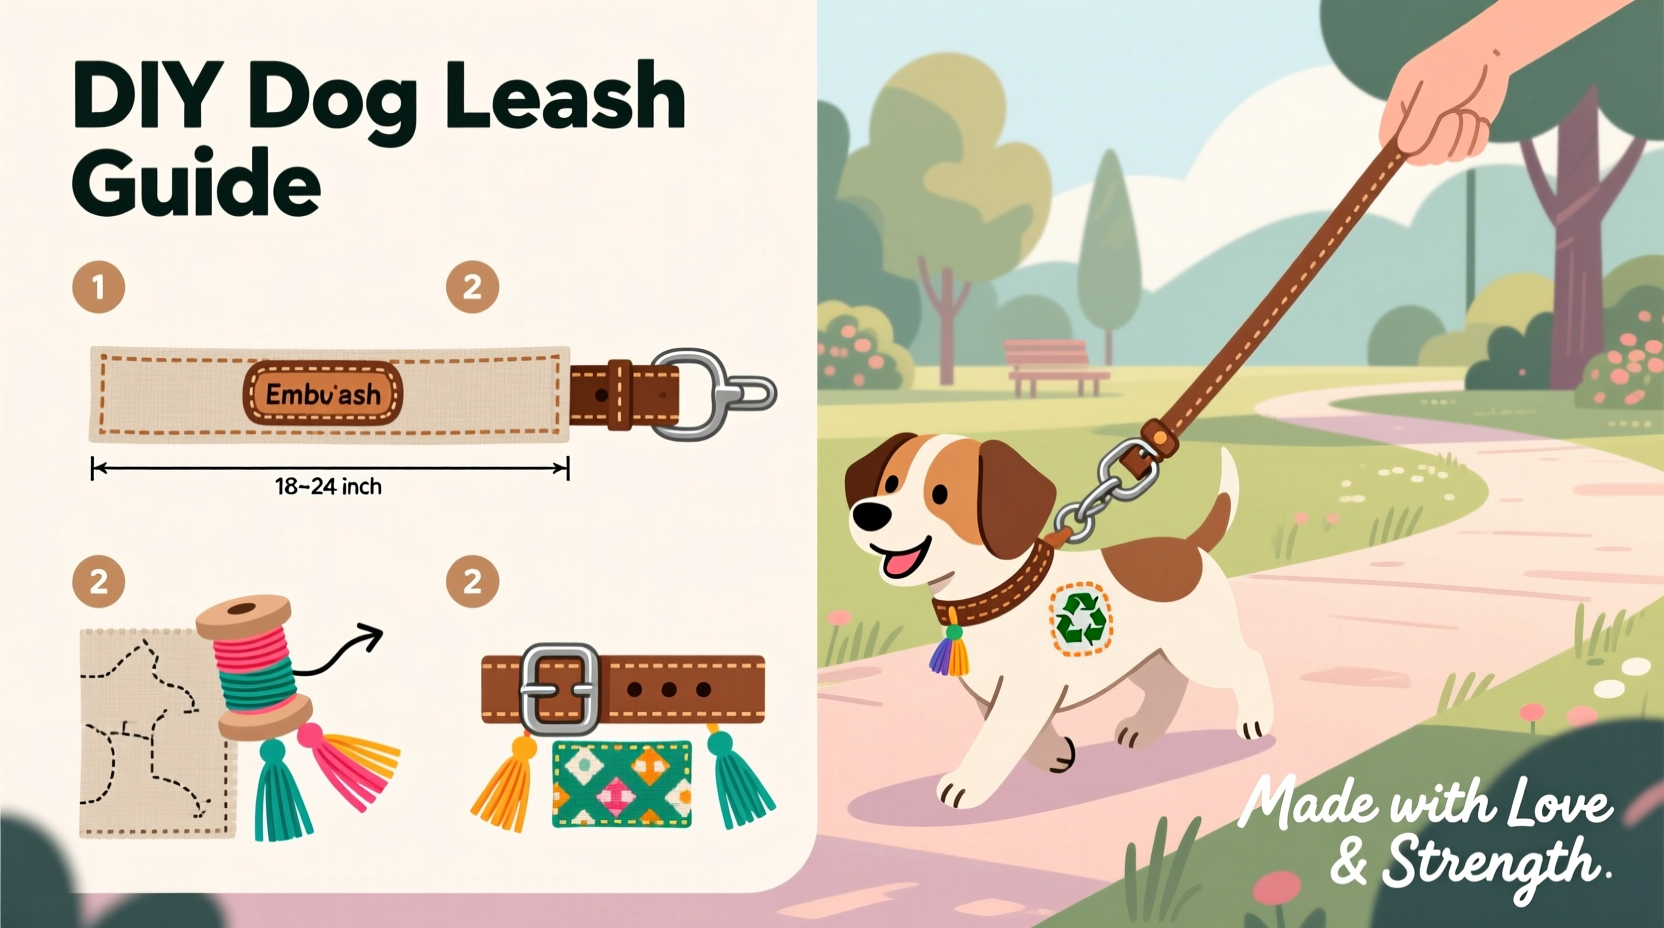
Commercial leashes vary widely in quality. Many are made with thin nylon webbing or weak clasps that wear out quickly under strain. Homemade leashes allow you to select premium components like military-grade paracord, reinforced stitching, and rust-resistant hardware. Beyond durability, custom leashes let you express personal flair—choose colors that match your dog’s collar, add embroidery, or weave in reflective thread for nighttime safety.
Additionally, DIY projects foster a deeper connection between pet and owner. Knowing exactly what materials touch your dog’s neck brings peace of mind, especially if your pet has sensitive skin or allergies. You also avoid supporting unethical manufacturing practices by sourcing eco-conscious or recycled materials.
Tip: Always test your finished leash with light tension before using it on walks—better safe than sorry.Materials and Tools You’ll Need
The foundation of any durable leash lies in its construction materials. Below is a breakdown of essential supplies, categorized by function:
| Component | Recommended Options | Avoid |
|---|---|---|
| Webbing/Cord | 1-inch nylon webbing, paracord (Type III), biothane | Thin rope, elastic bands, shoelaces |
| Buckle/Clasp | Heavy-duty spring snap hook, bolt snap, side-release buckle | Plastic clips, flimsy metal clasps |
| Hardware | Brass or nickel-plated D-rings, swivel connectors | Rusty or painted metals |
| Sewing Tools | Industrial needle, heavy-duty thread (bonded nylon), sewing machine | Standard household thread, hand-stitching only for load-bearing seams |
Biothane is particularly popular among DIY enthusiasts due to its waterproof nature, resistance to odor, and ease of cleaning. Paracord offers high tensile strength and decorative braiding potential. Nylon webbing remains the most accessible and cost-effective choice for beginners.
Step-by-Step Guide to Building a Braided Paracord Leash
This method creates a stylish, strong, and comfortable-to-hold leash ideal for medium to large dogs. The triple braid design distributes pressure evenly and resists fraying.
- Cut three lengths of paracord: Each should be 15 feet long. Choose contrasting colors for visual appeal.
- Secure one end: Tie all three cords together with a tight overhand knot. Attach this knot to a fixed point like a doorknob or clamp.
- Begin the braid: Arrange the cords into a triangle formation. Cross the right cord over the middle, then the left over the new middle. Repeat consistently.
- Maintain even tension: Pull gently after each crossover to keep the braid snug but not twisted.
- After 4 feet, add a handle loop: Fold the bundle into a U-shape about 12 inches from the end. Continue braiding around the loop base to form a secure grip section.
- Finish the main length: Braid until you have approximately 3 feet remaining.
- Create the attachment end: Unbraid the last 6 inches. Melt the ends slightly to prevent unraveling. Thread them through a heavy-duty bolt snap and tie off internally with multiple square knots. Seal with fabric glue.
- Trim and finish: Cut excess cord and melt ends carefully with a lighter (away from pets).
“We’ve seen a rise in owners opting for custom-built leashes—especially those with active or service dogs. A well-made DIY leash can exceed retail standards when proper materials and techniques are used.” — Dr. Lena Patel, Veterinary Behavior & Equipment Safety Consultant
Design Ideas for Cute and Functional Customization
Durability doesn’t mean sacrificing charm. With simple additions, your leash becomes a statement piece.
- Color blocking: Use alternating sections of webbing in seasonal hues—pink and mint for spring, orange and black for fall.
- Embroidery: Stitch your dog’s name or a small heart near the handle using UV-resistant thread.
- Reflective threading: Weave in reflective yarn or use glow-in-the-dark paracord for evening visibility.
- Pom-poms or tassels: Add these to the handle end (non-load-bearing area) for playful flair.
- Quick-detach pockets: Sew a small pouch to hold waste bags or treats using water-resistant fabric.
Mini Case Study: Bella the Escape Artist
Sarah from Portland adopted Bella, a clever Jack Russell Terrier prone to slipping out of standard collars. Frustrated by broken leashes and failed walks, she decided to build her own. Using 1-inch biothane webbing and a double-locking carabiner, she created a 6-foot leash with a padded neoprene handle. She added a secondary tether that clipped to Bella’s harness for extra security. After six months of daily use—including hikes and beach trips—the leash shows no signs of wear. “It’s the only one Bella hasn’t chewed through,” Sarah says. “And it matches my hiking gear!”
Safety Checklist Before First Use
Before taking your homemade leash on a walk, verify the following:
- ✅ All knots are tight and sealed with fabric glue or heat (for synthetic cords).
- ✅ Metal hardware moves freely without sharp edges or corrosion.
- ✅ Seams (if sewn) use backstitching at stress points and bonded nylon thread.
- ✅ Load-bearing sections have no frays, weak spots, or loose weaves.
- ✅ Clasp opens and closes smoothly but requires deliberate force to release.
- ✅ Total length meets local leash laws (typically 4–6 feet in urban areas).
Frequently Asked Questions
Can I make a leash for a very strong dog at home?
Absolutely—provided you use appropriate materials. For powerful breeds like Huskies or Boxers, opt for 1-inch-wide nylon webbing or biothane with a minimum tensile strength of 600 pounds. Reinforce stitching with bar tacks and use a bolt snap rated for climbing or marine use.
How do I clean a homemade leash?
Most DIY leashes can be wiped down with a damp cloth and mild soap. For deeper cleaning, remove non-waterproof attachments and hand-wash in lukewarm water. Air dry completely before storage. Avoid machine washing unless all components are explicitly labeled as washable.
Is it cheaper to make a leash than buy one?
Initial tool investment (like a heavy-duty needle or sewing machine) may be higher, but per-unit cost drops significantly. A quality store-bought leash ranges from $25–$50. DIY versions typically cost $10–$18 in materials and can be customized repeatedly.
Final Thoughts and Call to Action
Creating a dog leash at home isn’t just a craft—it’s an act of care. You’re building more than a tool; you’re crafting a safer, more personalized walking experience for your pet. With attention to detail and respect for structural integrity, your DIY leash can outperform commercial models in both longevity and emotional value.
Start small: try a simple single-webbing design before advancing to braids or multi-functional builds. Document your process, share photos with fellow pet owners, and refine your technique with each project. The satisfaction of seeing your dog trot proudly on a leash you made is unmatched.
🚀 Grab your materials today and make your first custom leash this weekend. Share your creation online with #DIYPetStyle—we’d love to see what you build!