Creating a strong, functional dog leash at home doesn’t require advanced crafting skills or specialized tools. For pet owners who want a personalized, eco-friendly alternative to store-bought leashes, yarn offers a surprisingly robust base material—especially when prepared and assembled correctly. This guide walks through how to make a high-strength dog leash entirely from yarn, using only basic knotting and braiding methods. No crochet, no sewing machine, no prior experience required.
The result is a lightweight yet resilient leash that can withstand daily walks, energetic tugs, and outdoor elements—all while reflecting your personal style through color choices and pattern variations. With the right materials and technique, yarn-based leashes can rival commercial nylon versions in durability.
Selecting the Right Yarn for Strength and Safety
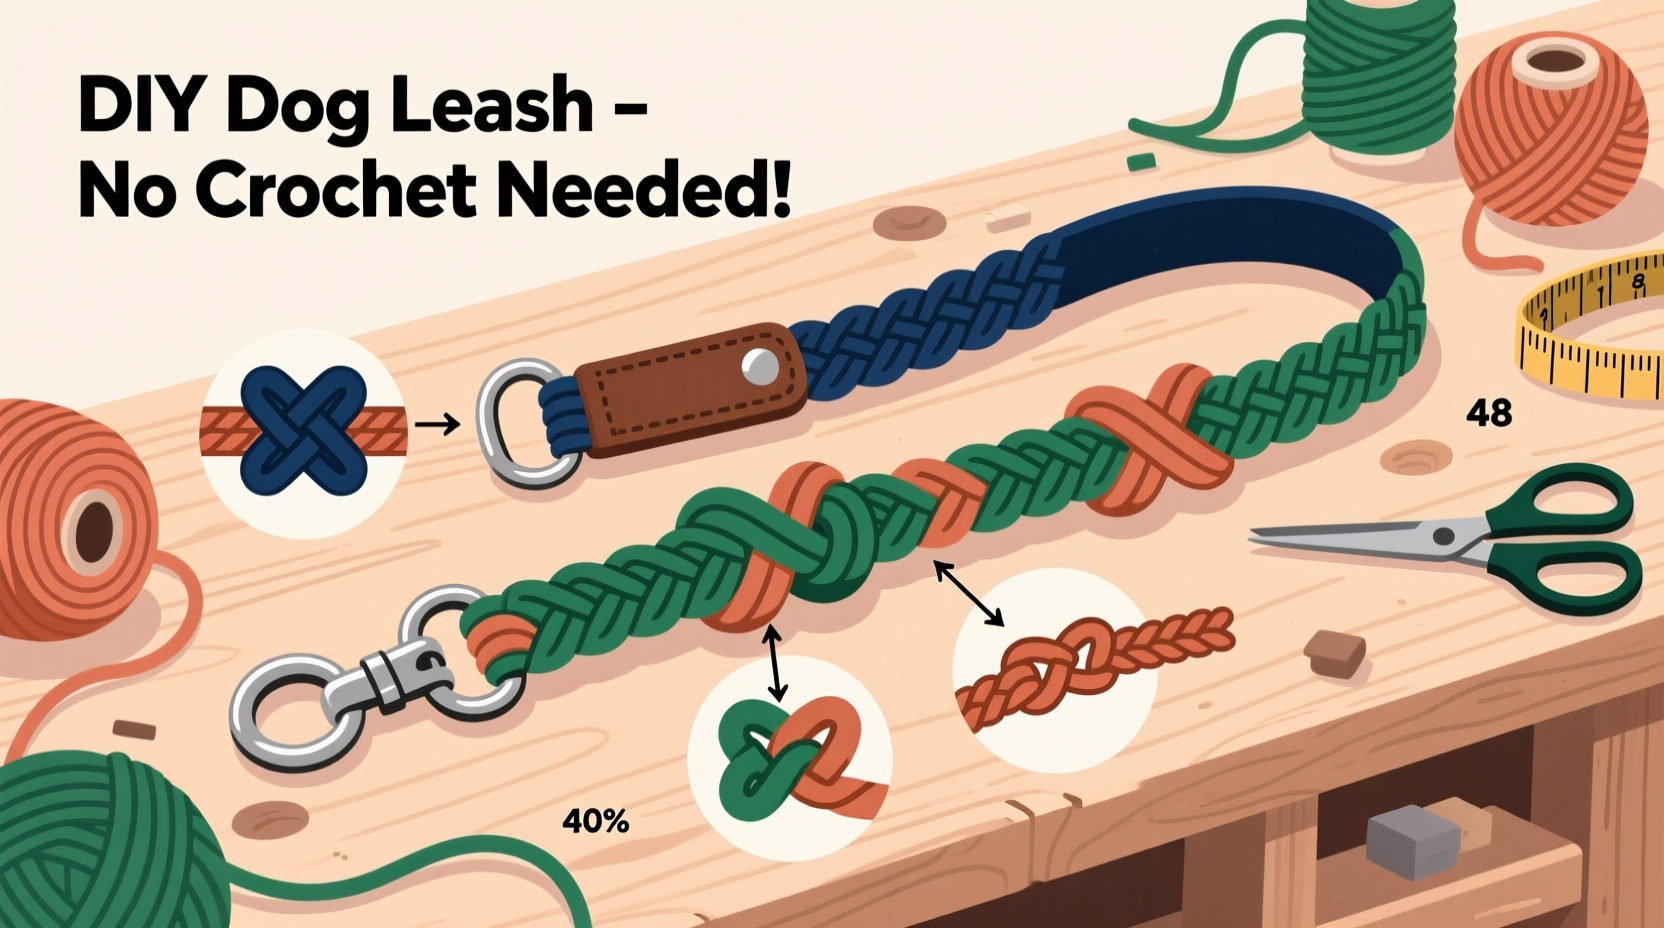
Not all yarn is suitable for load-bearing applications like dog leashes. Standard acrylic or wool yarns used in sweaters may stretch, fray, or break under tension. The key is selecting a fiber engineered for resilience and abrasion resistance.
Look for:
- Bulky-weight (size 5) or super bulky (size 6) yarn – Thicker strands contribute to overall strength and grip.
- Synthetic blends with nylon or polyester – These fibers resist moisture, UV degradation, and stretching.
- Machine-washable labels – A sign of durability and resistance to wear.
- Minimal twist or plying – Avoid loosely spun yarns; tightly twisted multi-ply options hold up better.
Recommended Yarn Types
| Yarn Type | Strength | Weather Resistance | Best Use Case |
|---|---|---|---|
| Nylon-blend bulky | ★★★★☆ | ★★★★★ | Ideal for all climates |
| Polyester rope yarn | ★★★★★ | ★★★★★ | Heavy chewers or large dogs |
| Acrylic worsted | ★★☆☆☆ | ★★☆☆☆ | Light use, small breeds only |
| Cotton blend | ★★★☆☆ | ★★☆☆☆ | Dry environments only |
Step-by-Step Guide: Braided Yarn Leash Construction
This method uses a 4-strand braid technique, which creates a tighter, more compact structure than traditional 3-strand braids. It resists unraveling and distributes tension evenly across multiple fibers.
- Gather Supplies: You’ll need 4 skeins of identical synthetic-blend bulky yarn, scissors, masking tape, a sturdy anchor point (like a doorknob), and a ruler or measuring tape.
- Prepare Strands: Cut four lengths of yarn, each 12 feet long. Tape one end of all four together to form a single starting point.
- Anchor the Bundle: Secure the taped end to a fixed object at waist height. This allows both hands to work freely during braiding.
- Begin the 4-Strand Braid:
- Arrange strands vertically side by side: Left (L), Middle Left (ML), Middle Right (MR), Right (R).
- Cross L over ML, then MR over R.
- Now move the new leftmost strand (formerly ML) over the next inward strand.
- Repeat this alternating crossover pattern down the length, maintaining consistent tension.
- Maintain Even Tension: Pull gently after every few inches to keep the braid tight but not strained. Uneven pressure leads to weak spots.
- Finish the End: Once you reach 5–6 feet (standard leash length), tie the far end into a tight overhand knot and secure with tape until final finishing.
Reinforcing the Structure
To increase tensile strength, soak the finished braid in a diluted fabric stiffener solution (1 part white glue to 3 parts water) for 10 minutes. Hang vertically to dry completely. This coating binds fibers together and reduces fraying.
“Even non-traditional materials like yarn can perform well under stress if properly constructed. The braid geometry matters more than the fiber alone.” — Dr. Lena Patel, Textile Engineer & Pet Product Consultant
Adding Functional Hardware Without Tools
A leash is only as strong as its weakest connection point. Attaching a reliable clasp ensures safety during walks.
You don’t need soldering or stitching. Instead, use a simple loop-and-knot system:
- Create a 4-inch loop at one end of the braid by folding it back on itself.
- Thread the loose end back through the last 6 inches of braid, forming an internal weave.
- Tie a double fisherman’s knot inside the braid to lock the loop permanently.
- Slide a metal spring snap hook (available at hardware stores) into the loop before sealing.
- Apply a drop of fabric glue at the knot site to prevent slippage.
Testing Durability and Real-World Performance
Jessica M., a dog trainer in Portland, OR, tested a homemade yarn leash on her 60-lb Australian Shepherd mix for three weeks. She walked him twice daily on paved streets, trails, and near water sources.
After two weeks of regular use, she reported: “I was skeptical at first, but the braid held up better than expected. No fraying, even when he lunged at a squirrel. I hand-washed it once with mild soap, and it dried quickly. The bright blue and gray colors still look vibrant.”
She did note one limitation: prolonged exposure to mud caused slight stiffness until washed. Her solution was to apply a light coat of waterproofing spray after cleaning, which improved performance.
Do’s and Don’ts of Yarn Leash Maintenance
| Do | Don’t |
|---|---|
| Inspect weekly for frays or weak knots | Leave the leash outdoors overnight |
| Hand wash with cold water and gentle detergent | Put it in the dryer or expose to high heat |
| Store indoors in a dry place | Use on aggressive chewers unsupervised |
| Reinforce knots with glue every month | Allow excessive dirt buildup |
Frequently Asked Questions
Can a yarn leash really support a large dog?
Yes—if made with high-tensile synthetic yarn and a tight 4-strand braid. When properly constructed, such a leash can handle forces exceeding 100 pounds, sufficient for most dogs under controlled walking conditions. However, it should not replace a heavy-duty chain or seatbelt-style harness for escape-prone or extremely powerful breeds.
How long does it take to make one?
Approximately 45 to 75 minutes for a beginner, including preparation and drying time. With practice, construction can be completed in under 30 minutes. Most of the time is spent braiding steadily and ensuring uniform tension.
Is this safe for puppies or dogs that chew?
Only under supervision. While the stiffened braid resists casual nibbling, determined chewing will eventually compromise integrity. Always monitor your dog during initial use. Consider this design best suited for dogs with good leash manners.
Final Checklist Before First Use
- ✅ All four strands are continuous and equally tensioned
- ✅ Braid is fully dried (if stiffener applied)
- ✅ Snap hook is securely seated in reinforced loop
- ✅ No visible gaps, twists, or loose sections in braid
- ✅ Total length is between 5 and 6 feet
- ✅ Passed manual tug test without slipping or breaking
Conclusion: Craft Confidence with Every Step
Creating a dependable dog leash from yarn without crocheting proves that practicality and creativity can coexist. By choosing resilient materials, applying structural braiding techniques, and reinforcing critical junctions, you produce a tool that’s both functional and meaningful. Each walk becomes a testament to thoughtful craftsmanship.
More than just a DIY project, this leash represents a shift toward sustainable, personalized pet care. Whether you're making it for your own dog or as a gift, the process builds deeper appreciation for everyday gear. Try your first braid today—your dog might just lead the way to your next handmade adventure.
💬 Have you built a yarn leash? Share your color combos, challenges, or tips in the comments below!