Glitter transforms ordinary footwear into statement pieces, perfect for festivals, performances, or everyday flair. But achieving a dazzling effect that lasts—without shedding glitter with every step—is a common challenge. Many try quick fixes like glue and loose glitter only to see their sparkle vanish after a single outing. The key lies not in the amount of glitter applied, but in the method, materials, and finishing techniques used. With the right approach, you can create a durable, radiant finish that withstands movement, moisture, and time.
Selecting the Right Materials for Longevity
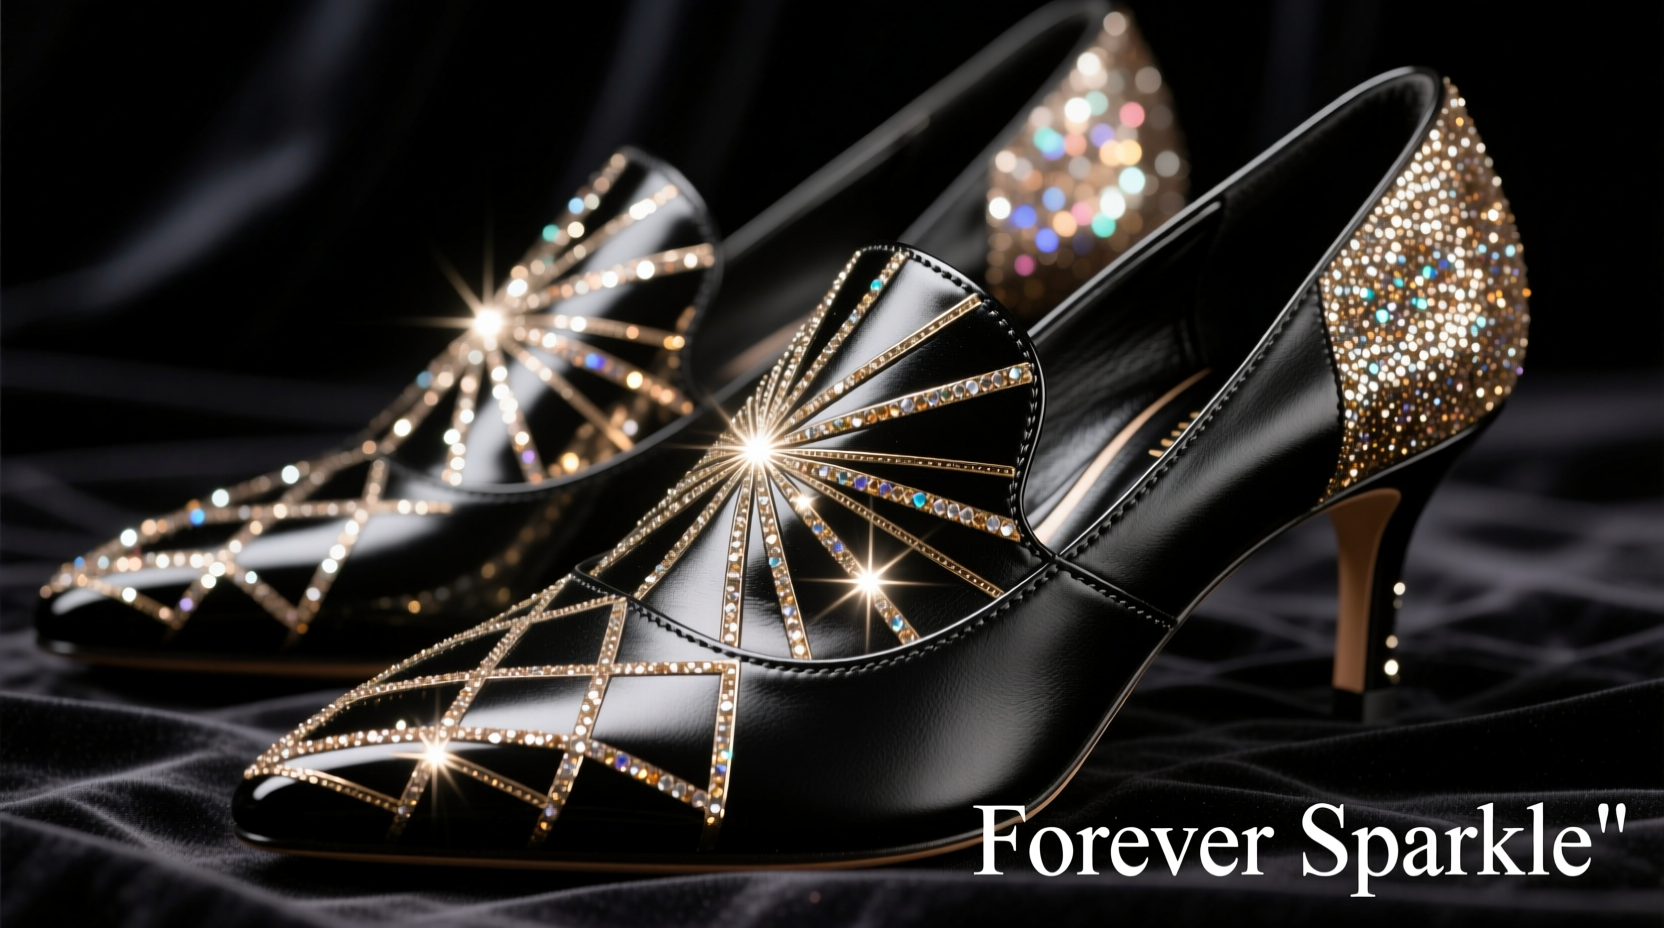
The foundation of a lasting glitter application starts with choosing compatible materials. Not all glitters, adhesives, or shoe surfaces respond the same way. Using mismatched products can result in flaking, yellowing, or texture damage.
For best results, opt for fine or ultra-fine cosmetic-grade glitter. These particles adhere more evenly and are less likely to crack under flex than coarse varieties. Avoid craft glitter made from plastic when possible; instead, choose biodegradable or polyester-based glitter designed for cosmetics or nail art, which offers better flexibility and durability.
Adhesives matter just as much. Standard white glue lacks the elasticity needed for shoe movement. Instead, use flexible bonding agents such as:
- E6000 Craft Adhesive – strong, flexible, and water-resistant once cured
- Mod Podge Outdoor Formula – provides UV and moisture protection
- Nail glue (ethyl cyanoacrylate) – excellent for small areas and synthetic materials
- Clear fabric medium mixed with acrylic paint – ideal for canvas shoes
Step-by-Step Guide to Applying Glitter That Lasts
A structured process ensures even coverage and maximum durability. Follow this timeline for professional-level results:
- Clean the Surface: Wipe down the shoe with rubbing alcohol or mild soap and water. Remove dirt, oils, and residues. Let dry completely.
- Sand if Necessary: For smooth surfaces like patent leather or plastic, lightly scuff with fine-grit sandpaper to improve adhesion.
- Apply Base Adhesive: Use a small brush to apply a thin, even layer of chosen adhesive over the area to be glittered.
- Apply Glitter Immediately: While the adhesive is wet, press glitter firmly onto the surface using a soft cloth, sponge, or fingers. Work in small sections for precision.
- Let Dry for 2–4 Hours: Allow the initial bond to set. Do not touch or handle during this phase.
- Seal with a Topcoat: Apply 2–3 thin layers of a flexible sealant like Mod Podge Sealer or Krylon Clear Acrylic Spray. Sand lightly between coats with ultra-fine paper if needed.
- Cure Fully: Wait at least 24–72 hours before wearing to ensure complete chemical curing.
This method works across various shoe types—from sneakers to heels—as long as materials are compatible.
Advanced Techniques for Creative Sparkle Effects
Beyond full-coverage glitter, consider these artistic approaches for unique finishes:
- Ombre Fade: Dip the toe into a container of adhesive, then gradually pull it out while rolling in gradient-colored glitter, blending from dark to light.
- Glitter Accents: Use painter’s tape to mask off geometric patterns or stripes before applying glitter for crisp lines.
- Embedded Sequins + Glitter: Combine larger sequins with fine glitter around the edges for dimension and texture.
- Resin Coating: For a glass-like, high-gloss finish, pour a thin layer of clear epoxy resin over dried glitter. Ideal for decorative shoes not meant for heavy walking.
| Technique | Best For | Durability | Time Required |
|---|---|---|---|
| Full Glitter Coat + Sealant | Sneakers, boots | High (3+ months) | 6–8 hours (including drying) |
| Glitter Accent Lines | Dress shoes, heels | Moderate to High | 3–4 hours |
| Epoxy Resin Finish | Artistic/custom shoes | Very High (non-flex zones) | 24+ hours |
| Spray-on Glitter Primer | Quick temporary looks | Low (1–2 wears) | 1 hour |
Common Mistakes and How to Avoid Them
Even experienced crafters make errors that compromise glitter longevity. Recognizing these pitfalls improves results dramatically.
- Skipping the sealant: Unsealed glitter will shed rapidly. A topcoat isn’t optional—it’s essential.
- Using too much glue: Thick adhesive layers crack when bent. Apply thinly and evenly.
- Wearing too soon: Premature use breaks the bond. Respect cure times for optimal strength.
- Ignoring flexibility: Rigid sealants like standard varnish fail on moving parts. Choose flexible formulas.
“Most glitter projects fail not from poor application, but from skipping the sealing stage. A good sealant locks in sparkle and protects against abrasion.” — Dana Reyes, Footwear Customization Artist
Real-World Example: Festival Sneakers That Survived a Week of Rain and Dancing
Jess, a costume designer from Austin, customized her canvas sneakers for a music festival using a layered technique. She began by painting a base coat of fabric medium mixed with iridescent glitter. After drying, she applied three thin layers of Mod Podge Outdoor, lightly sanding between each. During the event, the shoes were exposed to mud, rain, and constant movement. Yet, at the end of the week, only minimal edge wear was visible—and no glitter loss from the main panels. Her secret? Patience in sealing and choosing flexible materials suited for outdoor conditions.
Checklist: Glitter Application Success Plan
Follow this checklist to ensure your project succeeds:
- ☐ Clean and prep the shoe surface thoroughly
- ☐ Choose fine, flexible glitter suitable for wearables
- ☐ Select an adhesive with flexibility and durability
- ☐ Apply glitter while adhesive is wet and tacky
- ☐ Seal with 2–3 layers of flexible, clear topcoat
- ☐ Allow full cure time before wearing (24–72 hours)
- ☐ Store finished shoes in a dust-free box when not in use
Frequently Asked Questions
Can I wash glitter shoes?
Hand-washing is possible only if sealed properly with waterproof sealant. Use a damp cloth and mild soap; never machine wash. Water immersion weakens bonds over time, so spot cleaning is recommended.
Will glitter come off on socks or floors?
If correctly sealed, glitter should not transfer. However, unsealed or poorly coated applications will shed. Perform a tape test: press packing tape to the glittered area and pull away. If glitter sticks to the tape, add another sealant layer.
Can I glitter rubber or sole areas?
Yes, but rubber requires aggressive adhesion prep. Clean with isopropyl alcohol, lightly sand, and use E6000 or rubber-specific adhesive. Seal with a non-yellowing spray to prevent cracking.
Final Touches and Care Tips
Once your shoes are glittered and cured, maintain their brilliance with mindful care. Store them in breathable cotton bags away from direct sunlight to prevent fading. Avoid prolonged exposure to moisture and extreme temperatures. If the surface dulls over time, refresh it with a new light coat of clear sealant—no need to reapply glitter.
For rotating glitter styles, consider removable options like glitter vinyl wraps or magnetic insoles with glitter tops. These offer versatility without permanent alteration.
💬 Ready to shine? Pick a pair, gather your supplies, and transform your footwear into wearable art. Share your glitter journey online and inspire others to sparkle boldly!