There's something undeniably heartwarming about seeing your dog dressed in a festive collar during the holidays. Whether it’s Christmas, Halloween, or a birthday celebration, a handmade collar adds personality, charm, and a personal touch that store-bought accessories often lack. Best of all, crafting one yourself doesn’t require advanced skills—just creativity, a few basic supplies, and love for your furry friend.
Dog collars aren’t just fashion statements—they’re functional items that carry ID tags, support leashes, and reflect your pet’s unique spirit. When you make them yourself, you control the materials, fit, and design, ensuring both comfort and safety. This guide walks you through everything from choosing safe fabrics to adding seasonal flair, so you can create stunning, durable collars that stand out at every walk, party, or photo op.
Why Make Your Own Festive Dog Collar?
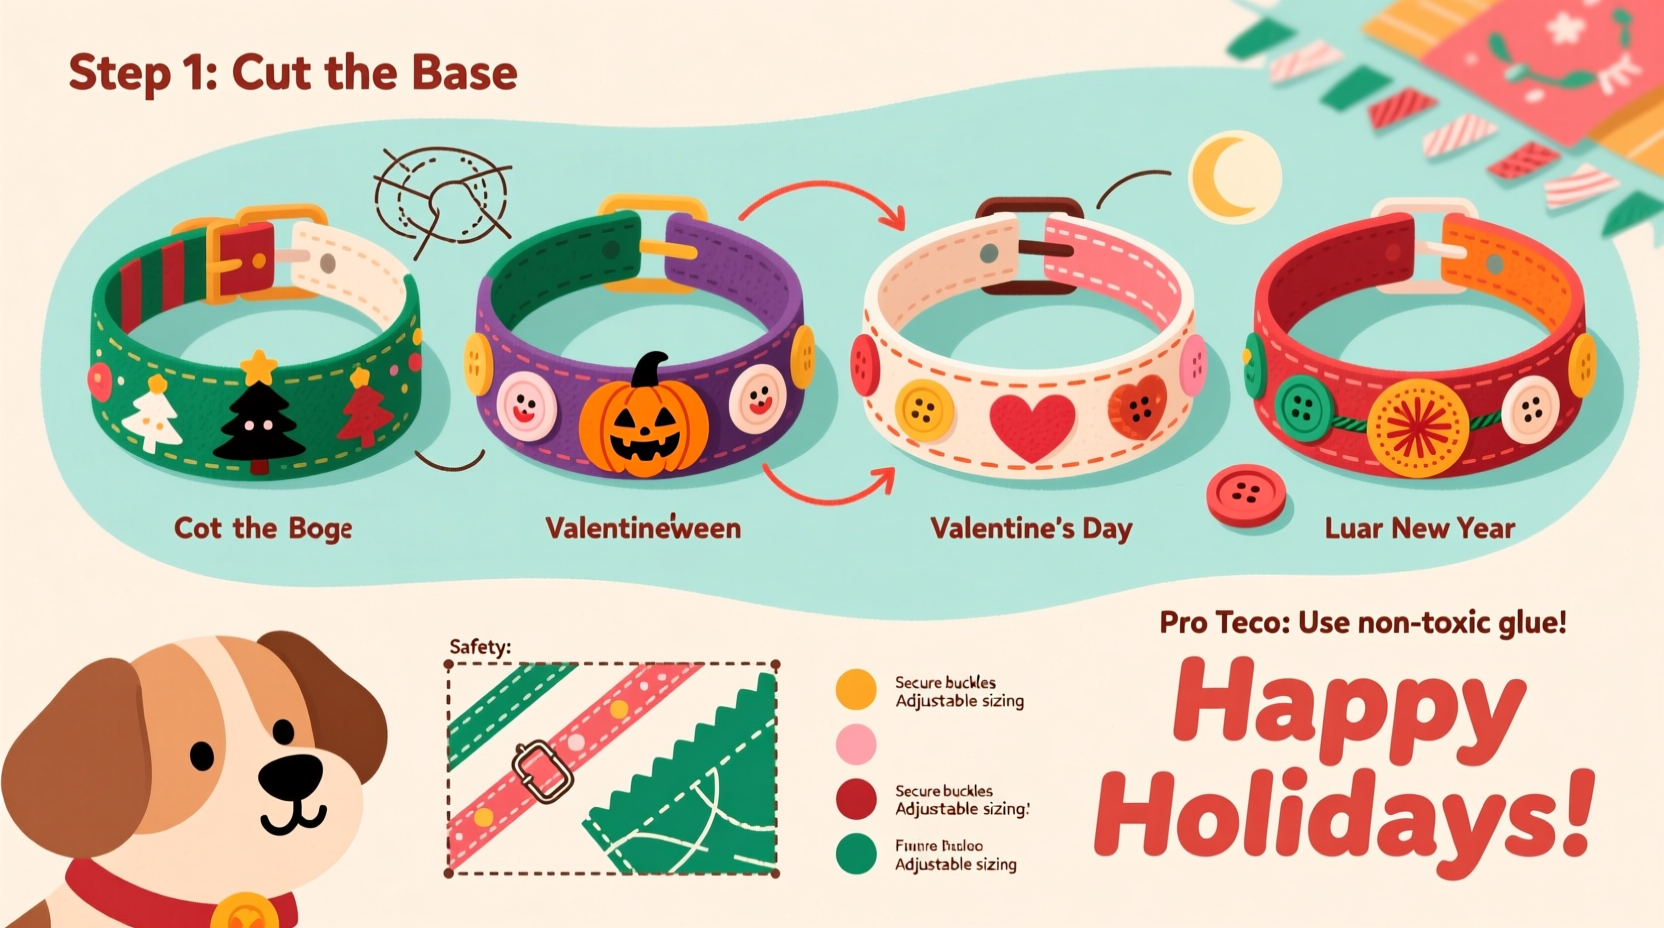
While pre-made collars are convenient, they often come with limitations: limited sizes, generic designs, or synthetic materials that may irritate sensitive skin. A DIY approach allows customization tailored to your dog’s breed, coat color, and temperament. You can also match your own holiday outfit or home decor—a red-and-green plaid collar for Christmas morning photos, or a glittery purple band for a birthday bash.
Beyond aesthetics, handcrafting collars gives you full control over quality. You can select breathable webbing, hypoallergenic buckles, and non-toxic embellishments. Plus, the process itself becomes a bonding experience. Many pet owners find joy in making something meaningful for their companion, knowing each stitch was made with care.
“Personalized accessories not only enhance a pet’s appearance but also strengthen the emotional connection between owner and animal.” — Dr. Laura Bennett, Veterinary Behavior Specialist
Essential Materials and Tools
Before diving into design, gather the right components. Most supplies are affordable and reusable across multiple projects. Here’s what you’ll need:
- Nylon or polyester webbing (½ inch to 1 inch wide, depending on dog size)
- Plastic or metal quick-release buckle
- D-rings (for leash attachment)
- Heat sealer or fray check (to prevent fabric unraveling)
- Sewing machine or heavy-duty needle and thread
- Polyester or upholstery thread (stronger than regular thread)
- Festive fabric scraps or ribbons (plaid, velvet, sequined, etc.)
- Iron-on patches, bows, or appliqués
- Measuring tape
- Scissors and pins
Step-by-Step Guide to Making a Festive Dog Collar
Follow this detailed sequence to craft a secure, beautiful collar in under an hour. This method works for most small to medium dogs; adjust measurements accordingly for larger breeds.
- Measure your dog’s neck. Wrap a soft tape measure around the neck where the collar sits, leaving space for two fingers underneath. Add 2 inches for overlap and hardware.
- Cut the webbing. Using sharp scissors, cut the nylon strap to your measured length plus 1.5 inches for seam allowance.
- Seal the ends. Lightly run a lighter over the cut edges (if synthetic) to prevent fraying, or apply fray check solution.
- Attach the buckle. Slide the male end of the buckle onto one end of the webbing. Fold the end back ¾ inch and sew securely with a box stitch for reinforcement.
- Add the D-ring. Position the D-ring against the same end, just behind the buckle. Sew it in place using the same reinforced stitching.
- Decorate the main strap. Cut a strip of festive fabric slightly shorter than the webbing. Center it over the strap and sew along all four edges. Alternatively, glue on iron-on patches or sew on a small bow.
- Finish the second end. Slide the female buckle piece onto the other end. Fold and sew like the first side, ensuring it fits snugly through the male half.
- Test fit and adjust. Place the collar on your dog. It should be snug but allow room for two fingers between neck and strap.
Variation Ideas for Different Occasions
- Christmas: Red velvet with gold jingle bells or a miniature Santa hat appliqué.
- Halloween: Black webbing with glow-in-the-dark spiderweb print or bat-shaped patches.
- Birthday: Rainbow fabric strips with a pom-pom centerpiece.
- Easter: Pastel pink or mint green ribbon with embroidered carrots or eggs.
Do’s and Don’ts of DIY Pet Accessories
| Do’s | Don’ts |
|---|---|
| Use lightweight decorations that won’t weigh down the collar | Attach loose beads or small parts that could be chewed off |
| Choose washable fabrics for easy cleaning | Use glue instead of stitching for critical attachments |
| Reinforce stress points with zigzag or box stitches | Make collars too tight or without proper slack |
| Inspect monthly for wear and tear | Leave collars on 24/7 without breaks to prevent skin irritation |
Real-Life Example: Bella’s Holiday Collar Collection
Sarah, a dog lover from Portland, started making collars for her Cavalier King Charles Spaniel, Bella, after struggling to find stylish yet comfortable options. “Most holiday collars were either flimsy or too flashy,” she said. “I wanted something cute but safe.”
Using leftover quilting cotton and sturdy nylon webbing, Sarah crafted a series of themed collars—one for each major holiday. Her Christmas version featured a red tartan ribbon stitched over black webbing, with a tiny felt reindeer sewn near the D-ring. She tested durability by letting Bella wear it on daily walks and washing it monthly. After six months, the collar remained intact, and Bella became a local favorite at the dog park.
Sarah now hosts seasonal crafting workshops for fellow pet owners, emphasizing safety and simplicity. “You don’t need to be a seamstress,” she says. “Just start with one collar. Once you see your dog strut with pride, you’ll want to make more.”
Frequently Asked Questions
Can I use regular fabric instead of nylon webbing?
No. While decorative fabric looks great, it lacks the strength needed for daily wear and leash use. Always use nylon or polyester webbing as the base. Decorative fabric should only be applied as an overlay.
How do I clean a DIY dog collar?
Spot-clean with mild soap and water. For collars with removable embellishments, hand-wash gently and air-dry flat. Avoid machine washing unless all materials are confirmed washable and securely attached.
Is it safe to add bells or charms?
Yes, if done carefully. Ensure any added item is securely fastened with strong thread or rivets, and large enough that it can’t be swallowed. Avoid dangling pieces longer than 1 inch to prevent snagging.
Checklist: Before You Wear the Collar
- ✅ Double-stitched buckle and D-ring
- ✅ Smooth, sealed edges with no fraying
- ✅ Decoration firmly attached (no loose threads)
- ✅ Proper fit: two fingers fit comfortably between collar and neck
- ✅ No sharp edges or rough seams irritating the skin
- ✅ Tags securely clipped to D-ring
Final Thoughts and Creative Inspiration
Creating a festive dog collar is more than a craft—it’s an expression of love and attention to detail. With minimal investment, you can produce accessories that are safer, more personalized, and more meaningful than anything found on a shelf. As seasons change, so can your designs. Rotate collars to match holidays, moods, or even your dog’s favorite toy.
Start simple. Try one design. Then experiment with textures, colors, and techniques. Over time, you might build a full wardrobe for your pup—each collar telling a story, capturing a memory, or celebrating a moment together.
💬 Ready to get creative? Grab your supplies today and make your first festive collar tonight. Share your creations online with #DIYPetStyle—we’d love to see your dog’s new look!