Every dog owner knows the importance of a reliable feeding station—but not every household has space or budget for a store-bought model. What if you could turn leftover scraps from past projects into a functional, safe, and even stylish dog feeder? With a bit of creativity and basic tools, you can repurpose everyday materials into practical feeding solutions that reduce waste and reflect your personal touch.
Dog feeders don’t need to be complex. In fact, some of the most effective designs are simple, elevated platforms that keep bowls off the floor, promote better posture during meals, and minimize mess. By using scrap wood, plastic containers, metal tins, or fabric remnants, you’re not only saving money but also contributing to a more sustainable lifestyle.
Why Build a DIY Dog Feeder?
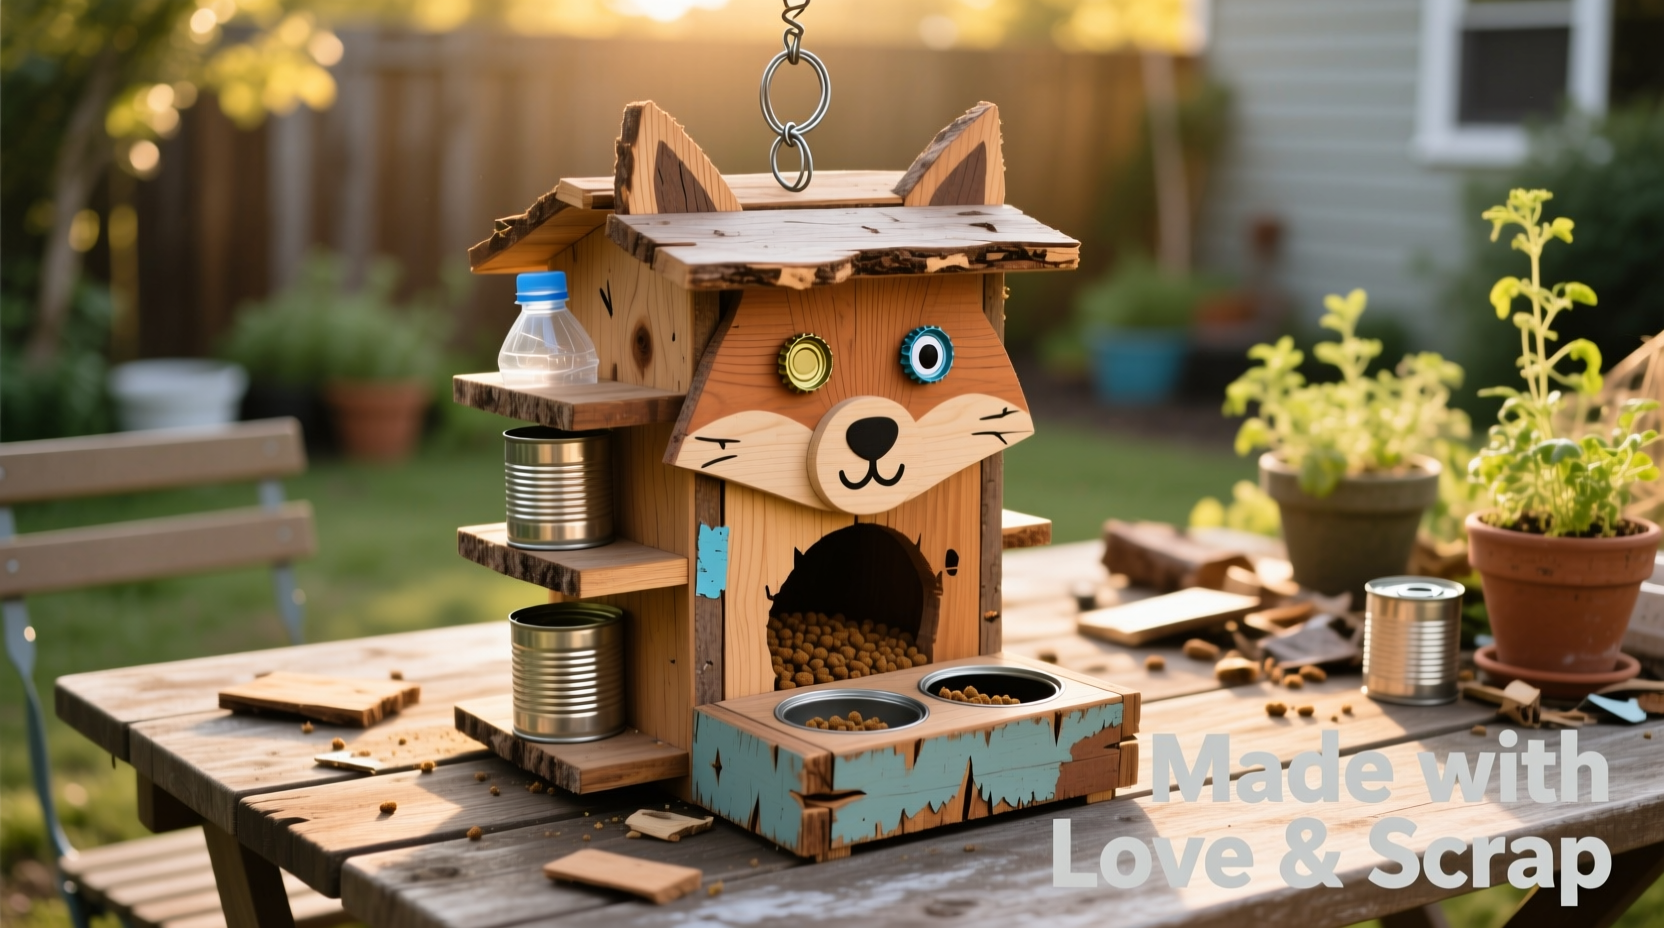
Commercial dog feeders range from affordable to high-end, but many lack customization or eco-conscious design. Building your own offers several advantages:
- Cost-effective: Use what you already have at home instead of buying new materials.
- Eco-friendly: Repurposing scrap reduces landfill waste and conserves resources.
- Customizable: Adjust height, size, and style to suit your dog’s breed, eating habits, and your home decor.
- Therapeutic: Crafting something useful for your pet strengthens your bond and gives a sense of accomplishment.
Materials You Can Repurpose
The beauty of DIY lies in flexibility. Below is a list of common household scraps that can be transformed into sturdy dog feeder components:
| Material | Potential Use | Considerations |
|---|---|---|
| Wooden pallet scraps | Base and legs for elevated stand | Sand thoroughly; avoid treated wood |
| Plastic storage bins | Food caddy or portion organizer | Ensure BPA-free and non-toxic |
| Metal coffee cans | Bowl holders or dry food dispensers | Smooth sharp edges carefully |
| Fabric scraps + foam | Cushioned mat under bowls | Use washable, water-resistant fabric |
| PVC pipe offcuts | Legs or structural support | Secure tightly to prevent tipping |
“Repurposing materials for pet accessories isn’t just about savings—it’s a statement of care for both animals and the planet.” — Dr. Lena Patel, Sustainable Pet Living Advocate
Step-by-Step: Build a Simple Elevated Feeder from Wood Scraps
An elevated feeder supports joint health, especially in larger breeds or older dogs. This guide uses leftover lumber and basic hardware.
- Gather materials: Two pieces of wood (approx. 12” x 8” for base), four wooden blocks or cut logs (4–6” tall), wood screws, sandpaper, non-toxic wood finish.
- Prepare the base: Sand all surfaces until smooth. If needed, join smaller scraps with wood glue to create a stable platform.
- Attach the legs: Position one block at each corner of the base. Drill pilot holes, then screw securely from the top down to avoid protrusions underneath.
- Reinforce stability: For wobbly setups, add triangular wooden braces between legs and base using corner brackets or glued dowels.
- Finish safely: Apply a pet-safe sealant or food-grade mineral oil. Let dry completely before use.
- Add bowls: Place stainless steel or ceramic bowls on top. For extra security, carve shallow recesses into the base to hold them in place.
Other Creative Ideas Using Unconventional Scraps
Not all great feeders require carpentry. Here are three alternative designs using overlooked materials:
1. Tire Tread Bowl Holder
Old bicycle or motorcycle tires can serve as splash-proof mats. Cut a section into a ring shape, place it on the floor, and set bowls inside. The rubber absorbs vibration and prevents sliding.
2. Plastic Crate Snack Organizer
Leftover vegetable crates from grocery stores often have compartments perfect for storing pre-portioned meals. Clean thoroughly, label sections (AM/PM or kibble/treats), and stack beside your dog’s feeding area.
3. Upcycled Drawer Feeding Station
If you’ve dismantled furniture, reuse a small drawer as a low-profile feeder. Line the interior with a silicone mat, insert two non-slip bowls, and leave the drawer open during meals. When done, slide it closed to hide clutter.
Mini Case Study: A Backyard Shed Rescue Project
In Portland, Oregon, homeowner Mark R. converted scrap cedar from a collapsed garden shed into a dual-bowl feeder for his two Labrador mixes. He had leftover 1x6 planks and metal L-brackets from a shelving unit.
Using a hand saw and drill, he built a slanted-top stand with engraved paw prints—one side for water, one for food. The slight incline reduced spillage, and the natural cedar resisted moisture. “It cost nothing,” Mark said, “and my dogs love how quiet the bowls are now. No more clanging on tile.”
The feeder has lasted over two years with only annual re-oiling. His neighbor, inspired by the design, replicated it using PVC pipes and a plastic cutting board.
Checklist: Before You Build Your DIY Feeder
- ✅ Measure your dog’s ideal eating height
- ✅ Confirm all materials are non-toxic and pet-safe
- ✅ Sand or file any sharp edges
- ✅ Ensure the structure won’t tip when nudged
- ✅ Choose bowls that won’t slide (rubber-bottomed or inset)
- ✅ Clean and disinfect recycled materials before assembly
- ✅ Test the feeder with supervision on first use
Common Mistakes to Avoid
Even well-intentioned builds can go wrong. Steer clear of these pitfalls:
- Using toxic finishes: Paints, varnishes, or glues with volatile organic compounds (VOCs) can leach into food or be ingested during licking.
- Ignoring stability: Tall or narrow bases may topple, causing injury or frustration.
- Oversizing compartments: Too much space around the bowl makes cleaning harder and encourages bacterial growth.
- Skipping drainage: If used outdoors, ensure the base allows water runoff to prevent mold.
FAQ
Can I use milk crates for a dog feeder?
Yes, but only if modified safely. A single crate can act as a raised platform—place a non-slip mat and bowls on top. Avoid stacking unless secured, as they can collapse under pressure.
How do I clean a homemade feeder?
Wipe wooden parts with a damp cloth and mild vinegar solution. Avoid soaking. Replace fabric liners weekly. Metal or ceramic bowls should be washed daily. Inspect for cracks or splinters monthly.
Are there fire hazards with DIY feeders?
Potentially, if placed near heaters or stoves. Keep feeders away from open flames or electrical cords. Never use flammable adhesives or foams near heat sources.
Conclusion
Building a dog feeder from scrap materials is more than a craft project—it’s an act of mindful pet parenting. Whether you're working with a few inches of leftover timber or an old metal tray, the possibilities are limited only by imagination. These small creations not only serve a daily purpose but also reflect a deeper commitment to sustainability, economy, and personalized care.
Start small. Look around your garage, workshop, or recycling bin. Sketch a quick idea. Measure twice, cut once. Your dog may not know what reclaimed oak is, but they’ll feel the care in every meal served from a feeder made by your hands.
💬 Have you built a DIY pet item from scraps? Share your story or photos in the comments—your idea might inspire another pet lover to start crafting today!