Dog ID tags are essential for pet safety, but standard metal tags can be noisy, prone to wear, or easily lost. A custom DIY dog ID tag holder not only protects the tag but also adds a personal touch that reflects your pet’s personality. With the right materials and techniques, you can create a holder that’s both functional and long-lasting. This guide walks through practical methods using accessible supplies, ensuring durability and comfort for everyday use.
Why Upgrade to a Custom ID Tag Holder?
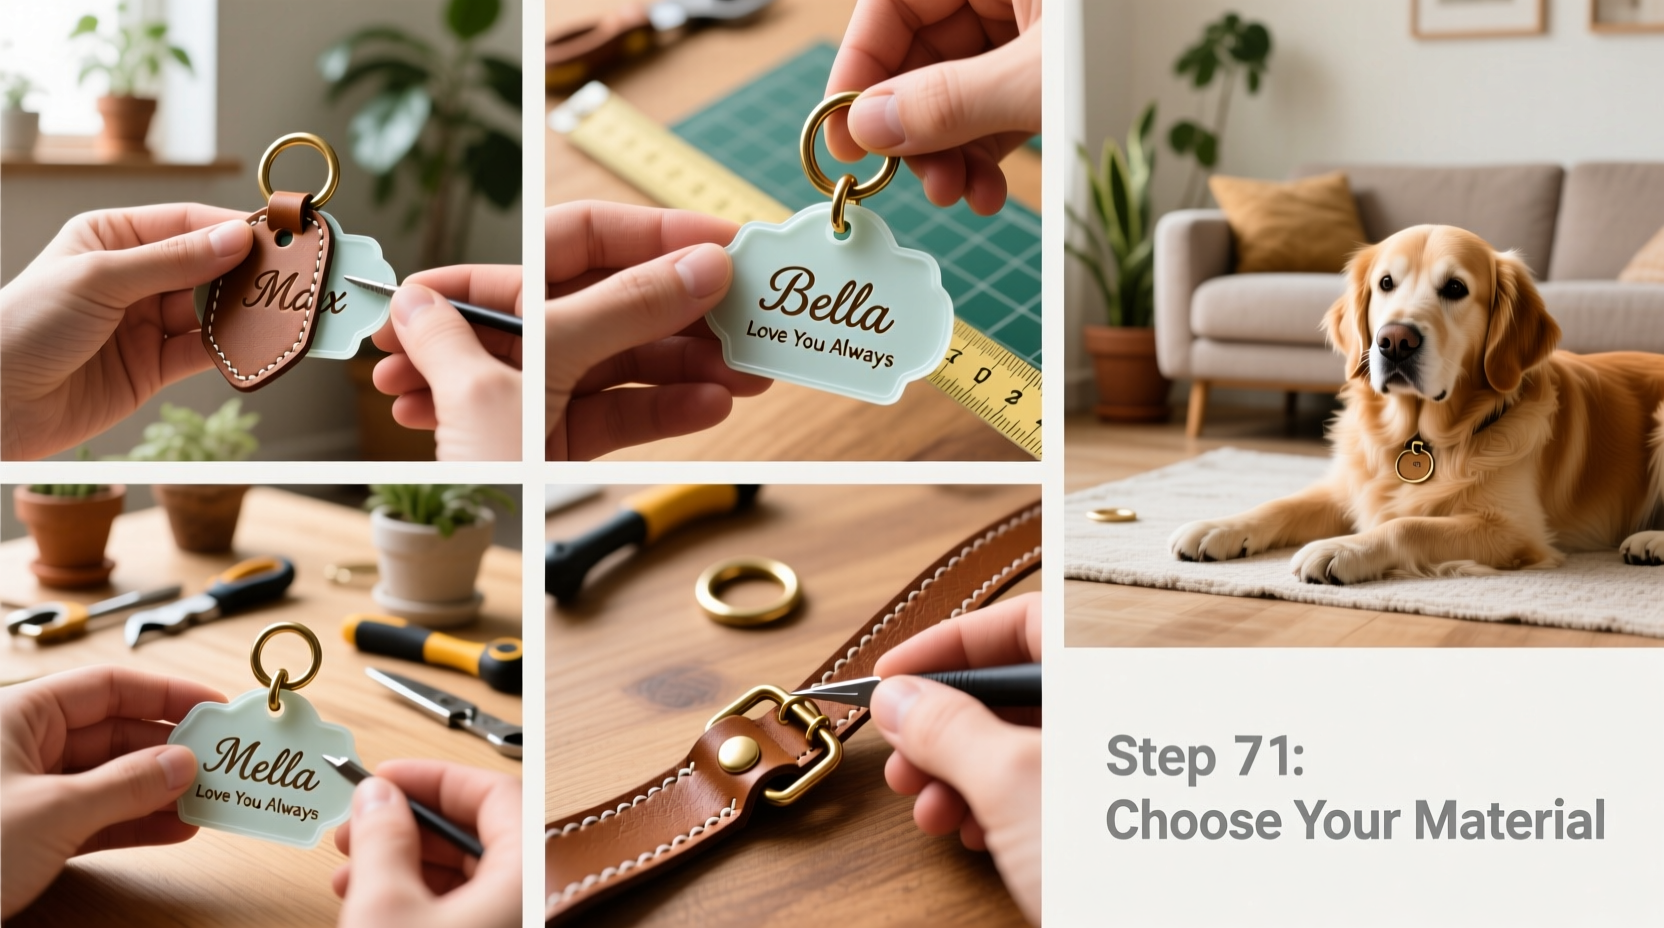
Most commercially available tag holders are made from thin plastic or flimsy silicone that cracks under stress or weather exposure. Homemade versions allow full control over materials, fit, and design. A well-crafted holder reduces jingling, prevents tag loss, and withstands outdoor elements—especially important for active dogs who swim, hike, or play roughly.
“Custom ID solutions significantly improve tag retention and readability over time.” — Dr. Lena Patel, Veterinary Preventive Care Specialist
Beyond function, a personalized holder becomes part of your dog’s identity. Whether it’s color-coordinated with their collar or engraved with a fun design, it shows thoughtfulness and care.
Materials That Last: Choosing the Right Supplies
Durability starts with material selection. Avoid cheap plastics and adhesives that degrade in sunlight or moisture. Instead, opt for UV-resistant, waterproof, and chew-deterrent components. Below is a comparison of common options:
| Material | Durability | Weather Resistance | Chew Resistance |
|---|---|---|---|
| Silicone tubing (food-grade) | High | Excellent | Good |
| Paracord + heat-shrink tubing | Very High | Excellent | Excellent |
| Leather strips with rivets | Medium-High | Fair (needs conditioning) | Good |
| 3D-printed PLA plastic | Low-Medium | Poor (brittle in cold) | Poor |
| Recycled rubber (bicycle inner tube) | High | Excellent | Very Good |
For most applications, paracord combined with heat-shrink tubing offers the best balance of strength, flexibility, and water resistance. It’s also widely available and easy to work with at home.
Tip: Always test chew resistance by gently tugging on the finished holder—never leave a dog unattended with a new accessory until behavior is observed.Step-by-Step: Paracord Loop Tag Holder
This method uses military-grade paracord and heat-shrink tubing to create a silent, secure tag enclosure. The loop design slides directly onto the collar D-ring, eliminating extra hardware.
- Cut 12 inches of 4mm paracord – Choose a color that contrasts with your dog’s collar for visibility.
- Thread your dog’s ID tag onto the center of the cord – Ensure the tag faces outward when worn.
- Form a loop by tying the ends together – Use a double fisherman’s knot for maximum security. Pull tight and trim excess, leaving 1/4-inch tails.
- Slide a 1.5-inch piece of heat-shrink tubing over the knot – Position it to fully cover the knotted area.
- Apply heat evenly – Use a lighter or hair dryer to shrink the tubing until it conforms tightly around the knot. Do not burn the material.
- Test attachment – Slide the loop onto the collar’s D-ring and give a firm tug to ensure no slippage.
The result is a low-profile, silent holder that won’t snag on brush or furniture. Paracord’s nylon core provides tensile strength exceeding 550 pounds, making it nearly impossible for even strong chewers to destroy.
Alternative Design: Silicone Sleeve with Personalized Cap
For owners seeking a sleek, modern look, a silicone sleeve offers excellent protection and customization. This version allows engraving or labeling inside a sealed environment.
- Cut a 2-inch length of food-grade silicone tubing (inner diameter slightly larger than your tag).
- Insert the ID tag into one end.
- Create a cap using a second piece of tubing flattened and glued shut with aquarium-safe silicone adhesive.
- Once dry, press the cap into the open end of the sleeve.
- Optional: Insert a printed QR code or microchip info behind the tag before sealing.
This method keeps the tag completely enclosed, shielding it from mud, chewing, and corrosion. The flexible material stays quiet during movement and resists extreme temperatures.
Real Example: Max the Border Collie’s Trail-Ready Tag
Sarah, an avid hiker from Colorado, needed a reliable tag solution for her energetic Border Collie, Max. Standard tags were lost twice during trail runs, and the noise startled wildlife. She built a paracord holder using neon green cord for high visibility and added a small whistle charm for emergency signaling. After six months of rigorous use—including river crossings and snow hikes—the holder remains intact, and Max has not lost a single tag since.
“It’s lightweight, doesn’t rattle, and I feel confident he’ll be identifiable even if separated,” Sarah said. “Plus, other hikers compliment the design all the time.”
Essential Checklist Before Finalizing Your Design
DIY Dog ID Tag Holder Checklist:- ✅ Tag information is legible through or on the holder
- ✅ Holder attaches securely without additional clips or rings
- ✅ Materials are non-toxic and safe if chewed briefly
- ✅ No sharp edges or loose threads after finishing
- ✅ Tested for 24 hours under supervision before regular use
- ✅ Includes secondary ID (e.g., microchip number) as backup
Frequently Asked Questions
Can I wash the DIY tag holder?
Yes, most designs can be cleaned with mild soap and warm water. Paracord and silicone holders are fully submersible. Allow to air dry completely before reattaching to the collar.
What if my dog chews the holder?
While no solution is 100% chew-proof, using bitter-tasting coatings (pet-safe deterrent sprays) can discourage gnawing. Regular inspection helps catch damage early. Consider rotating between two holders to reduce fixation.
How do I update the tag inside a sealed holder?
For permanent seals like heat-shrunk tubing, replace the entire unit. For silicone sleeves, remove the cap, swap tags, and reseal. Always verify the new tag fits flush to prevent bulging.
Final Thoughts and Next Steps
A well-made DIY dog ID tag holder enhances safety without sacrificing style or comfort. By investing a small amount of time and effort, you create a customized solution that outperforms store-bought alternatives. Whether you choose rugged paracord, flexible silicone, or upcycled rubber, the key is consistency in quality and attention to detail.
Start with one design, test it thoroughly, and refine based on your dog’s habits. Once perfected, consider making extras as thoughtful gifts for fellow pet owners. Your creativity doesn’t just personalize pet gear—it could help bring a lost animal safely home.
💬 Have you built a unique ID tag holder? Share your design ideas or photos in the comments below—your innovation might inspire others to craft smarter, safer solutions for their pets.