For cat lovers who care for feral, stray, or outdoor pets, providing shelter from the elements is both an act of compassion and responsibility. A well-built outdoor cat house can protect your feline friends from rain, wind, snow, and extreme heat while offering a secure, warm retreat year-round. Unlike flimsy store-bought options, a DIY cat house allows customization for insulation, drainage, and durability. This guide walks through every stage—from planning to finishing touches—ensuring your build stands up to seasonal challenges and provides lasting comfort.
Why Seasonal Design Matters
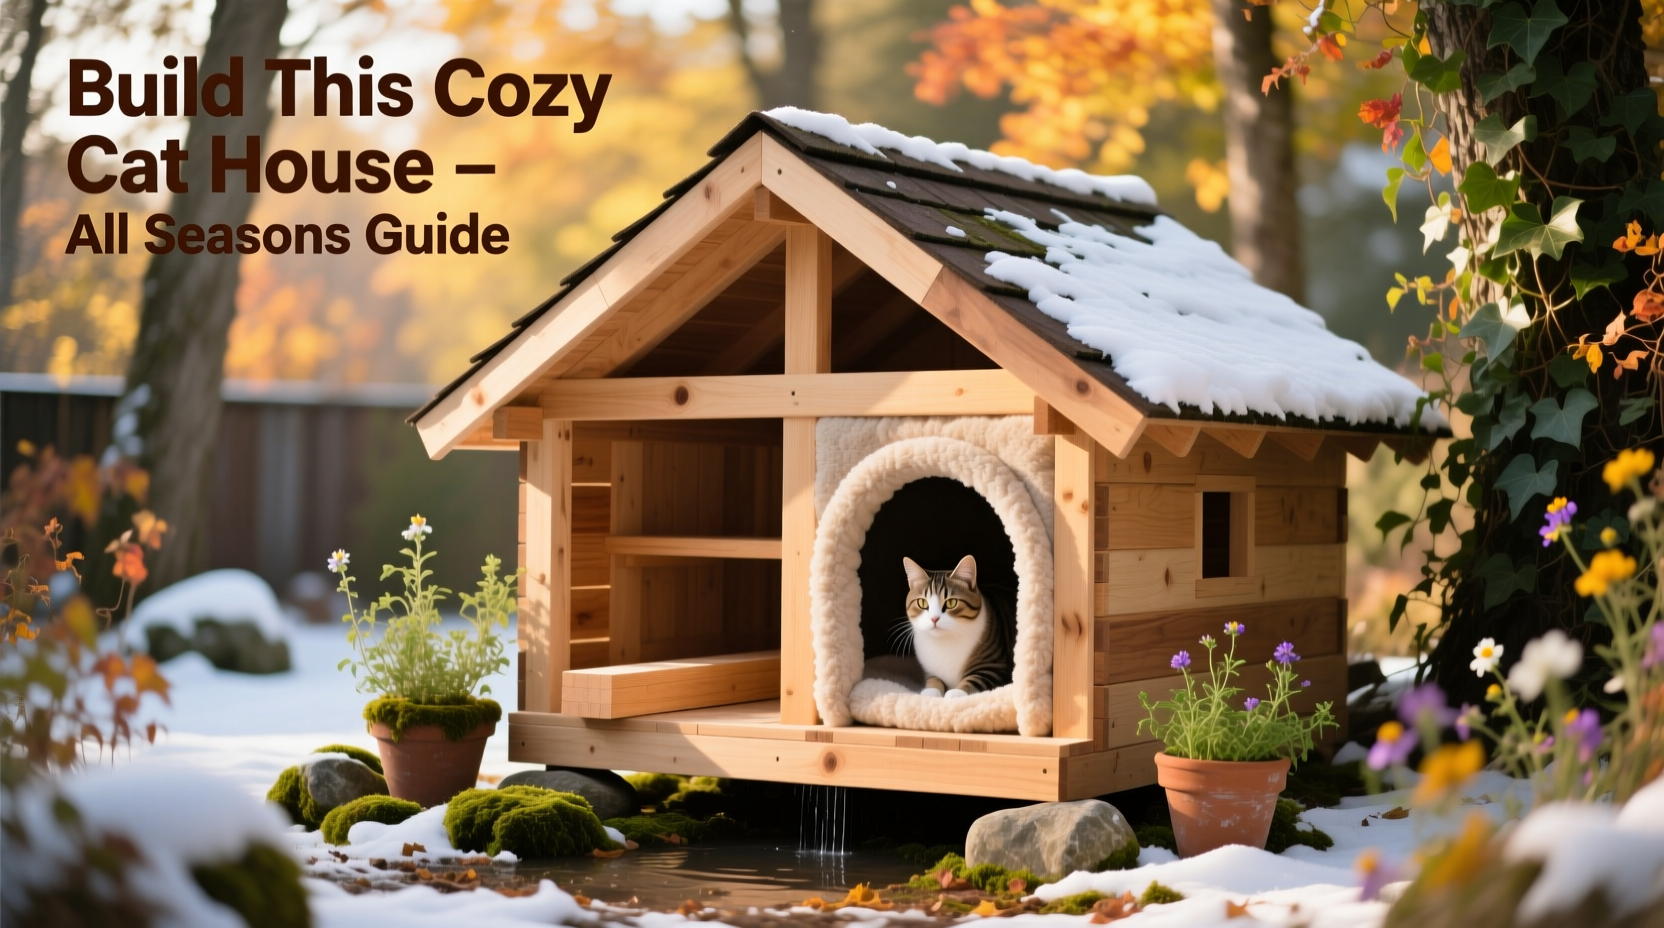
Cats are sensitive to temperature extremes. While they groom themselves to regulate body heat, prolonged exposure to cold below 45°F (7°C) increases risks of hypothermia. In summer, temperatures above 85°F (29°C) inside unventilated shelters can lead to overheating. A thoughtfully designed cat house balances insulation with airflow, elevation with stability, and size with warmth retention.
The ideal structure maintains internal temperatures within a safe range regardless of season. It should be compact enough to retain body heat but not so small as to restrict movement. Proper materials prevent moisture buildup, resist rot, and shield against predators.
“Outdoor shelters aren’t just about warmth—they’re about thermal stability. The best designs minimize heat loss in winter and allow passive cooling in summer.” — Dr. Lena Patel, Veterinarian & Urban Wildlife Advocate
Materials and Tools Checklist
Before starting construction, gather durable, weather-resistant supplies. Avoid treated wood or toxic paints; cats may chew or lick surfaces. Below is a comprehensive checklist:
Tip: Use reclaimed wood or recycled plastic lumber for eco-friendly, long-lasting builds.Essential Materials
- Exterior-grade plywood (½ inch thick)
- Wood screws (stainless steel or coated)
- Weatherproof wood glue
- Rigid foam insulation board (1-inch thickness)
- Waterproof roofing material (e.g., rubber membrane or asphalt shingles)
- Non-toxic exterior paint or sealant
- Straw (for bedding—never use blankets or towels, which absorb moisture)
- Hinged or removable roof panel (for easy cleaning)
Tools Required
- Circular saw or handsaw
- Drill with screwdriver bits
- Tape measure
- Square ruler
- Staple gun (for securing insulation)
- Silicone caulk gun and waterproof sealant
Step-by-Step Construction Guide
Follow this timeline-based approach to assemble a sturdy, insulated shelter in one weekend.
- Design & Dimensions (1 hour): Sketch a simple rectangular box with interior dimensions of 18” x 24” x 16” high. This fits one to two average-sized cats. Include a 6” diameter entrance hole, positioned 4” above the floor to block drafts.
- Cut Panels (2 hours): Cut six pieces from plywood: front, back, two sides, floor, and roof. Pre-cut insulation to match each wall, floor, and roof panel.
- Insulate Walls (1.5 hours): Attach foam board to the interior side of each panel using non-toxic adhesive or staples. Seal edges with caulk to prevent air gaps.
- Assemble Frame (2 hours): Screw panels together, starting with corners. Reinforce joints with wood glue. Ensure the floor is elevated slightly off the ground when placed.
- Add Roof & Overhang (1 hour): Attach roof with screws only on one side to create a hinged access point. Extend roof 3–4 inches beyond walls to form a protective overhang.
- Weatherproofing (1 hour): Seal all seams and screw holes with silicone caulk. Paint exterior with non-toxic, UV-resistant paint. Apply roofing material if needed.
- Final Touches (30 minutes): Place entrance facing away from prevailing winds. Elevate house 2–3 inches using bricks or pressure-treated feet for drainage.
Seasonal Adaptations and Maintenance
A truly all-season cat house requires periodic adjustments. Below is a seasonal maintenance table summarizing key actions.
| Season | Bedding | Insulation Check | Cleaning Schedule | Additional Tips |
|---|---|---|---|---|
| Winter | Fresh straw monthly | Inspect for gaps | Every 4 weeks | Face entrance south; add windbreak |
| Spring | Replace wet straw | Check for mold | Bi-monthly | Clear debris around base |
| Summer | Minimal bedding | Ensure ventilation | Monthly | Shade with tarp or tree cover |
| Fall | Begin adding straw | Seal new cracks | After heavy storms | Trim nearby vegetation |
Straw is preferred over hay or fabric because it wicks moisture away and allows cats to burrow, trapping body heat. Never use heating pads or light bulbs—these pose fire and burn risks.
Real-World Example: The Maple Street Colony Shelter
In Portland, Oregon, a community group built five insulated cat houses for a local feral colony. Each unit followed this design, with added features like sloped roofs and vinyl flooring. After one winter, volunteers reported zero hypothermia cases despite sub-freezing temperatures. One resident cat, a senior tabby named Scout, was observed using the same shelter consistently—even during summer months, thanks to its shaded placement under an oak tree.
“We rotate straw every three weeks and repaint once a year,” said Maria Tran, volunteer coordinator. “The cats clearly prefer the insulated ones. They’re drier, warmer, and don’t smell of mildew.”
Frequently Asked Questions
Can I use a plastic storage bin instead?
Yes, but with limitations. Large bins can work as quick shelters, but they lack structural rigidity and insulation capacity. If using a bin, line it with rigid foam, elevate it off the ground, and cut a small entry hole. Still, wooden builds offer better longevity and thermal performance.
How many entrances should it have?
Only one. Multiple entrances may seem beneficial, but they increase heat loss and reduce security. A single, properly sized entrance helps retain warmth and discourages larger animals from entering.
Where should I place the cat house?
Choose a quiet, low-traffic area protected from wind and runoff. Ideal spots include under decks, beside garages, or between shrubs. Face the entrance away from prevailing winds—typically north and west in the Northern Hemisphere. Keep at least three feet from food and water stations to avoid contamination.
Final Thoughts and Call to Action
Building a cozy, warm outdoor cat house isn’t just a weekend project—it’s a lasting gift to vulnerable animals in your neighborhood. With careful planning, quality materials, and attention to seasonal needs, your shelter can provide safety and comfort for years. The difference between a drafty cardboard box and a well-insulated haven can be life-saving when winter storms roll in.
Start measuring, cutting, and assembling. Share your build online to inspire others. Tag local rescues or post in community groups—your effort might spark a wave of compassionate action. Every cat deserves a dry, warm place to rest.
💬 Built your own cat shelter? Share your tips, photos, or modifications in the comments—help fellow caregivers create safer spaces for outdoor cats everywhere.