
Paracord leashes are more than just functional—they're a testament to craftsmanship, resilience, and personalization. Originally developed for military use, paracord (short for parachute cord) has become a favorite among outdoor enthusiasts, survivalists, and pet owners due to its strength, flexibility, and aesthetic versatility. One of the most reliable and visually appealing knots used in paracord projects is the cobra stitch, known for its durability and tight weave. This guide walks you through creating a rugged, handcrafted dog leash using this trusted technique.
Why Choose a Paracord Leash?
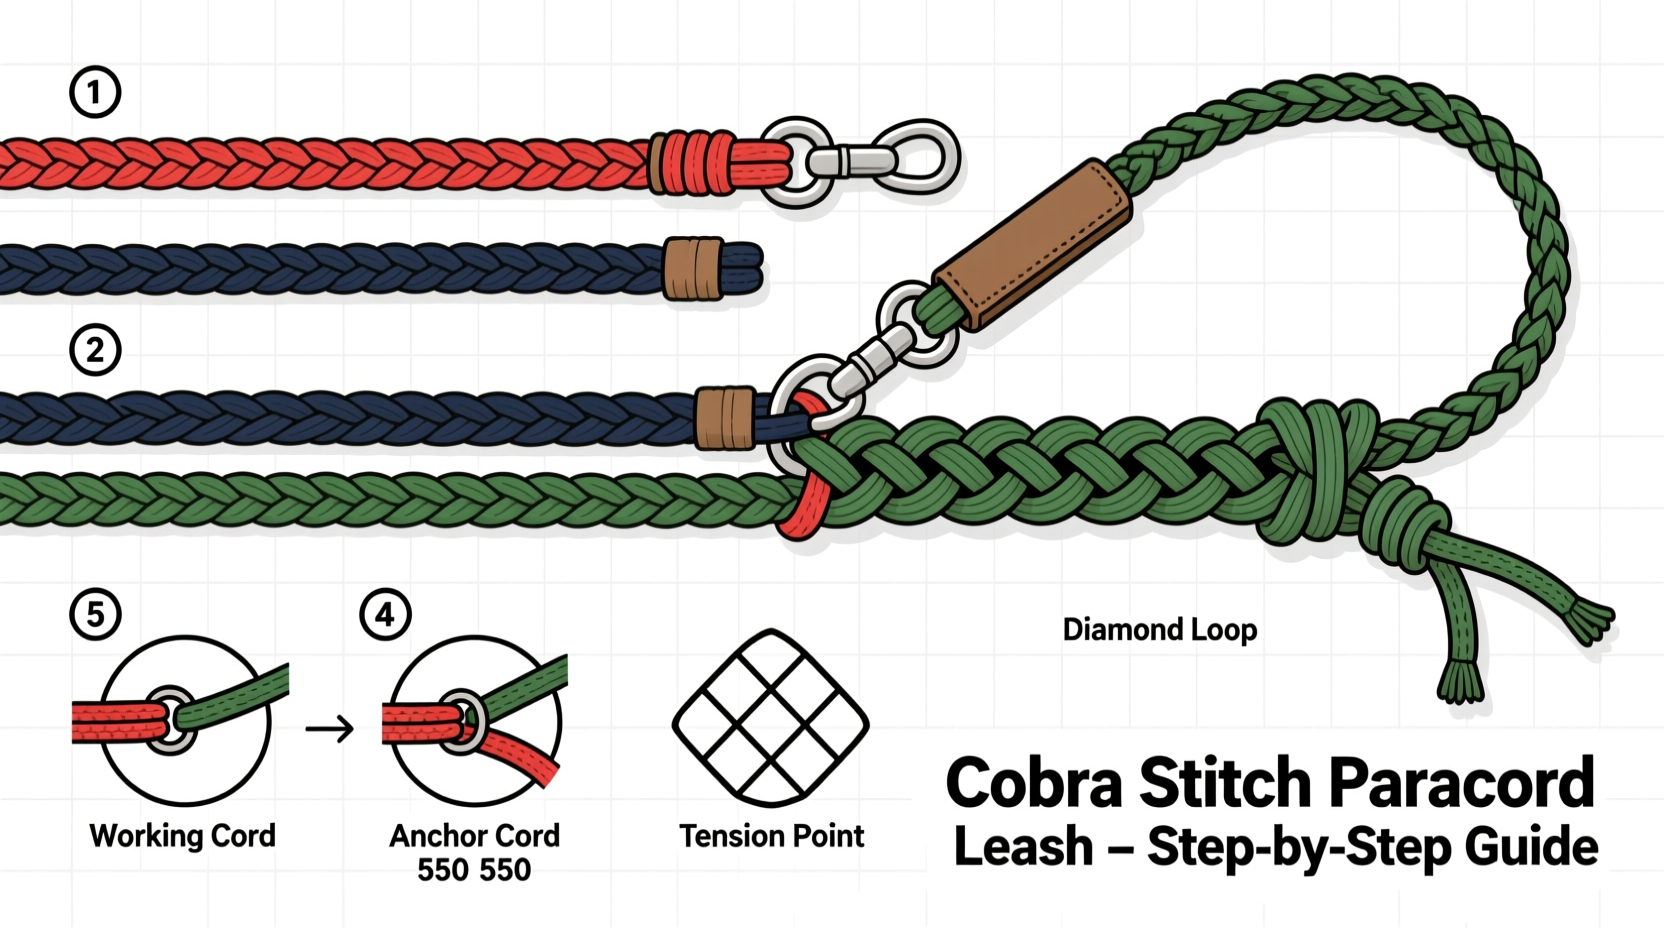
Commercial leashes often wear out quickly or lack the strength needed for active dogs. A homemade paracord leash offers several advantages: it's customizable in length and color, highly resistant to fraying, and capable of supporting hundreds of pounds when properly constructed. The cobra stitch, also known as the Solomon bar or Portuguese sinnet, interlocks strands tightly, forming a solid braid that resists slipping and maintains integrity under tension.
Additionally, crafting your own gear fosters a deeper connection with your pet’s accessories. You control the materials, design, and quality—ensuring comfort, safety, and style all in one.
Tip: Use 550-pound test paracord—the standard military-grade type—for maximum strength and reliability.Materials and Tools You’ll Need
Before beginning, gather all necessary components. Precision starts with preparation.
- Paracord: 100 feet of 550-lb paracord (amount varies based on leash length; see table below)
- Carabiner or metal loop: For attachment to the collar or harness
- Key ring or O-ring: To secure the starting point
- Lighter or heat source: For sealing cut ends
- Measuring tape or ruler: For consistent sizing
- Masking tape: Optional, to secure working ends during weaving
- Scissors: Sharp, clean blades for precise cuts
“Handmade paracord gear isn’t just about utility—it reflects attention to detail and care for both function and form.” — Daniel Reeves, Wilderness Survival Instructor
Material Estimate Table Based on Leash Length
| Leash Length | Paracord Required | Recommended Handle Size |
|---|---|---|
| 4 feet | 75–85 feet | 6 inches |
| 5 feet | 90–100 feet | 6–8 inches |
| 6 feet | 110–120 feet | 8 inches |
Step-by-Step Guide: Weaving the Cobra Stitch Leash
The cobra stitch forms the core structure of the leash. It creates a dense, non-slip braid ideal for handling tension from pulling or sudden movements.
- Attach the Core Loop: Slide the key ring onto the carabiner. Cut two equal lengths of paracord (each about 3 feet). Fold them in half and attach both loops to the key ring using a lark’s head knot. These will serve as anchor cords running through the center of the leash.
- Create the Starting Knot: Take your main working cord (the 100-foot length) and fold it in half. Attach the folded end to the anchor cords using a cow hitch or uni knot. This becomes the base of your handle.
- Begin the Cobra Stitch: Separate the working cord into two strands. Position them parallel to each other along the anchor cords. Start the cobra stitch:
- Take the right strand over the top of both anchor cords and behind them.
- Bring the left strand under the anchors and up through the loop created by the right strand.
- Pull both ends snug—but not too tight—to form the first half of the stitch.
- Repeat in reverse: left strand over top, right strand up through the new loop.
- Continue Weaving: Maintain even tension as you progress down the length of the anchor cords. Each completed unit should resemble a V-shape from above. Aim for consistency in spacing—about 1/4 inch between stitches for a tight, professional look.
- Transition to the Leash Section: After completing 6–8 inches of cobra stitching (your handle), begin tapering if desired. Alternatively, continue straight into the leash portion. For longer leashes, consider adding a wrist loop at the end of the handle before continuing the braid.
- Maintain Structural Integrity: Every 12–18 inches, pause and check tension. Uneven weaving can cause twisting or weak spots. Gently adjust prior rows if needed.
- Finish the End: When nearing the final 6 inches, stop weaving and prepare for the clasp. Thread the remaining paracord through the carabiner. Secure with a series of double half-hitch knots or a backsplice. Trim excess, then melt the ends carefully with a lighter to prevent unraveling.
Real-World Example: Building a Leash for an Active Border Collie
Sarah, an agility trainer in Colorado, needed a leash that could withstand daily use across rocky trails and training fields. She crafted a 5-foot paracord leash using high-visibility orange and black cords. By reinforcing the handle with extra cobra rows and integrating a quick-release carabiner, she created a tool that survived months of rigorous activity. Even after exposure to mud, snow, and constant tugging, the leash showed no signs of fraying. “It’s held up better than any store-bought version,” she said. “Plus, my clients always ask where I got it.”
Common Mistakes and How to Avoid Them
- Inconsistent Tension: Leads to loose sections that weaken the structure. Always pull each stitch firmly and evenly.
- Skipping the Melted Ends: Unsealed paracord unravels quickly. Never skip this final step.
- Using Low-Quality Cord: Off-brand paracord may not meet 550-lb specs. Stick to reputable suppliers.
- Overcomplicating the Design: Beginners should master the basic cobra stitch before attempting diamond patterns or hybrids.
Do’s and Don’ts of Paracord Leash Building
| Do | Don’t |
|---|---|
| Use military-spec 550 paracord | Use thin craft cord or shoelaces |
| Check alignment every few inches | Weave too loosely or rush the process |
| Seal all cut ends with flame | Leave raw, frayed tips exposed |
| Test load with gradual pressure | Yank abruptly before confirming security |
Frequently Asked Questions
How strong is a paracord leash made with the cobra stitch?
A single strand of 550 paracord supports up to 550 pounds. When woven tightly in a cobra stitch using multiple strands and a solid core, the resulting leash can safely handle forces exceeding 800 pounds—far beyond typical dog-pulling scenarios.
Can I wash a paracord dog leash?
Yes. Hand wash with mild soap and lukewarm water. Avoid bleach or machine washing, which can degrade fibers. Hang to dry completely before reuse.
Is the cobra stitch suitable for small dogs?
Absolutely. Adjust the cord thickness and number of strands accordingly. For toy breeds, a slimmer profile with 1/8-inch spacing works well while maintaining strength.
Final Checklist Before Use
- ✅ All knots are tight and secured
- ✅ Cut ends are melted and sealed
- ✅ Carabiner moves freely and locks securely
- ✅ No loose threads or weak spots in the weave
- ✅ Total length meets walking needs (typically 4–6 feet)
- ✅ Tested under controlled tension (e.g., gentle tug, not full sprint)
Conclusion: Craft with Confidence
Creating a durable paracord dog leash using the cobra stitch blends practicality with personal expression. With the right materials, patience, and attention to detail, you produce more than a leash—you build a reliable companion for adventures big and small. Whether you’re making one for your own dog or as a thoughtful handmade gift, the result is a blend of resilience and artistry that mass-produced items rarely match.
💬 Start your next project today. Share your finished leash design or ask questions in the comments—join a community of crafters building stronger bonds, one knot at a time.