Riding gravel bikes means embracing long hours in the saddle over unpredictable terrain. While frame geometry and tire choice often steal the spotlight, the saddle plays a pivotal role in determining both comfort and performance. For many riders, especially those building or upgrading their gravel rigs on a budget, finding a saddle that balances affordability, comfort, and aesthetics can feel like searching for a needle in a haystack. The good news: several high-performing, stylish options exist under $100 that rival premium models in both support and design.
Unlike road cycling, where efficiency is paramount, gravel riding demands versatility. You’re shifting positions constantly—standing over roots, leaning into loose corners, or cruising for miles on fire roads. A great gravel saddle must accommodate these transitions while minimizing pressure on soft tissues. The best budget-friendly models achieve this through smart padding distribution, ergonomic shaping, and durable materials that don’t sacrifice visual appeal.
What Makes a Gravel Saddle Different?
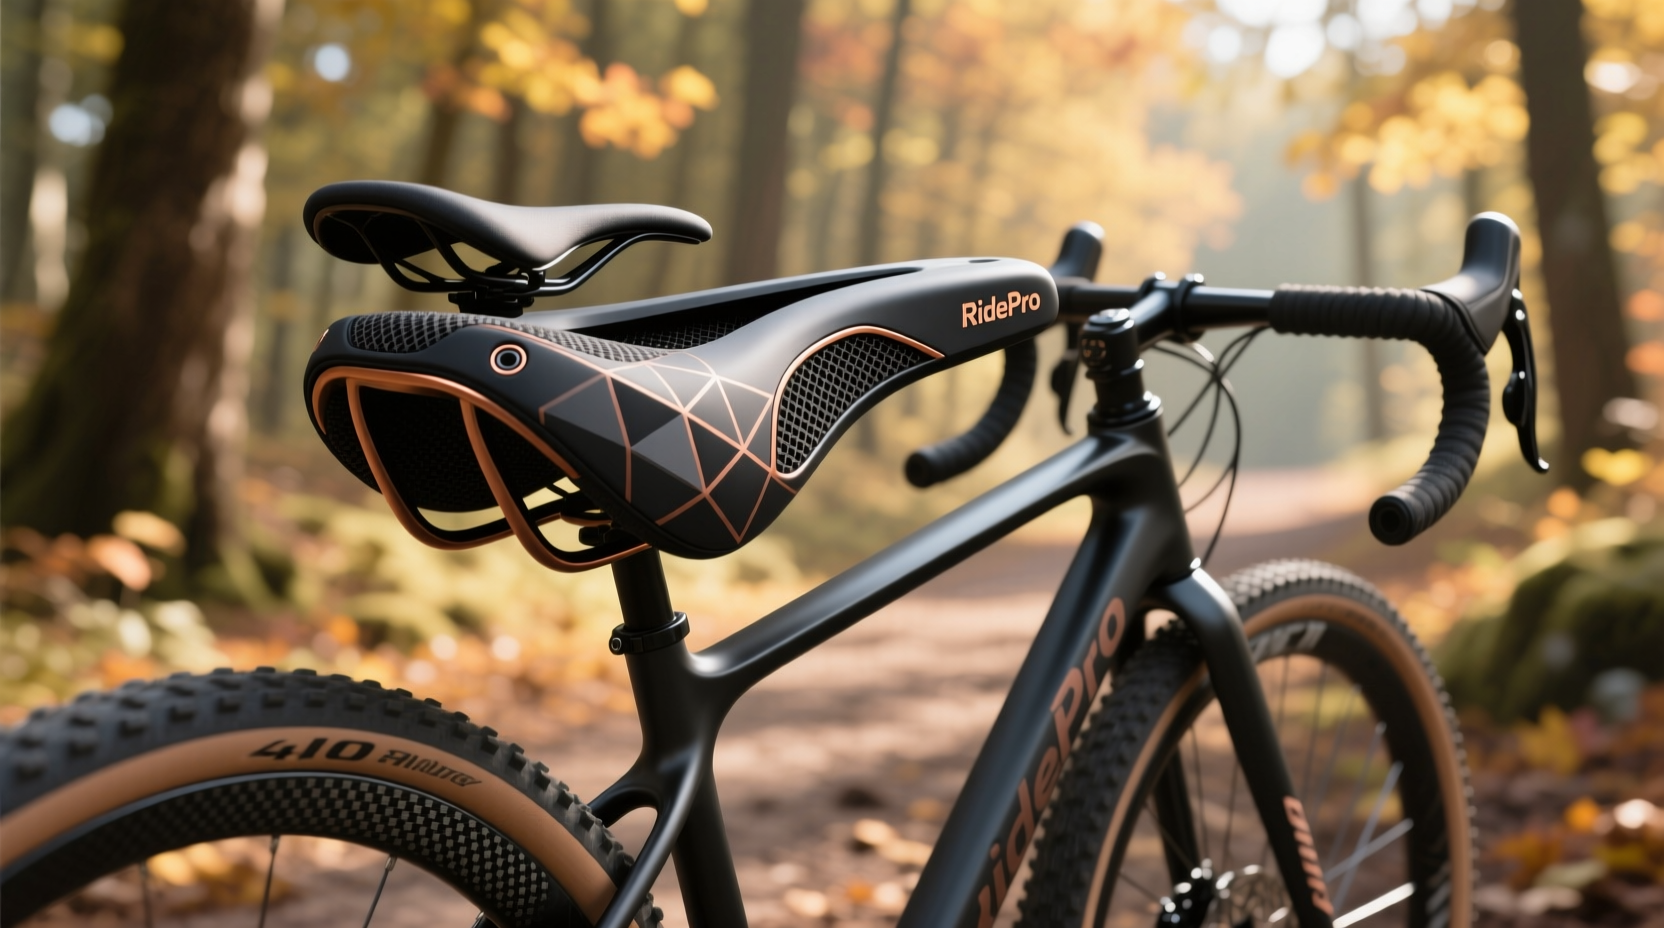
Gravel saddles sit at the intersection of mountain bike durability and road bike efficiency. They need to be wide enough for stability during technical sections but not so broad that they cause chafing on longer climbs. Many feature a cutout or relief channel to reduce perineal pressure, which becomes critical over extended rides. Additionally, gravel saddles often use reinforced microfiber tops and rust-resistant rails to withstand mud, dust, and weather exposure.
One common misconception is that more padding equals more comfort. In reality, excessive foam can compress unevenly and create hotspots. Modern mid-range saddles now prioritize structural support—using dual-density foams and adaptive base shells—over sheer thickness. This approach delivers consistent support across varied riding postures, from aggressive drops to upright cruising.
Tip: Test saddle width by measuring your sit bone distance with a simple DIY method: sit on a piece of cardboard for 30 seconds, then measure between the center of each indentation.Top 5 Affordable Saddles That Deliver Comfort & Style
The following models have earned strong reputations among gravel enthusiasts for combining value, ergonomics, and sleek design—all priced below $90.
| Saddle | Price Range | Weight | Key Feature | Style Notes |
|---|---|---|---|---|
| WTB Volt NX | $79 | 290g | Flex-Tuned Shell, DNA Wing Flex | Clean lines, matte finish, multiple color options |
| Specialized Power Sport | $80 | 315g | Body Geometry design, pressure relief | Modern aesthetic, subtle branding |
| Thomson Elite | $85 | 300g | Durable chromoly rails, smooth curve | Minimalist look, popular with custom builds |
| Brooks B17 Standard | $89 | 550g | Leather break-in, molds to rider | Timeless classic, ages beautifully |
| Gregory SOUL R1 | $65 | 305g | Center relief, anti-vibration padding | Sleek black finish, understated elegance |
Each of these offers a distinct advantage. The WTB Volt NX stands out for its flexibility and neutral shape, making it ideal for riders who frequently shift positions. The Specialized Power Sport leverages decades of anatomical research to reduce numbness. Meanwhile, the Brooks B17, though heavier, develops a personalized fit over time and adds vintage charm to any build.
How to Choose Based on Fit and Riding Style
Selecting the right saddle isn’t just about price or looks—it’s about compatibility with your body and typical ride profile. Riders spending most of their time on rolling dirt trails may prefer a slightly wider, well-padded model for upright comfort. Those tackling fast, mixed-surface routes might opt for a sleeker, lighter option that allows aggressive positioning.
“Saddle selection is one of the most individualized aspects of bike fitting. There’s no universal ‘best’—only what works for your anatomy and riding habits.” — Dr. Lena Torres, Sports Biomechanist and Cycling Ergonomics Consultant
A proper fit starts with sit bone width. Cyclists with broader pelvises typically need saddles labeled “wide” (143mm+), while narrower riders do better on 130–142mm models. Many brands now offer size charts based on gender and riding style, though personal testing remains the gold standard.
Step-by-Step Guide to Testing a Budget Saddle
- Check compatibility: Ensure the rail type (e.g., steel, CrMo) matches your seatpost clamp.
- Set initial position: Align the saddle level and place it so your knee hovers over the pedal axle at 3 o’clock.
- Ride for 30–45 minutes: Include seated climbing, standing efforts, and rough terrain to assess pressure points.
- Evaluate after 2–3 rides: Discomfort should diminish as you adapt; persistent pain indicates poor fit.
- Adjust tilt or fore-aft: Small tweaks (up to 3°) can dramatically improve comfort.
Real Rider Experience: Sarah’s 500-Mile Gravel Journey
Sarah, a weekend gravel adventurer from Colorado, upgraded her entry-level hardtail with a WTB Volt NX after enduring numbness on multi-hour rides. At $79, it was half the cost of premium carbon-rail models she’d considered. Over five months and nearly 500 miles of mixed terrain—from rocky alpine paths to dusty desert tracks—she reported significant improvement in sit-bone comfort and overall confidence.
“I was skeptical about spending less than $80,” she said, “but the way it flexes with bumps makes a huge difference. Plus, the black/gray finish matches my build perfectly—it doesn’t look budget at all.” Her only adjustment was adding a slight nose-down tilt after the first ride, which alleviated pressure on her hands and wrists.
Common Mistakes to Avoid When Buying a Cheap Saddle
- Ignoring rail material: Aluminum rails may crack under heavy loads; chromoly offers better durability at minimal weight cost.
- Choosing style over structure: A sleek saddle won’t help if it lacks proper support zones.
- Skipping the break-in period: Leather and dense foam models need 100–200 miles to conform to your body.
- Assuming unisex fits all: Female-specific designs often feature shorter noses and wider rear support.
FAQ: Your Gravel Saddle Questions Answered
Can a cheap saddle really last as long as an expensive one?
Yes—durability depends more on construction than price. Models like the Thomson Elite and Brooks B17 are known to last 5+ years with basic care, even under rugged conditions. Look for UV-resistant topsheets and sealed rail joints to extend lifespan.
Do I need a cutout saddle for gravel riding?
Not necessarily. Cutouts help some riders by relieving soft tissue pressure, but others find them create edge discomfort when shifting side-to-side. Try both styles if possible. Alternatives include center-relief channels or adaptive foam zones.
How often should I replace my gravel saddle?
Every 2–3 years or 5,000–8,000 miles, depending on usage. Signs it’s time for a replacement include permanent sagging, shell cracks, or persistent discomfort despite correct positioning.
Final Thoughts: Ride Better Without Overspending
Comfort and style on the gravel don’t require a luxury price tag. With thoughtful selection, even sub-$90 saddles can transform your riding experience—reducing fatigue, enhancing control, and complementing your bike’s aesthetic. The key is matching the saddle’s shape and support to your anatomy and typical terrain, not just chasing brand prestige.
Whether you're building a commuter rig or preparing for your first two-day backcountry tour, investing in a well-chosen, affordable saddle pays dividends in every mile. Don’t let budget constraints compromise your ride quality. Test options, trust your body’s feedback, and remember: the best saddle is the one that lets you forget it’s there.
🚀 Ready to upgrade your ride? Pick one of the models above, install it with confidence, and share your experience with fellow riders. Your perfect gravel saddle might be just one short ride away.