Styling your own hair doesn’t require years of training or expensive tools. With the right techniques, a little practice, and a clear plan, you can create polished, beautiful hairstyles that turn heads—whether you're getting ready for work, a night out, or just want to feel put together. Confidence in your hair starts with knowing how to work with your texture, length, and face shape. This guide breaks down essential methods, common pitfalls, and easy-to-follow routines so you can master everyday elegance on your own terms.
Understanding Your Hair Type and Tools
Before diving into specific styles, it's crucial to understand your hair’s natural behavior. Is it fine and straight, thick and wavy, curly, or coily? Each type responds differently to heat, product, and manipulation. Using the wrong tools or techniques can lead to frustration or damage.
Start by identifying your hair type using the Andre Walker system as a general reference:
| Hair Type | Characteristics | Recommended Tools |
|---|---|---|
| 2A–2C (Wavy) | S-shaped waves, moderate volume | Round brush, medium heat flat iron |
| 3A–3C (Curly) | Spiral curls, prone to frizz | Diffuser, wide-tooth comb |
| 4A–4C (Coily/Kinky) | Tight coils, high shrinkage | Finger detangling, low-manipulation styles |
| 1A–1C (Straight) | Smooth, sleek, can look flat | Volumizing mousse, root lift spray |
The Foundation: Prep and Base Styling
A great hairstyle begins long before the first twist or braid. Proper prep ensures longevity, shine, and control. Follow these foundational steps every time:
- Wash and condition appropriately. Over-washing strips natural oils; under-washing leads to buildup. Most people benefit from washing 2–3 times per week.
- Towel-dry gently. Rubbing hair with a towel causes frizz and breakage. Instead, squeeze out excess water with a microfiber towel or cotton T-shirt.
- Apply leave-in conditioner or serum. This protects against heat and adds moisture, especially important for curly or damaged hair.
- Blow-dry for smoothness (optional). For sleek styles, blow-dry hair straight using a round brush to tension the strands.
If you’re short on time, air-drying with a light mousse or curl cream can enhance natural texture while minimizing effort.
Step-by-Step Guide: Three Effortless Yet Stunning Hairstyles
These three styles are versatile, beginner-friendly, and suitable for various hair lengths and types. Practice them on clean, dry hair for best results.
1. The Polished Low Bun
Ideal for work meetings or dinner dates, this bun looks elegant without being overly formal.
- Gather your hair into a low ponytail at the nape of your neck. Secure with a snag-free elastic.
- Twist the ponytail tightly until it coils around the base.
- Wrap the coil into a neat bun and secure with bobby pins, tucking the ends underneath.
- Lightly tug at the sides near your ears to soften the look and add volume.
- Finish with a spritz of flexible-hold hairspray.
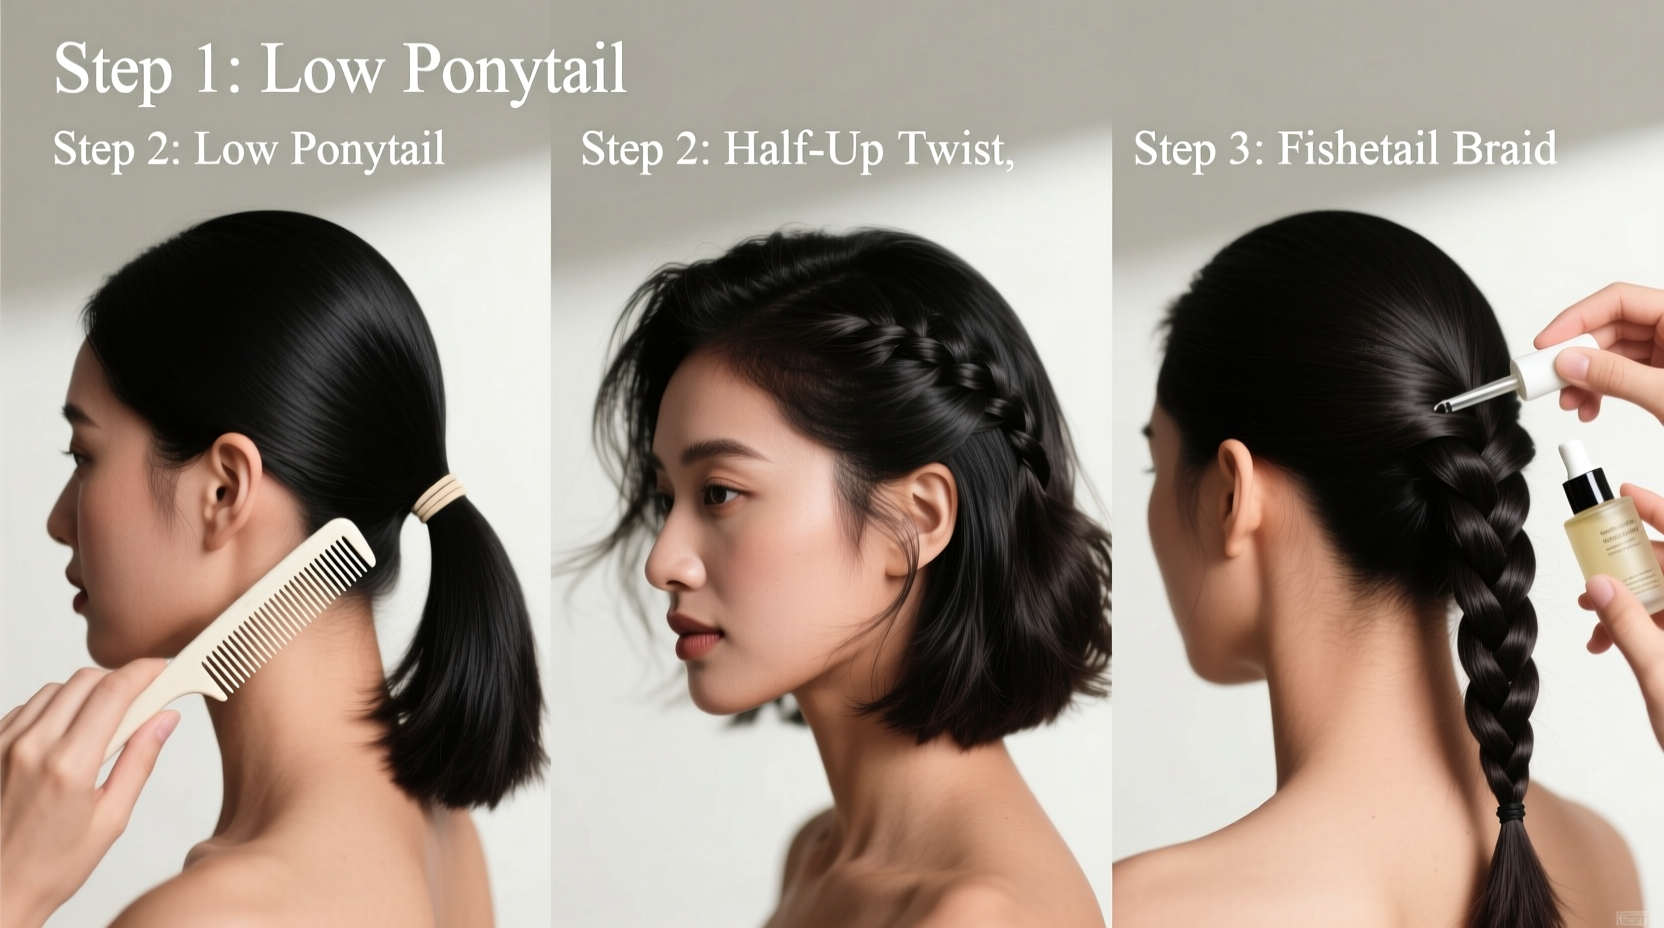
2. Half-Up Twisted Crown
This romantic style works beautifully on medium to long hair and highlights facial features.
- Part your hair down the middle or to one side, depending on preference.
- Take a 2-inch section from each side near your temples.
- Twist both sections backward toward the crown of your head.
- Cross the twists over each other and secure with bobby pins at the back.
- Leave the rest of your hair down in waves or curls for contrast.
- Use texturizing spray to give the crown more grip and fullness.
3. Faux Hawk Braid (Edgy Yet Wearable)
A modern twist on the classic braid, perfect for adding flair to casual outfits.
- Section off a center strip of hair from your forehead to the crown.
- Braid this section in a standard three-strand braid or French braid for added height.
- Secure the end with a small elastic.
- Gently pull on the edges of the braid to widen it and create volume.
- Pin the braid slightly upward at the back for that “hawk” effect.
- Let the rest of your hair flow freely or pair it with loose waves.
“Confidence in hairstyling comes not from perfection, but from repetition. Do a style five times, and it stops feeling foreign.” — Lila Monroe, Celebrity Stylist and Educator
Common Mistakes and How to Avoid Them
Even experienced stylists make errors. Recognizing these pitfalls helps you refine your technique faster.
- Using too much product. Start with a dime-sized amount and add more only if needed. Excess product weighs hair down and creates buildup.
- Ignoring hair health. Frequent heat styling without protection leads to split ends and breakage. Incorporate deep conditioning treatments weekly.
- Rushing the process. Take your time. A rushed bun often collapses; a hurried braid looks uneven.
- Not tailoring styles to your face shape. For example, those with round faces may want volume at the crown, while square jaws suit soft side-swept styles.
Real Example: From Frizzy to Fabulous in 20 Minutes
Sophie, a teacher with shoulder-length wavy hair, used to avoid styling because her hair “never stayed put.” After learning the half-up twisted crown method, she began practicing during weekend mornings. By week four, she could do it blindfolded (almost). Now, she wears it twice a week—once for school and once for date night. “It feels like my signature look,” she says. “And my students always compliment me.” Her secret? She preps with a lightweight mousse and uses U-pins instead of bobby pins—they hold better and don’t slide out.
Checklist: Build Your At-Home Styling Routine
Follow this checklist each time you style your hair to ensure consistency and quality results:
- ☑ Determine the day’s goal: sleek, voluminous, textured?
- ☑ Wash or refresh hair as needed (dry shampoo works for second-day hair)
- ☑ Apply heat protectant if using tools
- ☑ Choose a style based on time, occasion, and hair condition
- ☑ Gather all tools: brush, pins, elastics, product
- ☑ Style with patience—don’t rush the finishing touches
- ☑ Set with hairspray or texturizer
- ☑ Assess in natural light and adjust if necessary
FAQ
How do I make my hairstyle last all day?
Prep is key. Use a light mousse or texturizing spray before styling, and finish with a flexible-hold hairspray. Bobby pins should be inserted open-side down for maximum grip. Avoid touching your hair throughout the day, as oils from your hands can loosen styles.
Can I achieve these styles with short hair?
Absolutely. The low bun works with longer pixies or lob cuts by pinning shorter sections into a mini knot. The twisted crown can be adapted using smaller sections and more pins. Focus on precision rather than length.
What if my hair is too slippery to hold a style?
Try dry shampoo or a sea salt spray to add grit and texture. These products absorb oil and create friction, making hair easier to manipulate. You can also backcomb lightly at the roots for extra hold.
Conclusion: Own Your Look with Confidence
Mastering simple and stunning hairdos isn’t about having perfect hair—it’s about building skill, self-awareness, and a routine that works for you. Every twist, braid, and pin placement becomes more intuitive with practice. The most beautiful hairstyles aren’t flawless; they’re the ones worn with confidence. Start with one new style this week. Practice it until it feels natural. Then try another. Soon, you’ll have a repertoire that matches your mood, outfit, and moment—without needing a salon appointment.
💬 Which hairstyle will you try first? Share your progress or ask questions in the comments—let’s build a community of confident stylists, one braid at a time.