Home renovations are transformative—but they come with a long list of small frustrations that can add up quickly. One of the most common yet puzzling sights during a remodel is aluminum foil wrapped around doorknobs. At first glance, it might look like a makeshift fix or a quirky superstition. In reality, it’s a clever, time-tested technique used by both professional painters and DIYers to protect hardware from paint splatter, simplify cleanup, and preserve finishes. This practice isn’t random; it’s rooted in practicality, efficiency, and experience.
Whether you're repainting a bedroom, refinishing cabinets, or overseeing a full-scale renovation, understanding the reasoning behind this method can save you hours of scrubbing, costly replacements, and avoidable damage. Let’s break down the science, benefits, and best practices of using aluminum foil on doorknobs—and why this humble kitchen staple deserves a permanent spot in your renovation toolkit.
The Problem: Paint Gets Everywhere
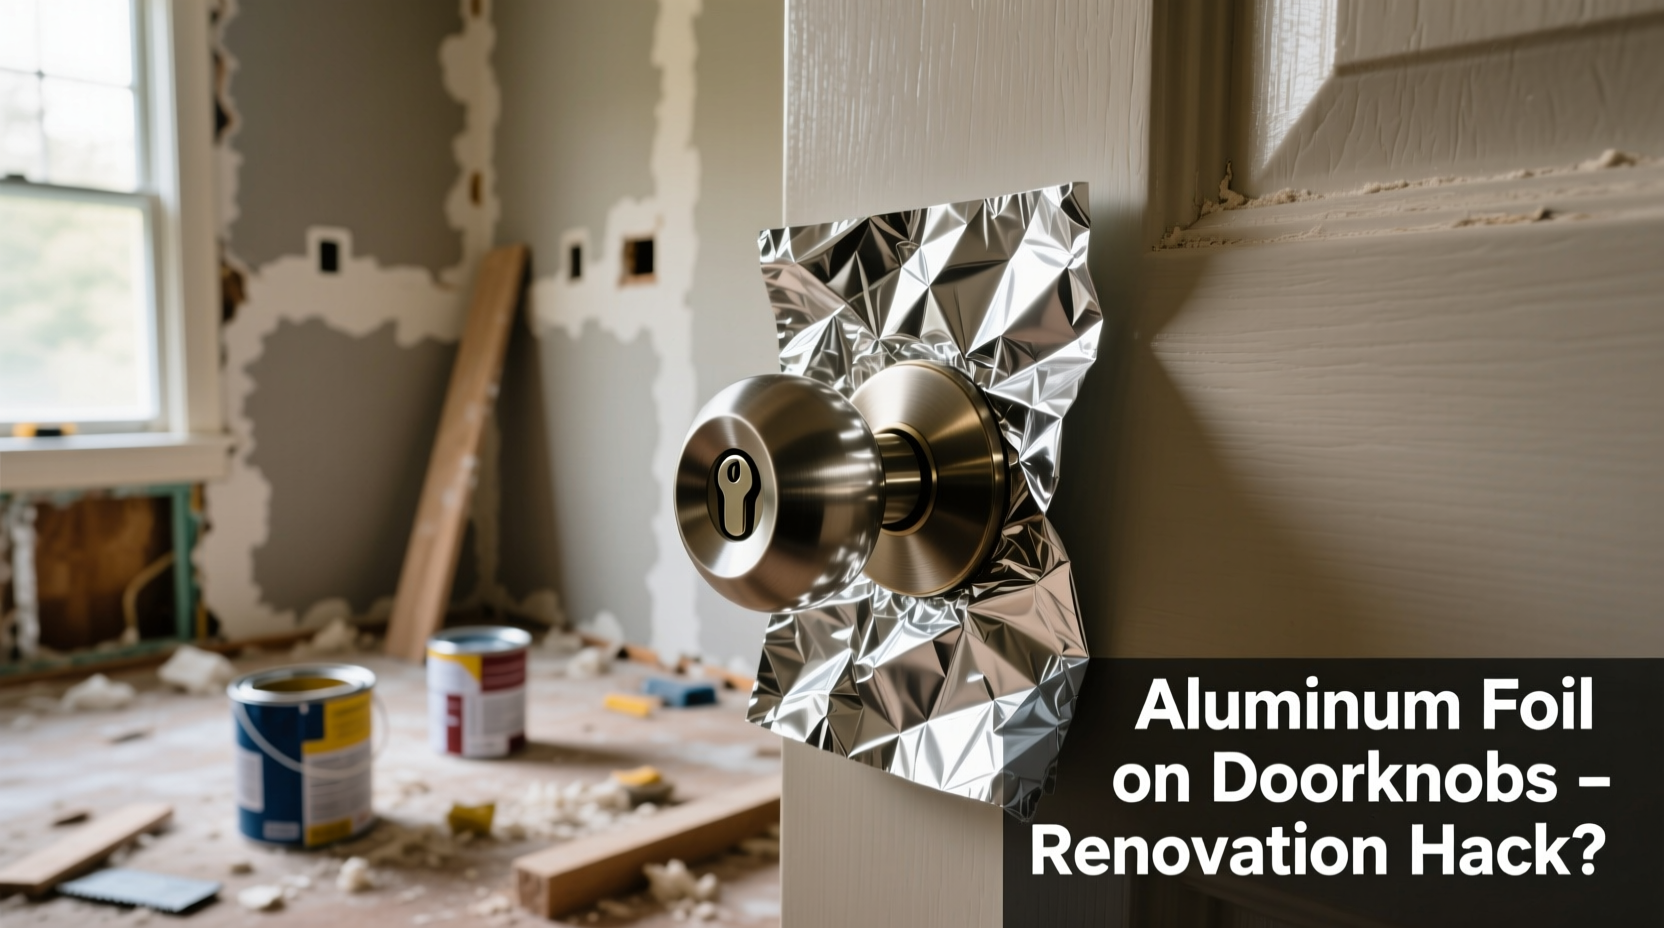
During any painting project—especially when walls are being stripped, primed, and repainted multiple times—paint mist, drips, and overspray become inevitable. Even with careful brushwork and high-quality painter’s tape, microscopic specks of paint can settle on nearby surfaces. Doorknobs, being prominent metal fixtures at hand level, are particularly vulnerable.
Latex and oil-based paints bond strongly to metal and plastic surfaces. Once dried, removing paint from intricate hardware without damaging the finish requires harsh chemicals, scraping, or even disassembly—all of which increase labor costs and risk scratching or warping the knob. Replacing a single doorknob may seem minor, but multiply that across an entire house with 10+ doors, and expenses add up fast.
This is where aluminum foil comes in—not as a substitute for proper prep, but as a protective shield that combines accessibility, flexibility, and effectiveness better than most commercial alternatives.
Tip: Always use heavy-duty aluminum foil if available—it resists tearing during application and removal.How Aluminum Foil Protects Doorknobs
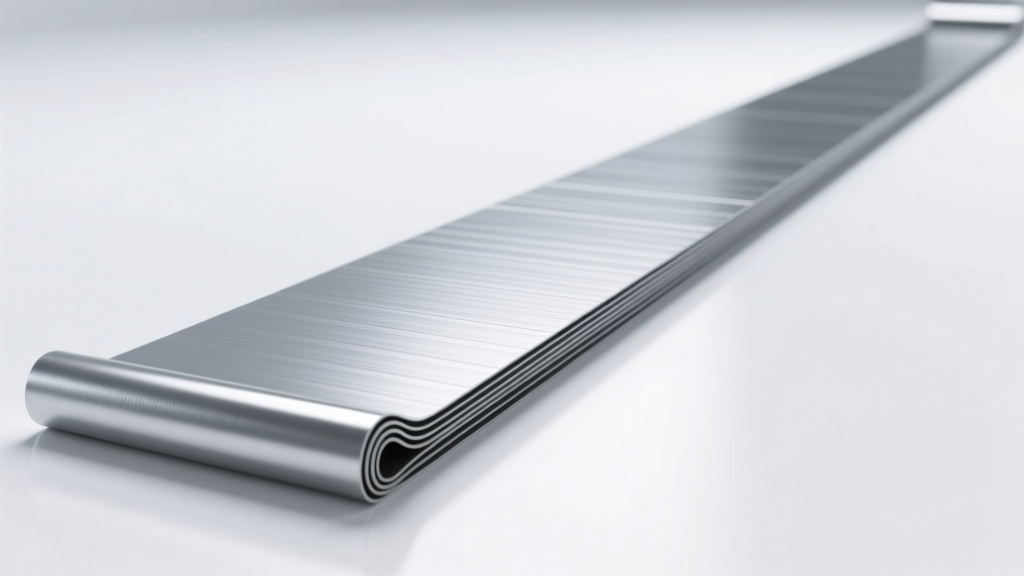
Wrapping a doorknob in aluminum foil creates a physical barrier between the hardware and airborne paint particles. The process is simple: tear off a generous sheet, mold it tightly over the knob and latch mechanism, then secure it with painter’s tape if needed. When painting is complete, the foil is peeled away, revealing a clean, untouched surface underneath.
Unlike plastic bags or paper, aluminum foil conforms easily to irregular shapes and doesn’t absorb moisture or solvents. It also reflects light, making it easy to spot during final walkthroughs—ensuring no covered hardware is accidentally left behind.
One of the biggest advantages is reusability. A single roll of foil can protect dozens of knobs across multiple rooms. After removal, used pieces can be recycled (if clean) or discarded without environmental guilt, unlike some synthetic wraps that contribute to landfill waste.
Why Not Just Remove the Doorknobs?
You might wonder: Why not just unscrew the doorknobs entirely? While technically possible, removing hardware has several drawbacks:
- Time-consuming: Each knob takes 3–5 minutes to remove and reinstall. Across 15 doors, that’s over an hour of non-painting labor.
- Risk of lost parts: Screws, washers, or internal mechanisms can get misplaced during storage.
- Reinstallation inconsistencies: Misaligned latches or loose handles may require readjustment after reattachment.
- Finish damage: Frequent handling increases the chance of scratches or wear on plated surfaces.
For contractors working under tight deadlines, every saved minute counts. Foil wrapping offers a middle ground—protection without disassembly.
Step-by-Step Guide to Wrapping Doorknobs with Foil
Applying aluminum foil correctly ensures maximum protection and clean removal. Follow these steps for optimal results:
- Clean the knob: Wipe down the handle with a dry cloth to remove dust or grease that could interfere with adhesion.
- Cut a generous piece: Tear off a sheet about 12–15 inches long—large enough to fully cover the knob and part of the door plate.
- Mold the foil: Press the foil firmly over the knob, ensuring it wraps around all sides, including crevices and the base where the knob meets the mounting plate.
- Secure edges (optional): Use a small strip of painter’s tape to hold loose ends, especially if spraying paint or working in a windy area.
- Label if necessary: On shared job sites, mark foil-covered knobs with a tag saying “Do Not Remove” to prevent accidental unwrapping.
- Remove carefully: After painting, gently peel off the foil. If paint has seeped under the edge, lift slowly to avoid flaking onto the door.
For lever-style handles, which have broader surfaces, consider doubling the layer of foil for added protection.
Tip: Smooth out wrinkles before taping—tight contact reduces gaps where paint can sneak through.Comparison: Foil vs. Other Protection Methods
While aluminum foil is popular, other materials are sometimes used to shield doorknobs. Here's how they stack up:
| Method | Pros | Cons |
|---|---|---|
| Aluminum Foil | Inexpensive, malleable, reusable, heat-resistant, easy to shape | Can tear if handled roughly; not ideal for high-humidity environments |
| Plastic Bags | Widely available, waterproof | Slippery, hard to secure; traps moisture; environmentally harmful |
| PVC Tape or Wrap | Durable, adhesive-backed, designed for construction | Expensive; difficult to remove from textured surfaces; leaves residue |
| Silicone Knob Covers | Reusable, snug fit, professional appearance | High upfront cost; limited sizing options; storage required |
| No Protection (Manual Cleanup) | No extra materials needed | Time-intensive; risks damaging finish; inconsistent results |
As shown, aluminum foil strikes the best balance between cost, performance, and accessibility—especially for one-off projects or homes with varied knob styles.
Expert Insight: What Contractors Say
Professional painters and general contractors have long relied on this low-tech solution. Their experiences underscore its reliability in real-world conditions.
“On a recent whole-house repaint, we had 22 interior doors. Removing each knob would’ve taken nearly two man-hours. Instead, we used foil—saved time, avoided screw damage, and every knob came out spotless.” — Carlos Mendez, Lead Painter at BrightWall Renovations
“It’s not glamorous, but aluminum foil is one of the most underrated tools on our job site. It works on hinges, light switches, outlet covers—you name it.” — Lisa Tran, General Contractor & Home Remodeling Specialist
These insights highlight a key principle in efficient renovation work: simplicity often outperforms complexity. A $3 roll of foil solving a problem that could otherwise cost hundreds in labor and replacement parts is a textbook example of smart resource management.
Real Example: A Bathroom Reno Gone Right
Consider Sarah Kim, a homeowner in Portland who decided to repaint her guest bathroom during a weekend refresh. She chose a bold navy blue for the walls and planned to keep the existing brushed nickel doorknob to maintain consistency with the rest of the house.
She initially considered removing the knob but realized she didn’t have the right screwdriver size and worried about cross-threading during reinstallation. Instead, she remembered seeing foil-wrapped knobs online and gave it a try.
She cut a piece of heavy-duty foil, molded it tightly over the knob and strike plate, and secured the edges with blue painter’s tape. After two coats of paint and a thorough cleanup, she removed the foil—revealing a perfectly clean, shiny doorknob with zero paint smudges.
“It took less than a minute to apply,” Sarah said later. “I was skeptical, but it worked flawlessly. I’ll never paint a room without doing this again.”
This scenario illustrates how a small, informed decision can dramatically improve the outcome of a DIY project—without requiring special tools or expertise.
Frequently Asked Questions
Can aluminum foil damage the finish on my doorknob?
No, when applied gently, aluminum foil does not scratch or chemically react with most doorknob finishes. However, avoid using crumpled foil with sharp edges, and don’t press excessively hard if the knob has a delicate plating. For antique or lacquered hardware, test on a small area first.
Is it safe to leave foil on overnight or between paint coats?
Yes. Aluminum foil is stable and non-reactive. As long as it’s securely wrapped, it can remain in place for days without compromising the paint job or hardware. Just ensure it won’t be disturbed by foot traffic or cleaning crews.
Does this work with spray painting?
Yes, but with caution. Spray guns generate fine mist that can penetrate loose edges. For best results, double-wrap the knob and seal all openings with painter’s tape. Alternatively, combine foil with a cardboard shield to block direct spray drift.
When Foil Isn't Enough: Special Cases
While aluminum foil is effective in most situations, certain scenarios call for alternative or additional protection:
- Antique or ornate hardware: Delicate engravings or fragile components may require custom silicone covers or removal and storage.
- Outdoor doors exposed to weather: Foil can degrade if left in rain or humidity. Use waterproof tape or temporary removal instead.
- High-gloss or specialty finishes: Some coatings are sensitive to abrasion. Test foil on a hidden area first.
- Commercial jobs with strict standards: Contractors may opt for branded protective sleeves to maintain a polished worksite appearance.
In such cases, foil can still serve as a secondary layer beneath more robust solutions.
Final Checklist: Using Foil on Doorknobs Like a Pro
Before starting your next paint job, run through this quick checklist:
- ✅ Gather heavy-duty aluminum foil and painter’s tape
- ✅ Inspect each doorknob for looseness or damage
- ✅ Clean knobs with a dry microfiber cloth
- ✅ Cut foil large enough to fully encase the knob and base
- ✅ Mold tightly, eliminating gaps or loose flaps
- ✅ Secure edges with minimal tape to avoid residue
- ✅ Double-check coverage before painting begins
- ✅ Remove foil carefully after final coat has dried
Following these steps ensures consistent results and minimizes post-paint cleanup.
Conclusion: Small Detail, Big Impact
Putting aluminum foil on doorknobs during home renovations may seem trivial, but it exemplifies a larger truth in remodeling: attention to detail defines quality. What starts as a simple act of protection becomes a cumulative effort that preserves finishes, reduces labor, and elevates the final result.
Whether you're a seasoned contractor or a first-time DIYer, adopting this technique adds professionalism to your work without adding cost. It’s a testament to the ingenuity found in everyday solutions—where a kitchen staple becomes a construction hero.
🚀 Ready to paint smarter? Grab a roll of foil before your next project and see the difference one small change can make. Share your own renovation hacks in the comments below!