Clear light covers — whether on pendant fixtures, recessed downlights, LED strip diffusers, or vintage lampshades — are prized for their clean, minimalist aesthetic and ability to evenly disperse light. Yet many homeowners, designers, and facility managers report the same frustrating phenomenon: within months or a few years, those pristine, crystal-clear covers develop a noticeable yellow or amber tint. It’s not dirt. It’s not mold. And scrubbing won’t fix it. This discoloration is a predictable chemical transformation — one rooted in material science, environmental exposure, and manufacturing trade-offs. Understanding *why* it happens isn’t just academic; it informs smarter purchasing decisions, realistic maintenance expectations, and long-term lighting strategy.
The Chemistry Behind the Yellowing: It’s Not Surface Stain — It’s Molecular Change
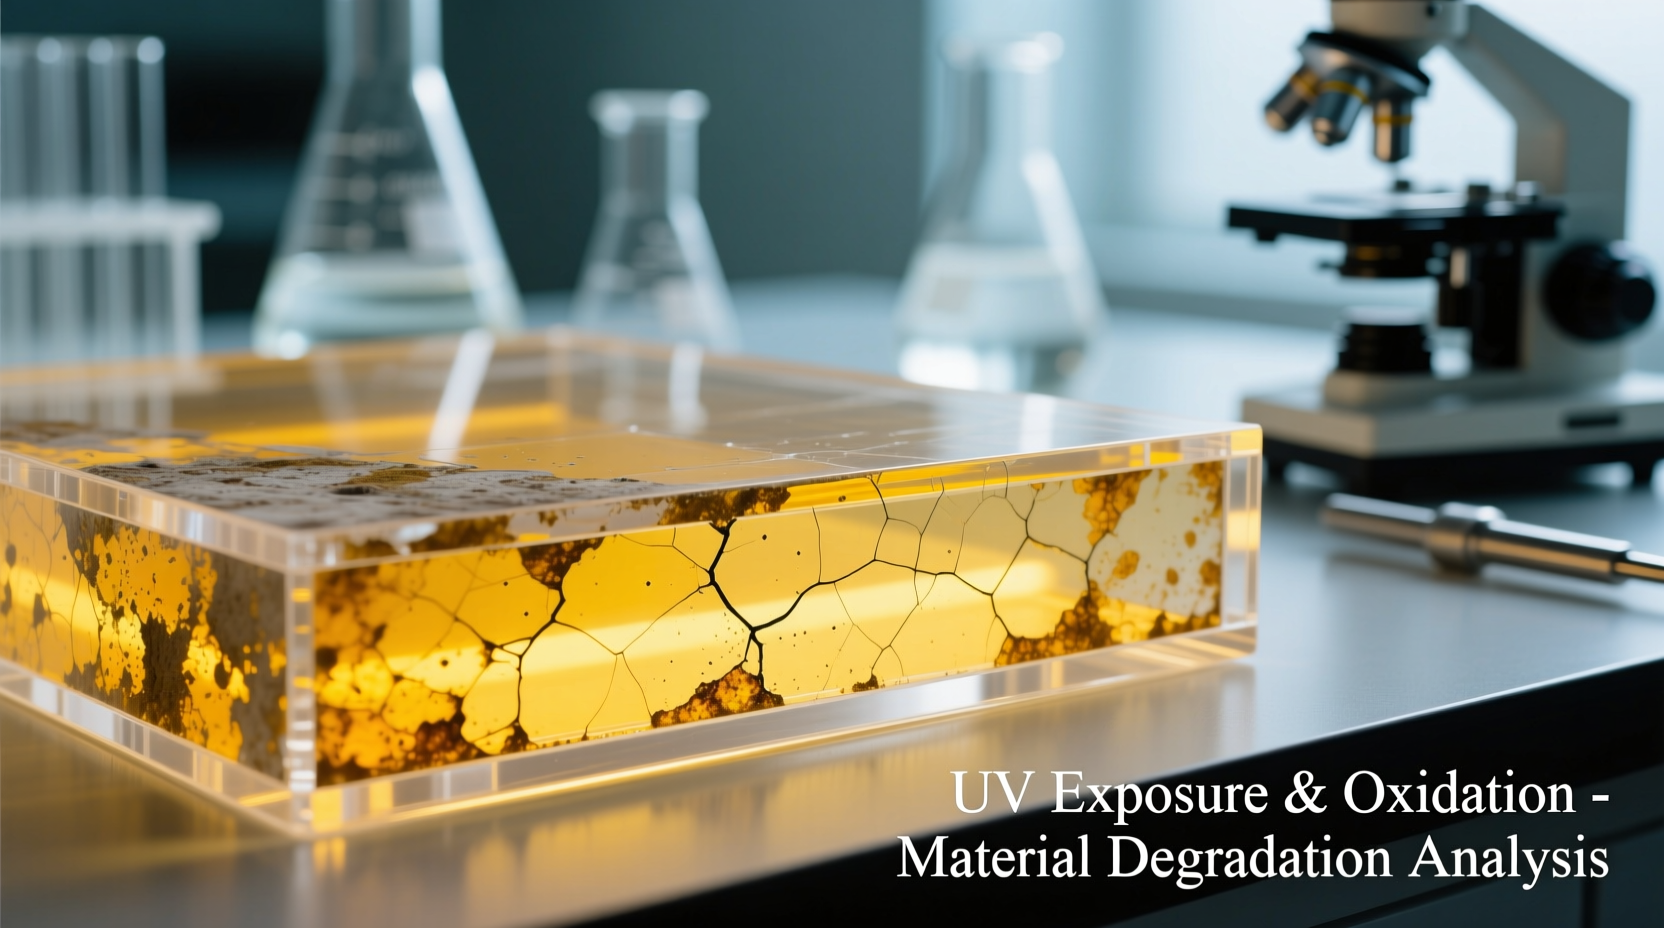
Most clear light covers are made from either polycarbonate (PC) or acrylic (PMMA). Both are thermoplastics valued for impact resistance, clarity, and ease of molding. But they age differently — and both yellow for distinct yet overlapping reasons.
Polycarbonate, often used in commercial-grade or high-impact fixtures, contains aromatic bisphenol-A groups in its polymer backbone. When exposed to ultraviolet (UV) radiation — even the small amount emitted by modern LEDs over thousands of hours — these bonds absorb energy and undergo photo-oxidation. This creates chromophores: molecular structures that absorb visible light in the blue-violet spectrum and reflect yellow-orange wavelengths. The result? A subtle but persistent yellow cast that deepens with cumulative exposure.
Acrylic (PMMA), commonly found in residential fixtures and budget-friendly diffusers, lacks aromatic rings but contains ester side groups vulnerable to thermal and UV degradation. Prolonged heat from nearby bulbs — especially older halogen or incandescent sources �� accelerates chain scission. Broken polymer chains recombine into conjugated carbonyl compounds, which also act as chromophores. Unlike polycarbonate, acrylic tends to yellow more uniformly but is less prone to micro-cracking under stress.
Crucially, yellowing is *not* reversible through cleaning because it occurs at the molecular level — throughout the bulk material — not just on the surface. Wiping may remove dust or grease, but it cannot eliminate chromophores embedded in the polymer matrix.
Tip: If your fixture uses halogen or incandescent bulbs, switch to cool-white LEDs (3000K–4000K) with low UV emission — this reduces thermal load and eliminates the primary UV catalyst for polycarbonate yellowing.Four Key Accelerators — And Why Some Fixtures Yellow Faster Than Others
Not all clear covers yellow at the same rate. Variability stems from three interlocking factors: material formulation, fixture design, and environmental context. Below is a breakdown of the most influential accelerators:
| Accelerator | How It Works | Real-World Impact |
|---|---|---|
| UV Radiation Exposure | Direct sunlight or proximity to unshielded UV-emitting sources breaks chemical bonds in polymers. | Covers on south-facing outdoor fixtures yellow 3–5× faster than identical indoor units. Even LED drivers with poor phosphor coating emit trace UV. |
| Heat Accumulation | Temperatures above 60°C accelerate oxidation and plasticizer migration (in lower-grade PC). | Recessed cans with inadequate airflow or enclosed fixtures trap heat — raising internal temps to 75–90°C during operation. |
| Ozone & Nitrogen Oxides (NOx) | These atmospheric pollutants react with polymer surfaces, forming nitro-derivatives that absorb visible light. | Urban installations near traffic corridors or industrial zones show earlier yellowing — sometimes within 12 months. |
| Plasticizer Migration (Low-Grade Polycarbonate) | Inexpensive PC blends use volatile plasticizers to improve moldability. These leach out over time, leaving behind brittle, oxidized residue. | Budget-tier covers from mass-market retailers often yellow unevenly — with streaks or halo patterns — indicating non-uniform additive loss. |
Fixture geometry matters too. A tightly sealed, enclosed fixture with minimal ventilation creates a “micro-oven” effect: heat builds, oxygen depletes, and oxidative byproducts concentrate against the cover’s inner surface. In contrast, open-frame or well-vented designs allow convective cooling and gas exchange, significantly slowing degradation.
A Real-World Example: The Boutique Café Ceiling Installation
In early 2022, a Melbourne-based café installed 24 matte-finish clear polycarbonate covers over integrated LED downlights in its timber-clad ceiling. The space featured large north-facing windows, ambient temperatures averaging 22–26°C, and used warm-white (3000K) LEDs rated at <0.1 mW/lm UV output. Within 14 months, six fixtures — all clustered directly beneath the main window — developed a faint but visible yellow halo around their perimeters. The remaining 18 showed no discoloration.
An independent materials audit revealed the cause wasn’t bulb quality or installation error. Spectral analysis confirmed elevated UV-A (315–400 nm) irradiance beneath the untreated glass — up to 3.2 W/m² during peak afternoon hours. That intensity was sufficient to initiate localized photo-oxidation where sunlight intersected the cover’s edge, where thermal stress and UV concentration converged. The café resolved it by retrofitting UV-filtering film to the window glazing and replacing affected covers with UV-stabilized acrylic — which carries no aromatic groups and resists photo-yellowing far better in high-sunlight zones.
Prevention Over Cure: A 5-Step Proactive Maintenance Timeline
Once yellowing begins, reversal is impractical outside industrial re-polishing (which removes material and weakens structural integrity). Prevention, however, is highly effective — and achievable with consistent, low-effort habits. Follow this timeline to maximize cover lifespan:
- Pre-Installation (Week 0): Verify material specs — request UV-stabilization certification (ISO 4892-2 compliant) and confirm operating temperature rating exceeds your fixture’s max internal temp (ideally ≥100°C for PC, ≥85°C for acrylic).
- Month 1: Clean covers gently with microfiber cloth and pH-neutral cleaner (e.g., diluted isopropyl alcohol at ≤10% concentration). Avoid ammonia, acetone, or abrasive pads — they accelerate micro-scratching, which traps pollutants and intensifies yellowing.
- Months 3–6: Inspect for heat buildup. Use an infrared thermometer to check cover surface temp during 30-minute operation. If >65°C, improve fixture ventilation or reduce wattage.
- Year 1: Audit environmental exposure. Install UV-filtering window film if fixtures face direct sun. Relocate or shield outdoor fixtures using aluminum baffles or UV-blocking hoods.
- Year 2+: Replace covers proactively every 3–5 years in high-exposure areas — before yellowing becomes visually disruptive. Track replacement dates per fixture zone to identify patterns (e.g., “south wall units last 3.2 years on average”).
“Yellowing isn’t failure — it’s physics made visible. The best lighting maintenance programs don’t wait for discoloration. They treat polymer optics like precision optical components: calibrated, monitored, and replaced on a data-informed schedule.” — Dr. Lena Torres, Materials Engineer, Lighting Research Center at Rensselaer Polytechnic Institute
Do’s and Don’ts Checklist for Long-Lasting Clarity
- ✅ DO select covers labeled “UV-stabilized” or “weather-resistant” — verify with manufacturer datasheets, not just marketing copy.
- ✅ DO pair clear covers with LEDs rated for “low UV emission” (<0.05 mW/lm) and color temperatures ≤4000K — cooler whites generate less near-UV leakage.
- ✅ DO clean quarterly using distilled water and soft microfiber — never paper towels or cotton rags, which leave lint and micro-scratches.
- ❌ DON’T install clear polycarbonate covers in recessed housings without active thermal management (e.g., passive vents or thermal pads).
- ❌ DON’T use silicone-based sprays or “anti-fog” coatings — their organosilicon compounds interact unpredictably with polymer surfaces and often accelerate yellowing.
- ❌ DON’T assume “indoor-only” means safe — ozone from HVAC ionizers, printer emissions, and even off-gassing from new cabinetry contribute to oxidative stress.
FAQ: Addressing Common Concerns
Can I restore yellowed covers with hydrogen peroxide or UV lamps?
No — consumer-grade “restoration kits” using hydrogen peroxide and UV-C lamps only bleach the *surface* layer. They remove a thin, discolored polymer film (0.01–0.03 mm), leaving the underlying material vulnerable to rapid re-yellowing. Industrial processes exist, but they require precise temperature control, inert atmospheres, and post-treatment stabilization — none of which are replicable at home. Restoration rarely extends functional life beyond 6–12 months.
Are yellowed covers unsafe or less efficient?
Structurally, yellowing itself doesn’t compromise safety — unless accompanied by cracking, clouding, or warping (signs of advanced thermal degradation). Optically, yellowing reduces light transmission by 8–15% and shifts color rendering index (CRI) downward, making whites appear warmer and saturating blues/greens. For task lighting or retail displays, this affects visual accuracy and perceived brightness — though energy consumption remains unchanged.
Why don’t glass covers yellow? Can I switch to them?
Glass (especially borosilicate) resists yellowing because its inorganic silica network lacks carbon-based polymer chains susceptible to oxidation. However, glass is heavier, more fragile, and conducts heat poorly — increasing thermal stress on LED drivers and requiring robust mounting. It’s viable for pendants or wall sconces but rarely suitable for recessed or track lighting without significant redesign. Weight and breakage risk also limit its use in high-traffic or seismic zones.
Conclusion: Clarity Is a Choice — Not Just a Feature
Clear light covers yellow because polymers degrade — and degradation is inevitable when light, heat, oxygen, and time converge. But inevitability isn’t resignation. Every decision you make — from specifying UV-stabilized acrylic over budget polycarbonate, to installing thermal vents in recessed housings, to tracking sunlight angles during layout — actively negotiates the pace of that degradation. You’re not fighting chemistry; you’re working with it, intelligently and deliberately. The goal isn’t perpetual clarity — it’s predictable, graceful aging aligned with your functional and aesthetic priorities. When your next lighting project begins, treat the cover not as disposable trim, but as a calibrated optical component with a finite, manageable service life. Document your choices. Measure your results. Share what works — because in lighting design, clarity isn’t just about what you see. It’s about what you understand.
💬 Have you tracked yellowing patterns across different brands or environments? Share your real-world observations, photos (if publishing elsewhere), or replacement timelines in the comments — your experience helps others build better, longer-lasting lighting systems.