Silicone makeup sponges have transformed the way many apply foundation, concealer, and other complexion products. Unlike traditional foam sponges, they don’t absorb product, making them more hygienic and economical over time. However, because they’re constantly in contact with skin, oils, and cosmetics, they can accumulate residue, bacteria, and grime if not cleaned properly. The challenge lies in maintaining their integrity—cleaning them thoroughly without degrading the material or altering their texture. Many users make the mistake of treating them like foam sponges, leading to warping, tearing, or loss of bounce. This guide breaks down the safest, most effective cleaning practices to keep your silicone sponge in top condition for months—or even years.
Why Cleaning Silicone Sponges Matters
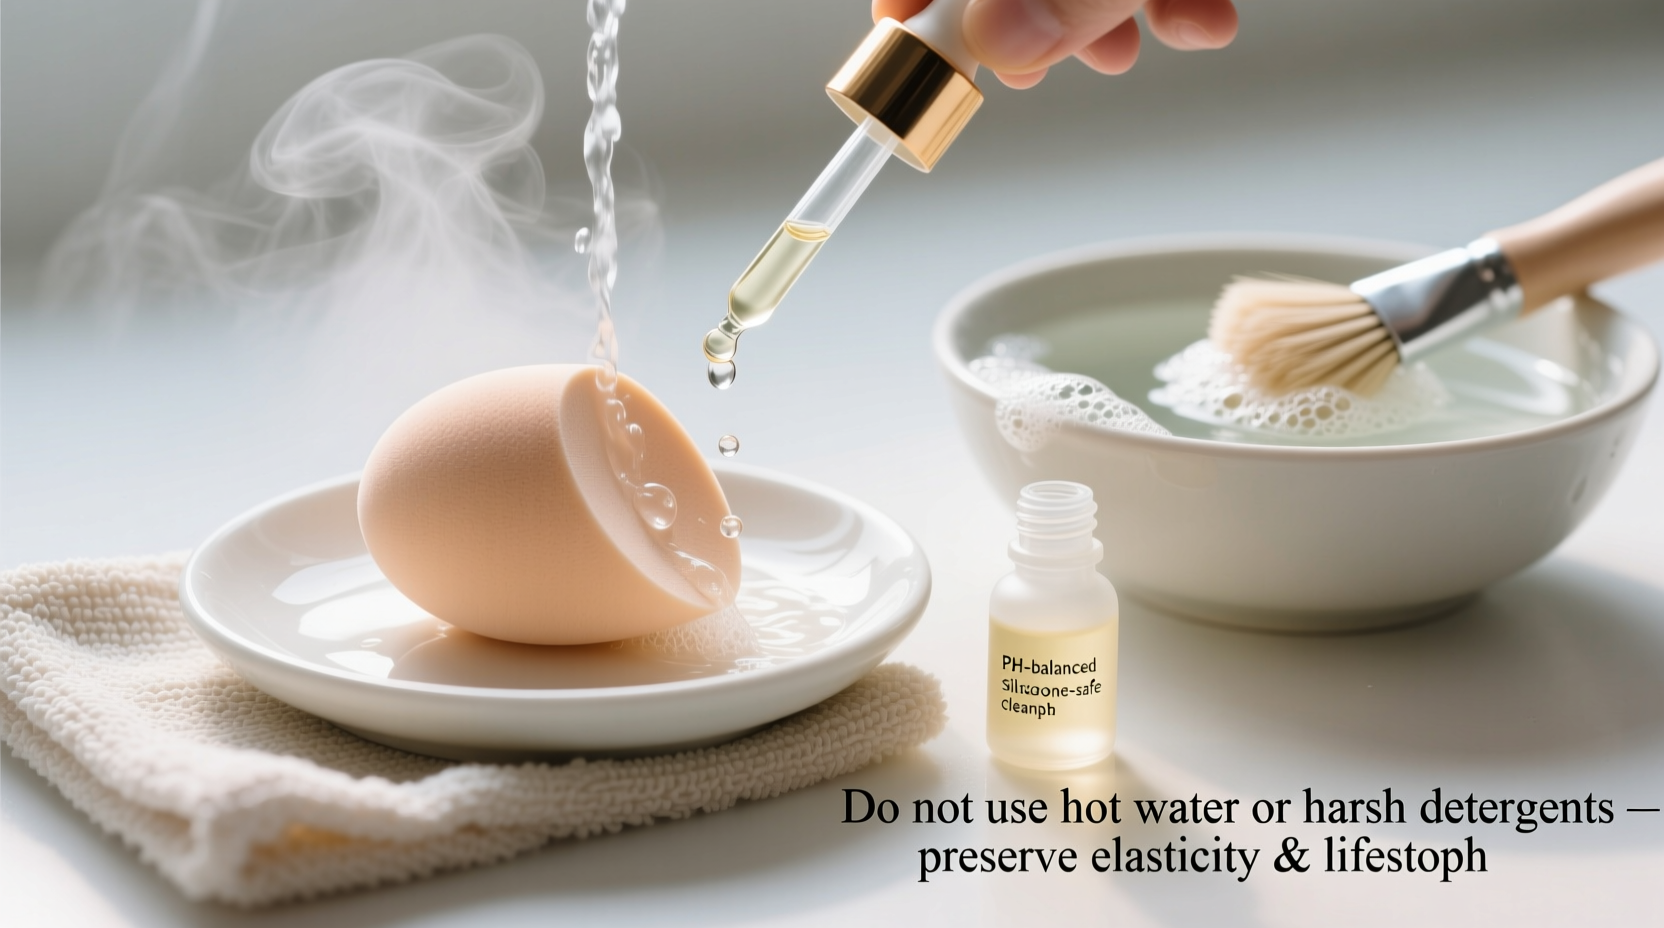
Even though silicone doesn’t soak up makeup like latex or polyurethane sponges, it still collects a film of product on its surface. Over time, this buildup can harbor bacteria, cause breakouts, and interfere with smooth application. A dirty sponge may streak foundation, feel tacky, or fail to blend edges seamlessly. Regular cleaning prevents these issues and extends the life of your tool. What’s often overlooked is that improper cleaning methods—such as using abrasive scrubbers or high heat—can degrade the silicone polymer structure, leading to micro-tears, cloudiness, or deformation.
“Silicone is durable but not indestructible. Harsh chemicals and extreme temperatures compromise its molecular stability over time.” — Dr. Lena Patel, Cosmetic Chemist & Skincare Formulation Specialist
The Right Way to Clean: Step-by-Step Guide
Cleaning a silicone makeup sponge doesn’t require special tools or expensive solutions. With the right technique, you can maintain hygiene and performance without risking damage. Follow this detailed process:
- Rinse under lukewarm water: Hold the sponge under running tap water at a moderate temperature. Avoid hot water, which can warp or soften the silicone. Gently squeeze to release any trapped product.
- Apply a mild cleanser: Use a small amount of fragrance-free liquid castile soap, baby shampoo, or a dedicated cosmetic tool cleanser. These are pH-balanced and non-abrasive. Do not use dish soap with degreasers or strong surfactants, as they can strip protective coatings.
- Massage gently with fingers: Work the cleanser into the surface using circular motions. Focus on crevices and flat blending areas where residue accumulates. Never use a brush or scouring pad.
- Rinse thoroughly: Continue rinsing until the water runs completely clear and no suds remain. Residual soap can leave a film that affects product adherence.
- Pat dry and air-dry upright: Use a clean towel to blot excess moisture. Then place the sponge on a drying rack or stand it on its base in a well-ventilated area. Avoid direct sunlight or humid bathrooms, which encourage microbial growth.
Do’s and Don’ts: Caring for Silicone Sponges
To prevent accidental damage, refer to this comparison chart outlining safe versus harmful practices.
| Do’s | Don’ts |
|---|---|
| Use lukewarm water (below 40°C / 104°F) | Expose to boiling water or steam |
| Clean weekly with gentle soap | Soak in alcohol-based sanitizers |
| Hand-wash only; never machine wash | Put in washing machine or dishwasher |
| Air-dry in a shaded, ventilated space | Dry near radiators or in direct sun |
| Store in a clean, dry container | Leave in damp makeup bags overnight |
One common misconception is that silicone sponges “don’t need cleaning” because they don’t absorb makeup. In reality, surface contamination is enough to compromise hygiene and function. Another myth is that microwaving or boiling sterilizes them safely. While silicone withstands high heat in industrial settings, consumer-grade sponges often contain additives or bonding agents that degrade under such conditions.
Real Example: How One User Damaged Her Sponge
Jamila, a beauty influencer based in Portland, began using a silicone sponge after switching to a low-waste routine. She loved its reusability but noticed after six weeks that the edges started peeling and the surface felt sticky despite daily use. Upon inspection, she realized she had been placing the sponge in her dishwasher once a week alongside makeup brushes, assuming the quick cycle would sanitize it. The high-pressure jets and detergent caused microscopic abrasions, while the heated dry cycle warped the base. After switching to hand-washing with baby shampoo and allowing it to air-dry on a ceramic dish, the remaining lifespan improved significantly. Though the original shape didn’t fully recover, she extended usable life by another four months through proper care.
“Switching to manual cleaning made all the difference. I now treat it like a skincare tool—not just a disposable applicator.” — Jamila T., Beauty Content Creator
Alternative Cleaning Methods That Work
While hand-washing is ideal, some users prefer alternative techniques for convenience or deeper sanitation. Here are two safe options:
Microwave Method (With Caution)
If you choose to microwave, proceed carefully. Place the wet sponge in a microwave-safe bowl filled with water and a drop of mild soap. Heat on low power for 30 seconds—no more. Immediately remove (it will be hot), then rinse and inspect. Repeat only if necessary. This method should not be used more than once every few months and only with manufacturer-approved sponges.
Vinegar Soak (For Disinfection)
For periodic disinfecting, mix one part white vinegar with three parts water. Submerge the sponge for 10 minutes, then rinse thoroughly. Vinegar naturally kills bacteria and mold without harsh fumes. However, prolonged exposure can dull the surface shine, so limit this to once a month.
Tip: Always test new cleaning methods on a small corner first. If the silicone feels sticky or looks cloudy afterward, discontinue use.How Often Should You Clean Your Silicone Sponge?
Frequency depends on usage, but general guidelines apply:
- After every use: Wipe lightly with a damp cloth or reusable wipe to remove surface product.
- Weekly deep clean: Full wash with soap and water to eliminate bacteria and residue.
- Monthly inspection: Check for signs of wear—cloudiness, stickiness, or tears. Replace if performance declines.
Those with acne-prone or sensitive skin should clean more frequently, ideally every 3–4 days, to minimize bacterial transfer. Travelers should carry a second sponge to rotate use and allow full drying between applications.
Checklist: Safe Silicone Sponge Care Routine
Follow this checklist to ensure consistent, damage-free maintenance:
- ✅ Rinse under lukewarm water after each use
- ✅ Use only gentle, sulfate-free cleansers
- ✅ Hand-massage—never scrub with brushes
- ✅ Rinse until water runs clear
- ✅ Blot dry with a lint-free towel
- ✅ Air-dry upright in a ventilated area
- ✅ Store in a breathable container
- ✅ Perform monthly visual and tactile inspection
- ✅ Replace when surface becomes sticky or cracked
Frequently Asked Questions
Can I use makeup wipes to clean my silicone sponge?
You can use wipes for quick midday touch-ups, but they’re not sufficient for deep cleaning. Most wipes contain alcohol or fragrances that can dry out or irritate the silicone over time. Reserve them for emergency removal of excess product, not routine hygiene.
Is it safe to share a silicone makeup sponge?
No. Even with regular cleaning, sponges can harbor individual skin flora and pathogens. Sharing increases the risk of transferring bacteria, yeast, or viruses like herpes simplex. Each user should have their own sponge, especially during cold or breakout seasons.
How long do silicone makeup sponges last?
With proper care, a high-quality silicone sponge can last 6–12 months. Signs it’s time to replace include persistent stickiness, visible cracks, odor retention, or poor blending performance. Cheaper models may degrade faster due to lower-grade polymers.
Final Thoughts: Treat It Like a Skincare Tool
A silicone makeup sponge isn’t just an applicator—it’s an extension of your skincare and beauty ritual. Just as you wouldn’t reuse a dirty facial roller or neglect cleansing your hands, your sponge deserves thoughtful maintenance. The key is consistency and gentleness. By avoiding aggressive cleaners, extreme temperatures, and improper storage, you preserve both hygiene and structural integrity. These sponges were designed to reduce waste and enhance precision; honoring that intent means caring for them responsibly.
💬 Have a favorite cleaning hack for silicone sponges? Share your experience in the comments and help others maintain their tools safely and effectively!