Repurposing glass jars has become a staple in eco-conscious kitchens and homes. From storing dry goods to crafting DIY candle holders, these versatile containers offer endless possibilities. However, one persistent challenge stands in the way: stubborn sticker residue. Leftover adhesive can be sticky, unsightly, and surprisingly difficult to remove—especially if it’s been exposed to heat or moisture. The good news is that with the right techniques, you can restore your jars to a clean, clear state without damaging the glass or resorting to harsh chemicals.
This guide walks through proven, efficient methods for eliminating sticker glue from glass jars. Whether you're prepping mason jars for pantry organization or turning wine bottles into chic vases, these strategies ensure a streak-free, residue-free finish every time.
Why Sticker Residue Clings So Tightly
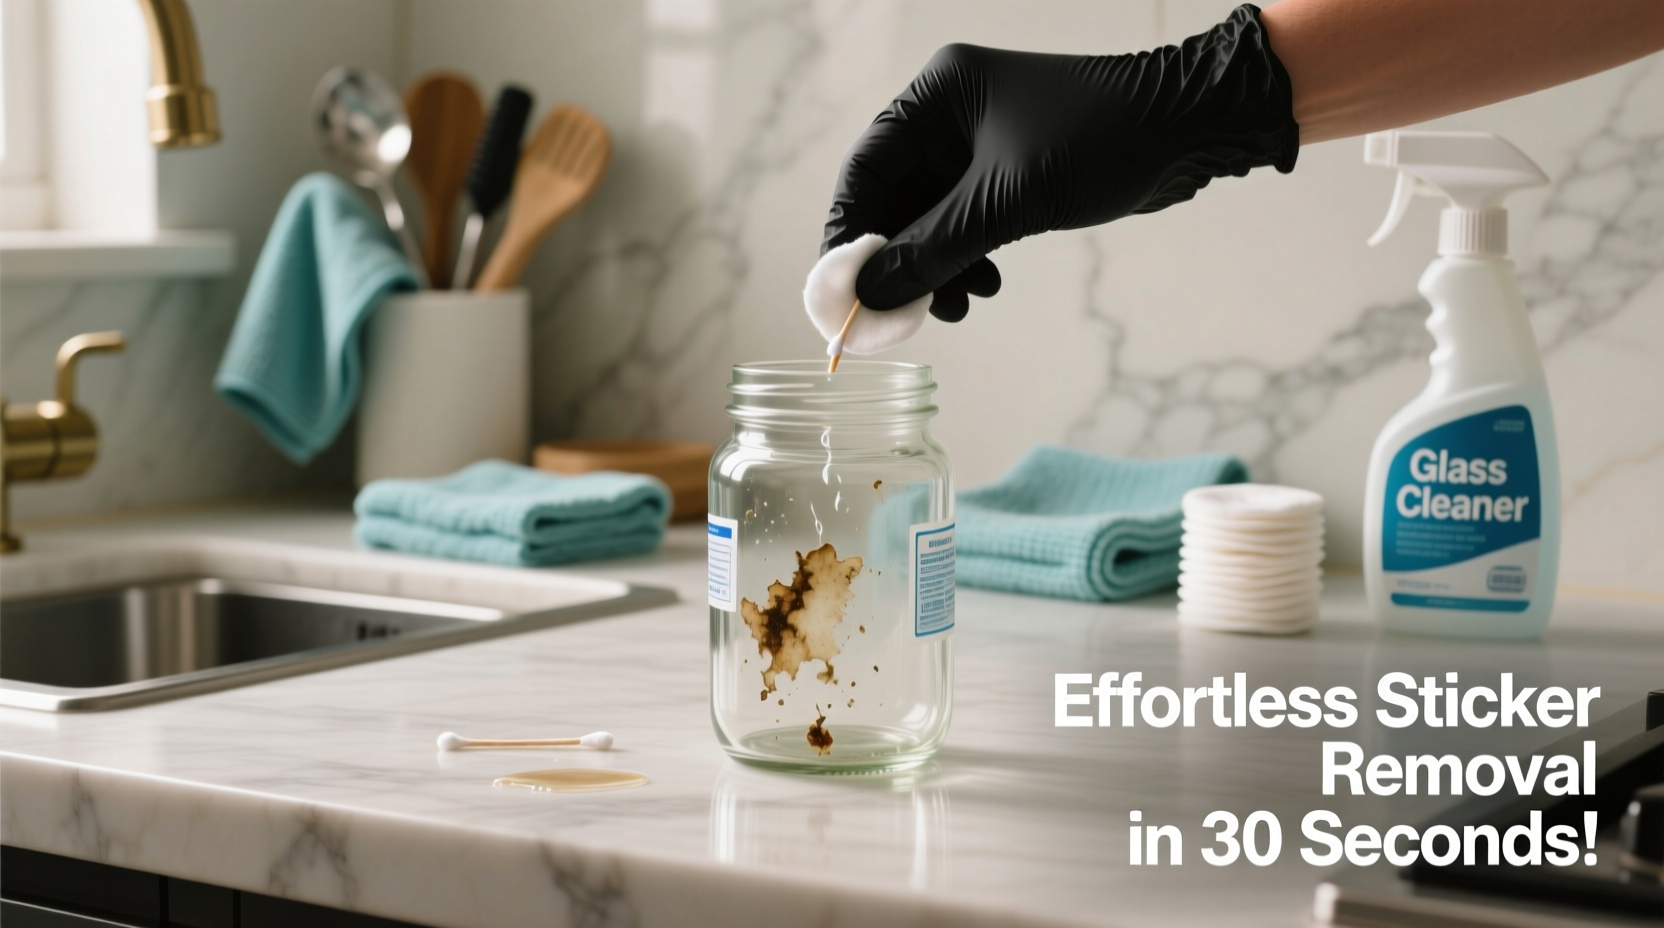
Most commercial labels are designed to stay put. They use pressure-sensitive adhesives formulated to bond securely under varying conditions—humidity, temperature changes, and handling. When combined with paper backing that breaks down over time, especially after washing or soaking, this creates a gummy film that resists basic scrubbing.
Glass, while non-porous and generally easy to clean, offers an ideal surface for adhesive to grip once it oxidizes or dries unevenly. This makes mechanical removal alone ineffective—and potentially risky if sharp tools scratch the surface.
“Adhesive left on glass can attract dust and degrade over time, making future cleaning harder. Early and thorough removal is key.” — Dr. Lena Pruitt, Materials Scientist at Sustainable Home LabsTip: Remove labels as soon as possible after emptying the jar. Fresh adhesive is easier to dissolve than aged, hardened glue.
Step-by-Step Guide to Clean Residue Removal
Follow this structured process to safely and efficiently strip off label remnants and adhesive without damaging your jars.
- Peel Off Loose Label Material
Start by removing as much of the paper label as possible. Use your fingers or a soft cloth to gently lift edges. If the label won’t budge, move to step two to loosen it first. - Soak the Jar in Warm Water
Fill a sink or basin with warm (not boiling) water. Submerge the jar for 15–30 minutes. This softens both the paper and the adhesive, making them easier to wipe away. For tougher residues, add a few drops of dish soap to help break down oils in the glue. - Scrub Gently with a Non-Abrasive Tool
After soaking, use a sponge, nylon scrubber, or soft-bristled brush to rub off loosened material. Avoid steel wool or razor blades unless absolutely necessary, as they can leave micro-scratches that harbor bacteria. - Apply a Residue-Dissolving Agent
If sticky film remains, apply one of the targeted solutions outlined below. Let it sit for 5–10 minutes to penetrate the adhesive layer. - Rinse Thoroughly and Inspect
Wash the jar with clean water and mild detergent. Dry with a lint-free cloth and inspect under bright light. Repeat treatment if any haze or tackiness persists.
Effective Household Solutions for Adhesive Removal
You likely already have tools in your home capable of dissolving sticker residue. Below are six reliable methods, ranked by speed, safety, and accessibility.
| Solution | How to Use | Time Required | Safety Notes |
|---|---|---|---|
| Dish Soap & Warm Water | Soak jar for 20–30 mins, then scrub | 20–40 mins | Safest for food containers; non-toxic |
| White Vinegar | Soak rag in vinegar, lay over residue for 10 mins, then wipe | 10–15 mins | Natural degreaser; strong odor but evaporates quickly |
| Rubbing Alcohol (70%+) | Apply with cotton ball, let sit 5 mins, rub off | 5–10 mins | Highly effective; flammable—use in ventilated area |
| Baking Soda Paste | Mix with water into paste, scrub in circular motions | 10–15 mins | Gentle abrasive; ideal for delicate surfaces |
| Hairspray or Citrus-Based Cleaner | Spray directly, wait 3–5 mins, wipe with cloth | 5 mins | Contains solvents—rinse thoroughly afterward |
| Peanut Butter or Cooking Oil | Coat residue, wait 10–15 mins, wipe with damp cloth | 10–20 mins | Fatty oils loosen glue; requires extra rinsing |
When to Use Heat for Stubborn Adhesives
For baked-on labels from canned goods or jars that have been dishwasher-cleaned before label removal, gentle heat can reactivate the adhesive, making it easier to wipe away.
Use a hairdryer on medium heat, holding it 4–6 inches from the jar surface. Move continuously to avoid thermal shock. After 1–2 minutes of warming, test the edge of the label with a plastic scraper or old credit card. The glue should peel smoothly rather than tear.
Never apply direct flame or immerse hot glass in cold water—this risks cracking. Always handle heated jars with care.
Mini Case Study: Transforming Jam Jars into Herb Storage
Sophie M., a home gardener in Portland, collects used jam and sauce jars to store dried herbs from her garden. She noticed that some brands left behind thick, blackened residue that resisted regular washing. “I tried scrubbing with steel wool,” she said, “but it scratched the glass and still didn’t get everything off.”
After researching safer methods, Sophie switched to a two-step approach: soaking jars overnight in warm water with ¼ cup white vinegar, followed by a gentle scrub with a baking soda paste. “The next morning, the labels slid right off,” she reported. “Now I do this with every jar, and my herb containers look store-bought.”
Her success highlights the importance of patience and using non-abrasive chemistry instead of force. By preserving the integrity of the glass, Sophie ensures her jars remain functional and attractive for years.
Checklist: Quick Reference for Residue-Free Jars
- ☐ Remove as much paper label as possible by hand
- ☐ Soak jar in warm, soapy water for 20–30 minutes
- ☐ Try vinegar or rubbing alcohol on remaining sticky spots
- ☐ Use a soft sponge or non-scratch scrubber to wipe residue away
- ☐ For tough glue, apply oil or citrus cleaner and wait 10 minutes
- ☐ Rinse thoroughly with hot water and dry completely
- ☐ Inspect under light—repeat treatment if haze remains
- ☐ Store cleaned jars upside down to prevent dust accumulation
Common Mistakes That Make the Job Harder
Avoid these pitfalls to save time and protect your jars:
- Using metal scrapers aggressively: Can gouge glass and create hard-to-clean grooves.
- Skipping the soak step: Dry scraping only smears adhesive, embedding it deeper.
- Using bleach as a primary cleaner: Bleach doesn’t dissolve glue and may react poorly with other cleaners.
- Leaving residue untreated: Over time, it yellows and bonds more tightly, requiring stronger solvents later.
- Not rinsing after chemical use: Traces of alcohol, oil, or citrus cleaner can affect taste or smell in food storage applications.
“The best method isn’t always the fastest—it’s the one that preserves the material while doing the job right.” — Carlos Mendez, Eco-Home Consultant
FAQ: Frequently Asked Questions
Can I put glass jars with labels in the dishwasher to remove residue?
Yes, but with caution. Running a jar through a hot cycle can loosen labels, but it often bakes the adhesive onto the glass if not removed immediately afterward. It’s better to remove the label first or follow up with a vinegar soak post-wash to lift residual glue.
Is Goo Gone safe for glass jars used in food storage?
Goo Gone Original contains solvents that are effective on adhesive but not food-safe. If you use it, wash the jar thoroughly with hot, soapy water and rinse multiple times. For edible storage, opt for natural alternatives like vinegar, oil, or baking soda instead.
What’s the fastest way to remove sticker residue from multiple jars?
For batch processing, fill a large tub with hot water and 1 cup of white vinegar. Soak 5–10 jars for 30 minutes. Wipe each with a sponge while still warm. For any lingering spots, use rubbing alcohol on a cloth. This method cleans up to 12 jars in under an hour with minimal effort.
Final Tips for Long-Term Jar Maintenance
Once your jars are clean, keep them that way with smart habits. Store them with lids off to prevent moisture buildup and label contact. If reusing commercial jars for gifts or sales, consider labeling with removable chalkboard stickers or washi tape to avoid future adhesive issues.
Also, designate certain jars for non-food uses—like craft supplies or hardware storage—so you don’t need to achieve a perfect finish every time. A little residue won’t matter on a jar holding nails or buttons.
Tip: Keep a dedicated cleaning kit: small spray bottle with vinegar, microfiber cloths, and a silicone scraper for quick touch-ups.Conclusion: Turn Discarded Jars into Pristine Containers
Removing sticker residue from glass jars doesn’t require special products or hours of scrubbing. With everyday household items and a systematic approach, you can achieve flawless results quickly and safely. The key is understanding how adhesives behave and choosing methods that dissolve rather than destroy.
Whether you’re building a zero-waste kitchen, starting a canning hobby, or crafting handmade gifts, clean jars make all the difference. They reflect care, intention, and sustainability. Apply these techniques today, and turn what was once trash into treasured, transparent containers ready for their next life.
💬 Have a favorite trick for removing sticky labels? Share your go-to method in the comments and help others keep their glass jars sparkling clean!