
False eyelashes can transform your look in minutes—adding volume, length, and a touch of drama that mascara alone can’t match. But for many beginners, the process ends in frustration: glue smears, misaligned strips, or lashes peeling off after an hour. The culprit? Often not the lashes themselves, but the application technique—or lack of one.
The good news is that flawless lash application isn’t reserved for makeup artists. With the right tools, preparation, and method, even first-timers can achieve clean, long-lasting results. This guide walks you through every step to avoid glue disasters, from choosing the right lashes to sealing them securely—without mess or panic.
Why Glue Disasters Happen (And How to Prevent Them)
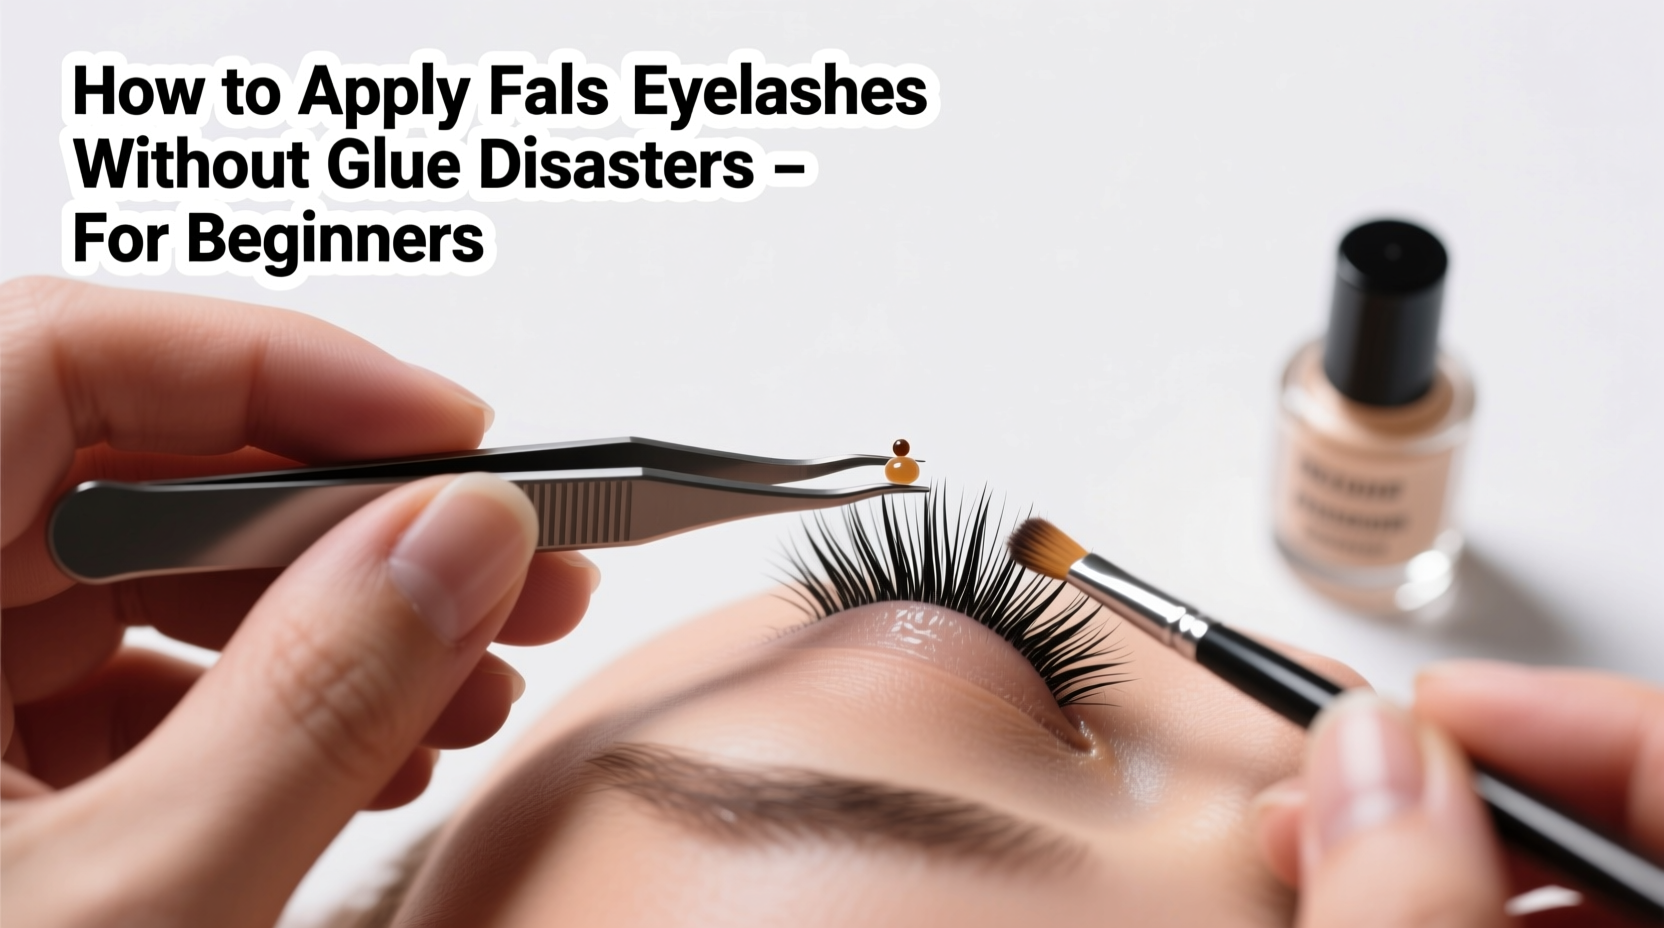
Most false lash failures stem from improper adhesive use. Applying too much glue causes excess seepage along the band, which dries white and visible. Too little, and the lashes won’t adhere at all. Then there’s timing: applying lashes too soon after gluing leads to slipping; waiting too long means the glue has dried and lost its tack.
Other common issues include:
- Not trimming lashes to fit your eye shape
- Skipping lash prep (oil residue repels glue)
- Using expired or low-quality adhesive
- Pressing lashes down too hard, causing glue to squeeze out
Understanding these pitfalls is half the battle. The other half is following a precise, tested routine.
Tip: Always do a \"dry run\" with your lashes before applying glue—this helps you identify where to trim and how to angle them.Step-by-Step Guide: Flawless Lash Application Without the Mess
- Choose the Right Lashes
For beginners, opt for lightweight, crisscross-style strips with a flexible band. Avoid dramatic, heavy clusters—they’re harder to position and require more precision. - Gather Your Tools
You’ll need:- False eyelashes
- Lash adhesive (clear or black)
- Tweezers or lash applicator
- Small scissors
- Spoolie or clean mascara wand
- Eye makeup remover and cotton swabs (for cleanup)
- Prep Your Eyes
Remove any oil-based products around your eyes. Cleanse and tone thoroughly. If you wear eyeshadow, apply it before lashes—but skip mascara for now. Oily residue prevents glue from bonding properly. - Trim to Fit
Hold the lash strip against your lash line. If it extends past your outer corner, snip small pieces from the outer end—not the inner—until it matches your eye width. Cutting the outer edge maintains the natural gradient of the lash design. - Do a Dry Placement
Using tweezers, place the lash on your lid without glue. Adjust until it follows the curve of your natural lash line. Note where the center sits—it should align with your pupil. Mark mental reference points: inner third, center, outer corner. - Apply Glue Correctly
Squeeze a pea-sized amount of glue onto the back of your hand. Using the tip of a bobby pin or toothpick, spread a thin, even layer along the lash band. Focus extra glue on the outer and inner corners—they tend to lift first.
Wait 30–45 seconds. This is crucial. Let the glue become tacky. It should feel slightly sticky but not wet. Applying too early causes sliding; too late, and it won’t stick. - Position with Precision
Look down into a mirror placed on a flat surface. Use tweezers or an applicator to place the center of the lash first, pressing gently into place. Then secure the inner corner, followed by the outer. Don’t stretch the skin—this distorts placement.
Use short, light touches rather than one firm press. This prevents glue from oozing out. - Blend and Finish
Once secured, lightly clamp natural and false lashes together with an eyelash curler (optional). Apply a thin coat of mascara to blend both layers. Avoid heavy coats—they can weigh lashes down. - Clean Up Mistakes Immediately
If glue smudges, dip a cotton swab in micellar water or makeup remover and gently roll it along the error. Wait a few minutes before trying to reposition.
Do’s and Don’ts: Lash Application Best Practices
| Do’s | Don’ts |
|---|---|
| Use a clear or black lash glue based on your look (black hides better with dark liner) | Apply glue directly from the tube onto lashes—this leads to clumps |
| Let glue get tacky before applying | Rush the process—patience ensures precision |
| Store lashes in their case after use for reuse | Reuse lashes without cleaning them first |
| Replace lash glue every 3–6 months | Use old, stringy glue—it loses adhesion |
| Practice on days when you don’t have events | Try new lashes or glue right before a big event |
Real Example: From Frustration to Flawless in One Week
Sophia, a 24-year-old office assistant, had given up on false lashes after three failed attempts. Each time, the glue dried white along her lash line, or one corner lifted within an hour. She assumed she “just wasn’t good at it.”
After reading about the importance of glue tackiness and dry runs, she bought a pair of medium-volume, flexible-band lashes and a fresh tube of Duo Brush-On Adhesive. She practiced on a Sunday morning, using a handheld mirror and tweezers.
Her breakthrough came when she waited 40 seconds after applying glue. The lashes stayed in place the first time she set them. She used a cotton swab to fix a slight tilt on the outer corner. By day five, she was applying them in under five minutes—and wore them confidently to a friend’s wedding.
“I realized I was rushing,” she said. “Waiting for the glue to get sticky made all the difference.”
“Beginners often fail because they treat glue like cement—it’s not. It’s a precision adhesive that works best when it’s tacky, not wet.” — Lena Torres, Professional Makeup Artist & Lash Educator
Checklist: Your First-Time False Lash Success Plan
Follow this checklist the next time you apply false lashes:
- ☐ Cleanse eyelids and remove oils
- ☐ Choose beginner-friendly lashes (lightweight, flexible band)
- ☐ Trim lashes to fit your eye width
- ☐ Perform a dry run to check alignment
- ☐ Apply a thin layer of fresh glue to the band
- ☐ Wait 30–45 seconds for glue to become tacky
- ☐ Place center first, then inner and outer corners
- ☐ Use light pressure—no squishing
- ☐ Clean up smudges immediately with a damp swab
- ☐ Seal edges with a dab of glue if needed (use sparingly)
Frequently Asked Questions
Can I use regular glue instead of lash adhesive?
No. Craft or household glues contain chemicals unsafe for the eye area and may cause irritation or allergic reactions. Always use eyelash-specific adhesive approved for cosmetic use.
How long should false lashes stay on?
A well-applied strip can last all day—typically 8 to 12 hours. With strong adhesive and proper prep, some last up to 24 hours. Avoid getting them wet early on, as moisture weakens the bond initially.
Why do my false lashes keep lifting at the corners?
This usually happens due to insufficient glue at the ends or oily skin. Try applying a tiny extra dot of glue at both corners. You can also set the outer edge with a dot of waterproof eyeliner, which acts as a sealant.
Alternative Methods: When Traditional Glue Isn’t Your Friend
If you're sensitive to traditional latex-based adhesives, consider these alternatives:
- Magnetic Lashes: These come with a magnetic eyeliner that holds the lash in place without direct skin contact. Ideal for those with allergies or who dislike the drying time of glue.
- Reusable Clip-Ons: Though less invisible than strips, clip-ons eliminate glue entirely. Best for occasional wear or practice.
- Glue-Free Adhesive Strips: Some brands offer pre-glued lashes with a peel-off backing. These are convenient but may not last as long as traditionally applied ones.
While these options reduce glue-related risks, they may not deliver the seamless finish of a well-applied strip lash. Mastering traditional application gives you the most versatility in style and longevity.
Tip: To extend wear time, apply a second very thin layer of glue along the band 10 minutes after initial application—this seals any lifting edges.Conclusion: Confidence Starts with One Successful Application
Applying false eyelashes doesn’t have to be intimidating. The key to avoiding glue disasters lies in preparation, patience, and technique—not perfection on the first try. By understanding how adhesive works, respecting the timing, and practicing with the right tools, you’ll move from hesitant to confident in just a few tries.
Every expert once struggled with wobbly lashes and sticky fingers. What separates them now is not talent, but repetition and the willingness to learn from small mistakes. Your eyes deserve that fluttery, wide-awake look—and with this guide, you have everything you need to achieve it cleanly, comfortably, and consistently.
💬 Ready to master your lash game? Pick a quiet evening, gather your tools, and try the full process from prep to finish. Share your experience or tips in the comments—your journey might inspire someone else to give it another go.