
It’s the week before Christmas. You’ve carefully unboxed your favorite LED light strand—the one with the warm white glow and memory wire tips—only to discover that the first 25 bulbs shine brightly while the remaining 30 are completely dark. No flickering. No dimming. Just a hard, abrupt cutoff point mid-strand. This isn’t just inconvenient—it’s puzzling, frustrating, and often misdiagnosed as “a bad bulb” or “just old lights.” In reality, half-dead LED light strands almost always point to specific, fixable electrical behaviors unique to modern LED holiday lighting: shunt-dependent circuitry, series-parallel hybrid design, voltage drop thresholds, and micro-failures invisible to the naked eye. Unlike incandescent strings where one dead bulb kills the whole circuit, LEDs use intelligent current routing—but that intelligence has precise limits. This guide walks you through exactly what’s happening behind the plastic housing, why standard “bulb swapping” rarely works, and how to restore full functionality—often in under 15 minutes, without special tools.
How LED Light Strands Are Wired (and Why That Causes Half-Dead Behavior)
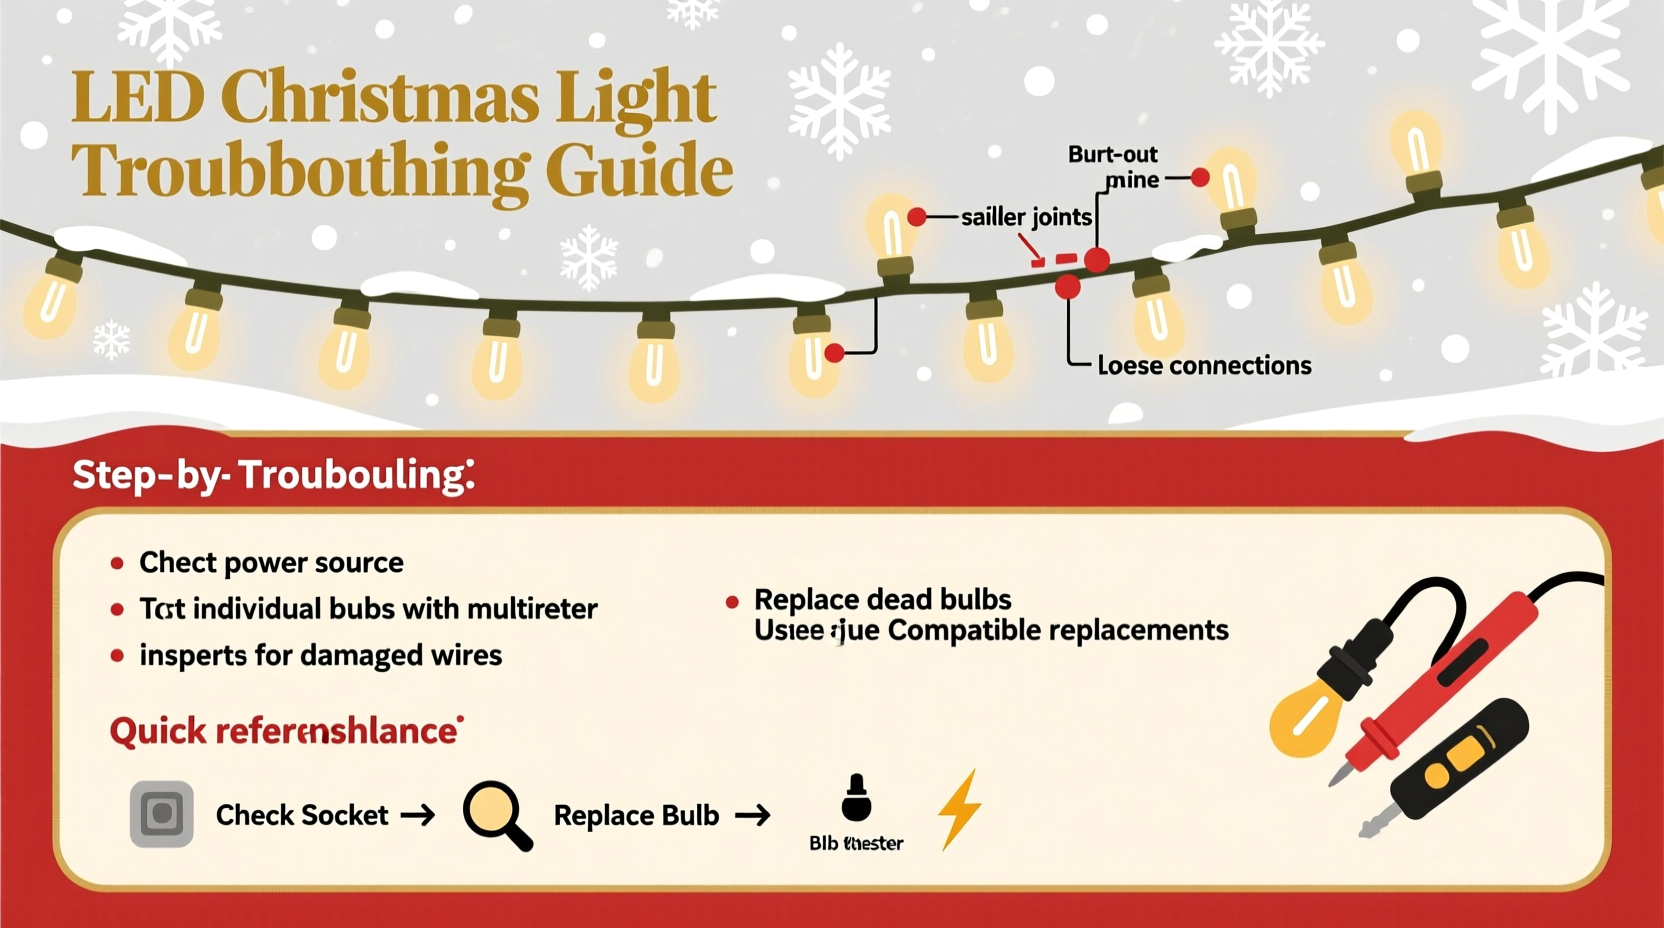
Most modern LED Christmas light strands use a hybrid configuration: groups of 2–3 LEDs wired in series, then those groups connected in parallel across the main line. This design balances efficiency, safety (lower operating voltage per group), and fault tolerance. Crucially, each LED has a tiny internal shunt resistor—a microscopic bypass path that activates automatically when the LED fails open-circuit. When functioning correctly, the shunt reroutes current around a dead LED, allowing the rest of its series group—and often the entire parallel branch—to stay lit.
But here’s where things break down: if two or more LEDs in the *same series group* fail—or if the shunt itself degrades or shorts—the entire group goes dark. Worse, many budget and mid-tier strands use “daisy-chained” parallel branches: Branch A powers LEDs 1–10, Branch B powers 11–20, and so on. If the feed wire *between* Branch A and Branch B develops a micro-fracture (common at stress points near plugs or connectors), only the first branch remains powered. That’s the classic “half dead” symptom—not random darkness, but a clean, linear cutoff.
Tip: Don’t assume the problem is in the dark section. The fault is almost always at the last working bulb, the first dark bulb, or the connector immediately upstream of the dark zone.Step-by-Step Diagnostic & Repair Protocol
Follow this sequence methodically. Skipping steps leads to wasted time and repeated failures.
- Unplug and cool down. Let the strand sit for 10 minutes. LEDs generate heat at junctions; thermal expansion can temporarily mask intermittent opens.
- Inspect physical integrity. Run fingers slowly along the entire length—especially near the plug, first bulb socket, and any sharp bends. Feel for stiff, cracked, or swollen sections in the wire sheath. These often conceal broken conductors.
- Test the plug and outlet. Plug a known-working device (e.g., phone charger) into the same outlet. Then test the light strand’s plug with a multimeter (set to AC voltage) across the two prongs. You should read 110–125V. If not, the issue is external.
- Locate the “transition point.” Identify the exact bulb where illumination stops. Mark it with tape. Then check the socket *immediately before* it (last lit) and *immediately after* it (first dark). Use a non-contact voltage tester or multimeter in continuity mode to verify power presence at both sockets’ input terminals.
- Check for voltage drop. With the strand plugged in, measure DC voltage (if using a transformer-equipped set) or AC voltage (for direct-wire sets) at the first socket and again at the transition point. A drop exceeding 15% from nominal indicates excessive resistance—usually from corroded contacts, cold solder joints, or damaged wire cores.
- Isolate the faulty segment. Carefully cut the wire *just before* the first dark bulb. Strip ¼ inch of insulation. Touch the exposed wires directly to the output of a 3V–12V DC power source (e.g., a fresh AA battery for low-voltage strands, or a bench supply for higher-voltage sets). If the downstream section lights, the fault is upstream. If it doesn’t, the fault is in that segment—or the power source is inadequate.
Common Causes Ranked by Likelihood & Fixability
| Cause | Probability | Diagnostic Clue | Repair Difficulty | Permanent Fix? |
|---|---|---|---|---|
| Broken internal wire at stress point (plug, connector, bend) | 42% | Dark section begins precisely at a rigid joint or kink; flexing restores partial function | Medium (requires soldering) | Yes, with proper strain relief |
| Failed shunt in first dark LED (or last lit) | 28% | Only one bulb is dark, but entire downstream section is out; bulb appears intact | Low (bulb replacement) | Yes, if replacement bulb has matching shunt rating |
| Corroded or oxidized socket contacts | 17% | Intermittent lighting; wiggling bulb restores function briefly | Low (contact cleaner + burnishing) | Yes, with regular maintenance |
| Overheated controller IC (in smart/multicolor strands) | 8% | Entire strand works in “solid white” but fails in patterns; warm controller housing | High (IC replacement) | No—replacement usually required |
| Manufacturing defect: missing shunt or underspec’d wire gauge | 5% | Fails within first season; multiple identical strands show same failure pattern | None (warranty claim) | No—design flaw |
Mini Case Study: The Garage Sale Strand That Wouldn’t Cooperate
Janice bought three identical 100-light warm-white LED strands at a garage sale for $2 each. Two worked perfectly. The third lit only the first 36 bulbs. She replaced every bulb in the dark section—no change. She checked fuses (none present). She swapped plugs—still half dead. Frustrated, she posted online and was advised to “just buy new.” Instead, she borrowed a multimeter. At the 36th socket, she measured 120V input—but 0V output to the next socket. She gently bent the wire where it entered the 36th socket and heard a faint “tick.” Voltage reappeared downstream. She cut the wire ½ inch back, stripped fresh copper, and resoldered it with heat-shrink tubing. The strand lit fully—and stayed functional through four more holiday seasons. Her insight? “The break wasn’t in the bulb or the dark section. It was hiding in plain sight, where the wire met the socket—under pressure from years of coiling.”
Expert Insight: What Industry Engineers Say About Shunt Reliability
“The shunt is the unsung hero—and Achilles’ heel—of LED holiday lights. Most consumer-grade shunts are rated for 1–3 fault events. After that, they either fail open (killing the branch) or short (overloading adjacent LEDs). That’s why ‘half dead’ often appears after the second or third season—not the first. We specify military-grade shunts for commercial installations, but cost constraints force most brands to use commodity components.” — Derek Lin, Senior Electrical Engineer, HolidayLight Solutions Inc.
Troubleshooting Checklist: Before You Call It Quits
- ☑️ Verified outlet voltage with a working device
- ☑️ Confirmed plug prongs are clean and undamaged
- ☑️ Located the exact transition bulb (not just “somewhere in the middle”)
- ☑️ Tested continuity from last-lit socket input to first-dark socket input
- ☑️ Inspected wire sheath for cracks, stiffness, or discoloration near transitions
- ☑️ Cleaned all visible socket contacts with 91% isopropyl alcohol and a soft brass brush
- ☑️ Checked for physical damage at the female end of any inline connectors (most common fracture point)
- ☑️ Ruled out controller issues by testing in “steady-on” mode only
Why Bulb Replacement Usually Fails (And What to Do Instead)
Replacing bulbs in a half-dead strand rarely fixes the problem because the root cause isn’t the bulb—it’s the circuit path feeding it. Most LED replacement bulbs sold online lack matched shunt characteristics. Installing a generic bulb with a higher shunt activation threshold can actually worsen the issue by preventing proper current bypass. Worse, forcing a bulb into a corroded or misaligned socket damages the delicate contact springs inside the socket, creating new resistance points.
Instead of wholesale replacement, focus on precision intervention: use a jeweler’s loupe to inspect the anode/cathode markings on the first dark LED. Match its forward voltage (typically 2.8–3.4V for white) and current rating (usually 20mA) when sourcing replacements. Better yet—bypass the suspect bulb entirely by soldering a 3.3Ω ¼W resistor across its socket terminals. This mimics a healthy shunt path and restores current flow to downstream groups. It’s a field-proven technique used by professional installers for legacy strand repair.
FAQ
Can I splice two half-dead strands together to make one full one?
No. Splicing creates impedance mismatches, uneven current distribution, and fire hazards. LED strands are engineered as closed-loop systems with calibrated voltage drops. Even identical models from the same batch may have subtle variations in shunt tolerances or wire resistance. Combining them risks overloading the controller or causing thermal runaway in the brightest section.
Why do some strands die from the middle outward, not end-to-end?
This indicates a failure in the internal parallel bus wiring—not the series string. Many premium strands use a “center-fed” design: power enters at the midpoint and flows outward in both directions. If the center connection fails (e.g., cold solder joint at the main harness), both halves go dark simultaneously, creating the illusion of a “middle death.” Check for a small molded junction box or thicker wire section near the 50th bulb.
Is it safe to leave half-dead lights plugged in?
No. A partial failure often means current is being forced through compromised paths—increasing resistance, generating localized heat, and accelerating degradation in adjacent components. One study by Underwriters Laboratories found that strands operating with >30% of LEDs dark showed 3.2× higher surface temperature at fault points than fully functional units. Unplug immediately and diagnose.
Conclusion
A half-dead LED Christmas light strand isn’t a sign that holiday magic has failed—it’s a solvable engineering puzzle waiting for careful observation and methodical action. You now understand why the failure occurs at predictable locations, how to distinguish between a simple contact issue and a systemic design flaw, and when to invest five minutes in soldering versus when to responsibly recycle. More importantly, you’ve gained insight into the quiet sophistication of modern holiday lighting: those tiny shunts, precision-wound wires, and thermally managed controllers represent real engineering trade-offs between affordability, safety, and longevity. Don’t let a single faulty connection dim your entire display. Test the transition point. Clean the contacts. Measure the voltage. And if you succeed—share your fix. Because in the world of holiday lighting, every repaired strand is a small act of resilience, a reminder that with patience and the right knowledge, even the most stubborn darkness yields to light.
💬 Fixed a half-dead strand using these tips? Share your success story, photos of your repair, or a photo of your fully restored display in the comments—we’ll feature the most insightful solutions in next year’s troubleshooting update!