Flickering Christmas lights are more than a seasonal nuisance—they’re often an early warning sign of underlying electrical issues. While occasional dimming or gentle pulsing may be intentional (as in LED “twinkle” modes), persistent, erratic, or rhythmic flickering across entire strands—or worse, multiple outlets or circuits—points to something deeper: compromised wiring, faulty connections, or dangerous load imbalances. This isn’t just about aesthetics; it’s about safety, longevity, and preventing potential fire hazards. In homes built before 2000, outdated circuits and daisy-chained light strings compound the problem. Understanding *why* flickering happens—and knowing exactly how to diagnose and resolve it—empowers homeowners to act decisively, not just replace bulbs or strands blindly.
The Four Most Common Wiring-Related Causes of Constant Flickering
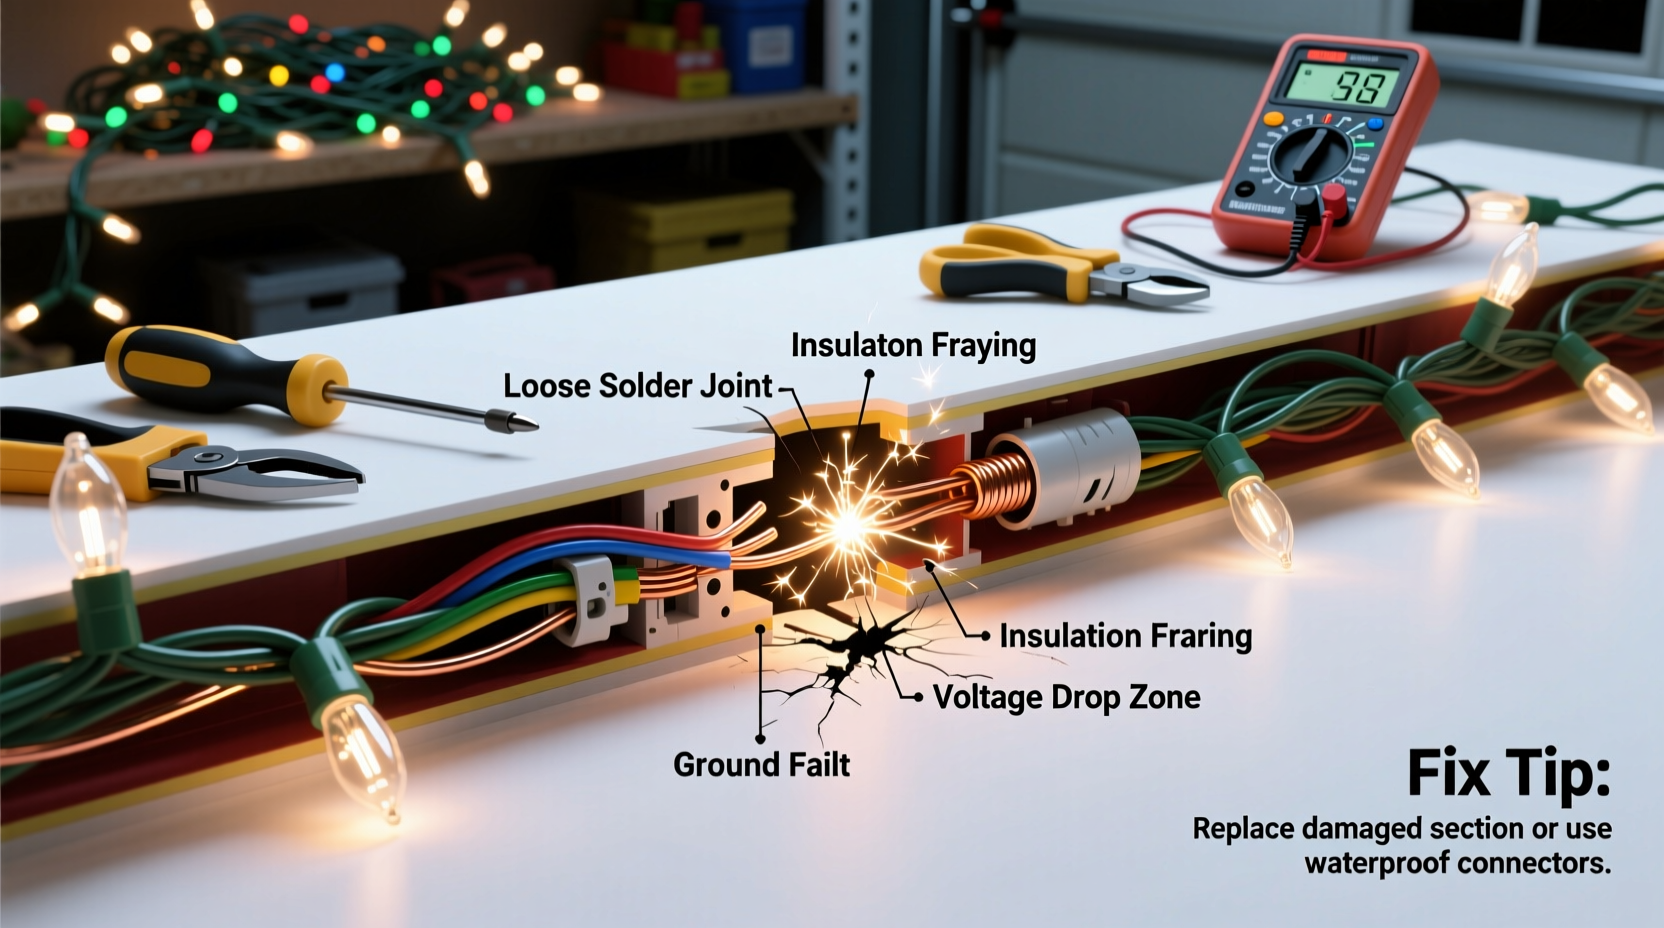
Flickering rarely stems from a single bulb failure—especially when it affects multiple lights, repeats across time, or worsens with added loads (like turning on a kitchen appliance). Below are the top four wiring-specific culprits, ranked by frequency and risk level:
- Loose or corroded neutral connections — The most common and potentially hazardous cause. A loose neutral at the outlet, junction box, or main panel creates voltage instability, causing lights to dim and brighten erratically. Unlike hot-wire faults, neutral issues often go undetected until they escalate.
- Overloaded circuits — Modern LED strings draw less power, but many households still plug five or more 100-light incandescent strands (each drawing ~40–60 watts) into one 15-amp circuit. That’s easily 1,200+ watts—approaching or exceeding safe limits. Voltage sags under load trigger visible flickering, especially when other devices cycle on.
- Damaged or degraded extension cords and receptacles — Frayed insulation, bent prongs, or worn internal contacts increase resistance. Heat builds at these points, causing intermittent connectivity and rapid on-off cycling. Older outdoor-rated cords with cracked jackets are especially vulnerable to moisture-induced arcing.
- Shared neutrals in multi-wire branch circuits (MWBCs) — Found in homes wired between 1970–2005, MWBCs use one neutral wire for two hot legs (often on opposite phases). If the neutral becomes loose or breaks, unbalanced loads cause dramatic voltage swings—flickering lights may surge to 130V on one leg while dropping to 90V on the other.
How to Diagnose the Root Cause—Not Just the Symptom
Before touching any wire, perform this targeted diagnostic sequence. It separates simple fixes from urgent electrical interventions:
- Isolate the strand: Unplug all other lights and devices from the same outlet and circuit. Plug in only the flickering strand. If flickering stops, the issue is circuit overload—not the lights themselves.
- Test the outlet: Use a $12 outlet tester (look for “open neutral” or “hot/neutral reverse” indicators). If it shows an open neutral, stop using that outlet immediately and call an electrician.
- Check downstream behavior: Does flickering occur only when another appliance runs (e.g., refrigerator compressor kicking on)? That suggests shared-circuit overload or neutral imbalance.
- Inspect physical connections: Examine every plug, socket, and cord junction for discoloration (brown/black marks), warmth to touch, or brittle insulation. A warm plug is never normal—it signals resistance heating and fire risk.
- Map your circuit: Turn off breakers one at a time and note which outlets and lights go dark. If lights on two different rooms (e.g., front porch + dining room) go out together, they likely share a neutral—a red flag for MWBC issues.
Step-by-Step Wiring Fix Guide: From Safe Assessment to Resolution
This guide assumes basic familiarity with household electricity—but prioritizes safety above speed. If at any point you detect burning smells, sparks, or tingle sensations from outlets, stop and contact a licensed electrician immediately.
- Shut off power at the breaker: Locate the correct circuit breaker (use your mapping from earlier) and switch it to OFF. Verify power is dead using a non-contact voltage tester at the outlet.
- Remove the outlet cover plate: Unscrew and gently pull away. Look for signs of arcing: pitting on brass screws, melted plastic, or blackened wire insulation.
- Check neutral wire integrity: Neutrals are white and connect to silver screws or bus bars. Ensure each wire is tightly secured—no exposed copper beyond the terminal, no fraying, and no “backstabbed” connections (wires pushed into rear holes instead of wrapped around screws). Backstabs fail 3× more often than screw terminals.
- Replace damaged receptacles: If the outlet shows heat damage, replace it with a commercial-grade, tamper-resistant (TR) outlet rated for 15A/125V. Use screw terminals—not backstabs—and torque screws to 14 in-lbs (a calibrated screwdriver helps).
- Upgrade extension practices: Replace any cord older than 5 years or showing cracked insulation. Use only UL-listed, outdoor-rated cords with a minimum 16 AWG gauge for runs over 25 feet. Never daisy-chain more than three cords end-to-end.
- Load-balance your circuits: Move at least two light strands to a different circuit—ideally one serving low-draw areas like bedrooms. Use a plug-in energy monitor ($25–$40) to verify total draw stays below 1,440 watts (80% of a 15A circuit’s 1,800W capacity).
Do’s and Don’ts: Wiring Safety Checklist for Holiday Lighting
| Action | Do | Don’t |
|---|---|---|
| Outlet Testing | Use a 3-light outlet tester monthly during holiday season | Assume “no tripping” means “safe”—GFCIs can degrade silently |
| Cord Handling | Uncoil fully before plugging in; never run under rugs or furniture | Use indoor cords outdoors—even if “temporary” |
| Strand Connections | Plug no more than three standard LED strings end-to-end (check manufacturer specs) | Connect incandescent and LED strings on the same circuit—different load profiles destabilize voltage |
| Panel Inspection | Look for warm breakers, buzzing sounds, or discolored bus bars during operation | Ignore flickering that coincides with HVAC or well pump cycling—it signals neutral or grounding problems |
| Professional Help | Call an electrician if flickering persists after isolating lights and checking outlets | Attempt DIY repairs on main service panels, subpanels, or aluminum wiring |
Real-World Case Study: The Overloaded Garage Circuit
In December 2023, a homeowner in Portland, Oregon noticed her front-yard lights flickering violently every 90 seconds—coinciding precisely with her garage freezer’s compressor cycling on. She’d plugged eight vintage incandescent strands (totaling 1,920 watts) into a single 15-amp circuit also powering the freezer (750W running, 2,200W startup). Her outlet tester showed “open ground,” but voltage readings at the outlet dropped from 122V to 89V under load. An electrician discovered the neutral wire had pulled loose from the main panel bus bar due to thermal expansion/contraction over decades. The loose connection created high-resistance arcing, generating localized heat that carbonized the wire insulation. Re-terminating the neutral and relocating four light strands to a dedicated 20-amp circuit resolved flickering instantly—and prevented what could have become a Class A fire within weeks.
“Flickering isn’t ‘just lights acting up.’ It’s electricity trying to tell you something’s wrong—usually at the weakest link in the chain: a connection. Ignoring it is like ignoring a check-engine light that flashes only when accelerating.”
— Carlos Mendez, Master Electrician & NFPA 70E Certified Trainer, 28 years’ residential experience
FAQ: Critical Questions Answered
Can flickering lights cause a fire?
Yes—especially when caused by loose neutrals, damaged cords, or overloaded circuits. Arcing at high-resistance points generates temperatures exceeding 10,000°F, easily igniting nearby insulation, wood framing, or dust. According to the U.S. Fire Administration, faulty holiday lighting contributes to an estimated 780 home fires annually, with 37% involving electrical distribution or lighting equipment.
Why do LED lights flicker more noticeably than incandescent ones?
LEDs respond instantly to voltage changes—no thermal inertia to smooth fluctuations. Incandescent filaments retain heat for milliseconds, masking minor sags. But LEDs also expose underlying issues faster: a 5% voltage drop that’s imperceptible to an incandescent bulb will visibly dim or strobe an LED string. This makes them excellent diagnostic tools—not flaws.
Is it safe to use a surge protector for Christmas lights?
Only if it’s specifically rated for outdoor use, has a joule rating of ≥1,000, and includes EMI/RFI filtering. Many inexpensive power strips lack proper clamping voltage (<400V) and fail silently during surges. Worse, daisy-chaining surge protectors creates impedance mismatches that worsen flickering. For permanent installations, whole-house surge protection installed at the main panel is far more effective and reliable.
Conclusion: Flickering Is a Signal—Not a Seasonal Quirk
Constant flickering in Christmas lights isn’t decorative—it’s diagnostic. It reveals vulnerabilities in your home’s electrical infrastructure: aging connections, unbalanced loads, or hidden damage that grows more dangerous with every holiday season. What begins as an annoyance can evolve into overheated wires, tripped breakers, or worse. You now understand how to distinguish harmless twinkle modes from hazardous voltage instability—and possess actionable steps to inspect, test, and correct the most common wiring failures. More importantly, you know when to pause, step back, and call a professional. Electricity demands respect, not improvisation. This year, don’t just hang lights—inspect them, map your circuits, and treat flickering as the urgent signal it is. Your safety, your home, and future holidays depend on it.
💬 Have you fixed persistent flickering? Share your solution in the comments—your experience could help prevent someone else’s near-miss.