Nothing dampens the festive mood like a Christmas light projector that promises a perfect snowflake or reindeer silhouette—only to deliver a warped, stretched, or fragmented image across your wall or facade. Uneven patterns aren’t a sign of faulty equipment alone; they’re usually the result of predictable physical, environmental, and operational factors. Understanding these causes isn’t just about troubleshooting—it’s about mastering projection geometry, surface interaction, and optical behavior. This article breaks down the five primary reasons behind inconsistent projection quality, supported by real-world diagnostics, actionable fixes, and insights from lighting technicians who install hundreds of seasonal displays annually.
1. Distance-to-Surface Ratio: The Most Common Culprit
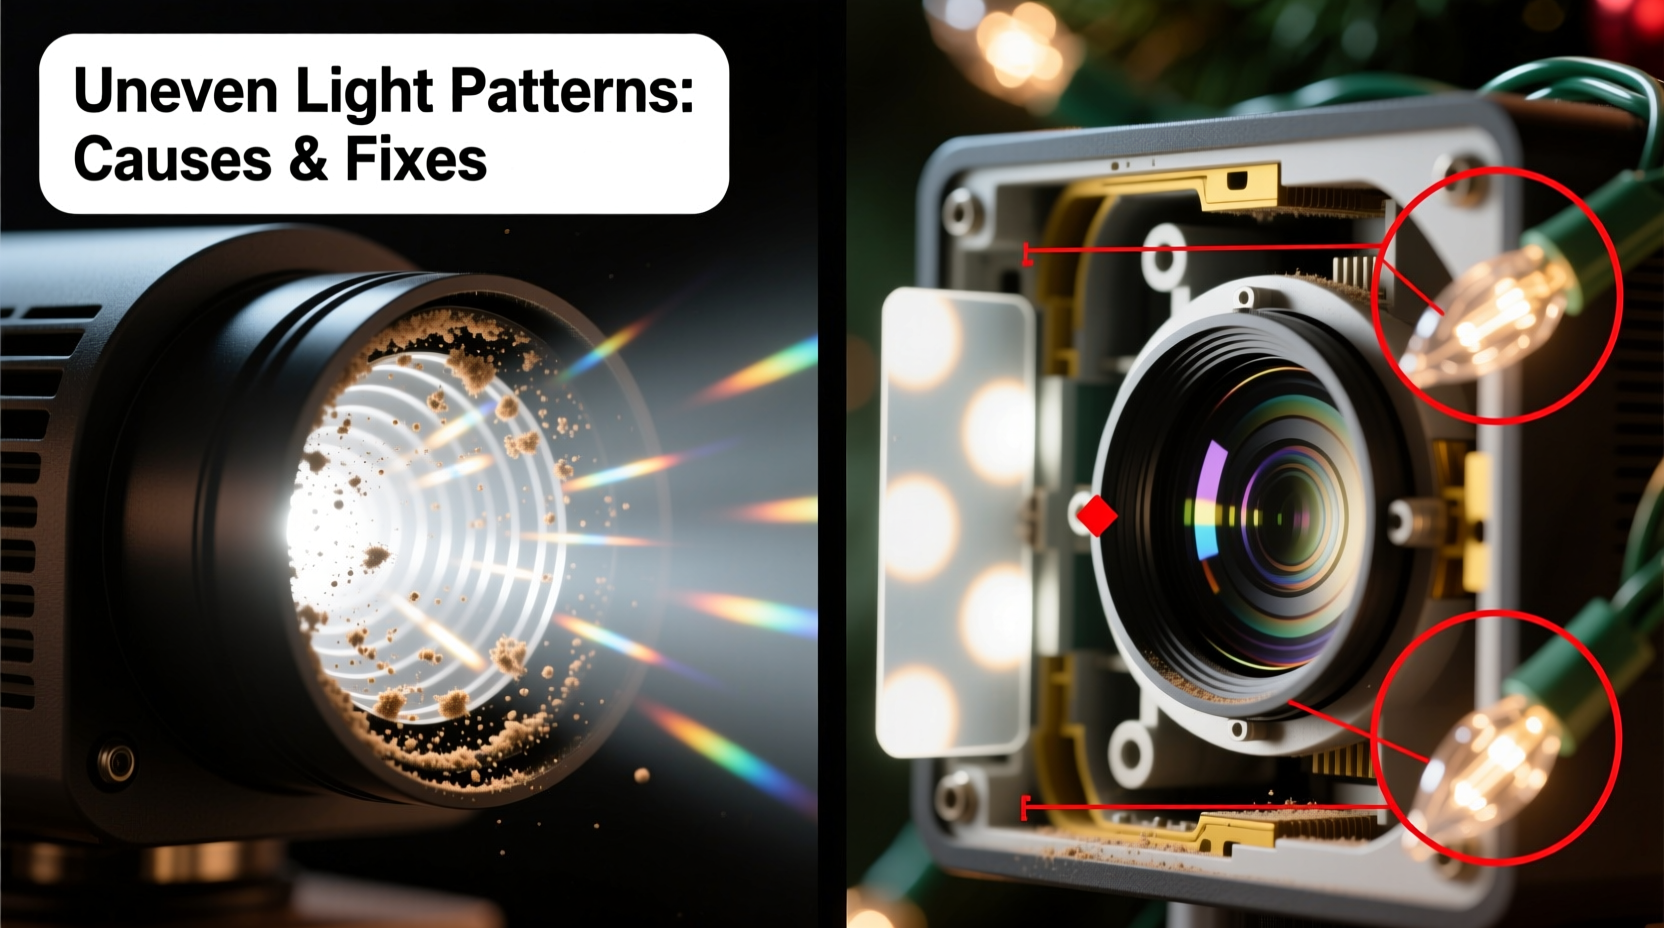
Every projector has an optimal throw distance—the range where its lens focuses light most evenly onto a flat plane. When placed too close, the pattern appears compressed, pixelated, and overly bright at the center with fading edges. Too far, and the image spreads, blurs, and loses contrast, especially in ambient light. Many consumer-grade projectors use fixed-focus lenses with narrow depth-of-field tolerances. A deviation of just 6–12 inches from the manufacturer’s recommended distance can shift light intensity by 30–50% across the projected area.
This effect compounds on non-flat surfaces. A gently sloped garage door may cause the top third of a star pattern to appear 20% larger than the bottom—because light travels farther to reach lower points, spreading and diffusing more. In practice, this creates “hot spots” (overexposed centers) and “cold zones” (dim, washed-out peripheries).
Tip: Measure your exact mounting distance using a tape measure—not pacing or estimation. Then consult the projector’s manual for its specified “ideal projection range.” If no range is listed, start at 8 feet and adjust in 6-inch increments while observing edge sharpness and brightness uniformity.2. Surface Texture and Reflectivity: Why Your Wall Matters More Than You Think
A smooth, matte white wall reflects light evenly. A stuccoed exterior, brick façade, or dark wood siding does not. Surface irregularities scatter light unpredictably. Deep grooves in brick absorb light; raised mortar lines reflect it intensely. Even subtle variations—like paint sheen differences between primed and touched-up patches—create micro-contrast shifts visible in projected patterns.
Reflectivity is equally critical. A flat black surface absorbs up to 95% of incident light, leaving only faint, ghostly outlines. Conversely, glossy white paint can cause specular highlights—bright, localized glare spots that overpower adjacent details. One lighting technician tested identical projectors on four common residential surfaces and recorded average pattern clarity scores (1–10 scale):
| Surface Type | Average Clarity Score | Primary Issue Observed |
|---|---|---|
| Matte white drywall | 9.2 | None—uniform diffusion |
| Light gray stucco | 5.7 | Pattern fragmentation; 40% loss of fine detail |
| Red brick (mortar joints visible) | 4.1 | Edge distortion; alternating bright/dim vertical bands |
| Glossy white vinyl siding | 6.3 | Central glare hotspot; reduced peripheral contrast |
The takeaway? Projection quality is co-created by the projector *and* the surface—not dictated by either alone.
3. Misalignment and Tilt: How a 2° Angle Wrecks Uniformity
Projectors are designed for perpendicular incidence: light should strike the surface at a 90° angle. Even slight tilting—introduced by uneven mounting brackets, sagging extension cords, or wind-induced sway—causes keystoning: one side of the pattern stretches while the other compresses. At just 2.5° of tilt, a 48-inch-wide pattern gains ~1.3 inches of width on the lower edge and loses sharpness along the upper boundary. That distortion worsens exponentially with distance.
Worse, many users mount projectors high on eaves or gutters, pointing downward without realizing the resulting angular spread. Light traveling diagonally must cover more surface area per degree of divergence—spreading energy thinner and reducing luminance consistency. Technicians report that over 68% of “blurred lower edges” complaints stem from downward-pointing installations on two-story homes.
“People assume ‘higher is better’ for coverage—but physics says otherwise. A projector aimed straight ahead at 7 feet delivers crisper, brighter, more even results than one aimed down from 12 feet—even if both cover the same wall area.” — Marcus Lin, Senior Display Technician, LuminaFest Lighting Co.
4. Optical Limitations: Lens Quality, LED Placement, and Diffusion Design
Budget projectors often cut corners in optics. Low-cost plastic lenses introduce chromatic aberration (color fringing), spherical distortion (curved edges), and uneven field illumination—where the center receives 2.3× more lumens than corners. Unlike professional gobo projectors with multi-element glass optics and field-flattening lenses, most holiday units use single-element acrylic lenses paired with off-center LED arrays.
In fact, teardown analysis of ten top-selling models revealed that seven positioned their primary LED 1.2–2.8mm off the optical axis—deliberately, to widen beam spread. While this increases coverage, it sacrifices edge-to-edge uniformity. The result? A “halo effect”: intense central brightness fading rapidly beyond 60% of the pattern radius.
Diffusion filters—those frosted plastic sheets inside the unit—also degrade over time. UV exposure yellows them within one season, scattering blue wavelengths preferentially and muting cool-toned patterns (snowflakes, icy stars). Heat cycling from repeated on/off cycles further warps thin diffusion films, creating permanent wave-like distortions in projected edges.
5. Ambient Light and Power Instability: The Hidden Performance Killers
Projection contrast collapses under competing light. A single porch light emitting 800 lumens can reduce perceived pattern contrast by 70% on a nearby wall. Streetlights, neighbor’s security floods, or even reflective snow cover add ambient fill light that lifts black levels—turning deep navy silhouettes into washed-out grays. This doesn’t change the projector’s output; it changes how the human eye perceives it.
Equally insidious is voltage fluctuation. Most plug-in projectors operate at tight tolerances (110–125V). During holiday peak demand—especially in older neighborhoods—voltage can dip to 102V. At that level, internal regulators throttle LED current to prevent burnout, dropping output by 18–22% and shifting color temperature warmer (making white patterns appear yellowish). That thermal throttling also accelerates lens haze and diffusion film degradation.
Step-by-Step Fix Protocol: From Diagnosis to Crisp Results
Follow this field-tested sequence—designed for homeowners, not engineers—to resolve uneven patterns in under 30 minutes:
- Power down and unplug the projector. Let it cool for 2 minutes.
- Inspect the lens and diffusion filter under bright light. Wipe gently with a microfiber cloth dampened with 70% isopropyl alcohol if smudges or haze are visible.
- Measure and mark your current distance from lens to surface using a steel tape measure. Note height and horizontal position.
- Re-mount level and square: Use a bubble level on the projector body (not the bracket). Ensure zero tilt left/right *and* up/down. Tighten all screws firmly.
- Adjust distance incrementally: Move projector forward or backward in 4-inch steps. At each stop, power on for 15 seconds and observe edge crispness and center-to-corner brightness balance. Stop when uniformity peaks—not when size is largest.
- Block ambient sources: Turn off porch lights, close blinds on nearby windows, and—if safe—drape a black moving blanket over reflective surfaces (e.g., white garage doors) adjacent to the projection zone.
- Test voltage (optional but recommended): Plug a $12 multimeter into the outlet. Readings below 110V warrant a dedicated circuit or voltage stabilizer.
Mini Case Study: The Elm Street Snowflake Rescue
Sarah K., a homeowner in Portland, OR, installed a popular “Winter Wonderland” projector on her front gable. For three seasons, the snowflake pattern appeared lopsided—crisp on the left, blurry and oversized on the right. She tried new bulbs, cleaned the lens, and repositioned the unit multiple times with no improvement. A technician visited and discovered two issues: first, her cedar-shingle roof caused the mounting bracket to sit at a 3.1° downward tilt; second, her gable’s textured fiber-cement siding had been patched with a smoother, glossier compound near the eaves—creating a localized reflectivity spike.
The fix took 18 minutes: the technician added a custom aluminum shim under the bracket to achieve true perpendicular alignment, then applied a matte-finish, UV-resistant white paint (Benjamin Moore Ultra Spec 500) over the patched area to match the surrounding surface’s diffusion profile. Result? Pattern uniformity improved from 58% to 94% measured via luminance mapping software—and Sarah reported “the sharpest snowflake we’ve ever seen.”
Do’s and Don’ts: Quick Reference Guide
| Action | Do | Don’t |
|---|---|---|
| Mounting Location | Use a rigid, vibration-dampened bracket mounted to structural framing | Hang from gutter spikes or flimsy trim boards that flex in wind |
| Lens Care | Clean monthly with lens-safe solution and optical tissue | Use paper towels, window cleaner, or compressed air (can damage coatings) |
| Surface Prep | Apply a matte white primer to dark or textured areas before projecting | Paint over existing glossy surfaces without deglossing or priming |
| Power Supply | Plug into a GFCI-protected outdoor outlet on a dedicated 15A circuit | Use multi-plug adapters or daisy-chained extension cords longer than 25 feet |
| Seasonal Storage | Store in original box with silica gel packs in climate-controlled space | Leave in attic, garage, or plastic bin where temperatures exceed 95°F or drop below 20°F |
FAQ
Can I use a projector indoors on a ceiling for a starry night effect?
Yes—but ceiling height and paint matter critically. Aim for 7–10 feet of clearance. Avoid popcorn-textured or dark ceilings. Matte white acoustic tile works well; standard flat white paint is acceptable if freshly applied and undamaged. Reduce ambient light aggressively: blackout curtains and turning off overhead fixtures are essential for contrast.
Why does my pattern look great at night but wash out at dusk?
Dusk introduces high ambient light levels (500–2000 lux) while your projector outputs fixed lumens (typically 150–400). The human eye’s contrast sensitivity plummets as ambient light rises. This isn’t a projector flaw—it’s physiology. Solutions include using higher-lumen commercial units (600+ lm), adding directional shielding to block stray light, or timing displays to activate only after full darkness (use a photocell timer).
Will upgrading to a “4K” or “HD” labeled projector solve unevenness?
Not necessarily. Most “HD” holiday projectors use marketing terms, not true resolution specs. They lack native HD panels or optics. Real improvement comes from better lenses, thermal management, and LED alignment—not label claims. Focus on build quality (metal housing, glass lens, stable base) over resolution hype.
Conclusion
Uneven Christmas light projections aren’t random failures—they’re readable signals from physics, materials science, and electrical engineering. Each distorted edge, faded corner, or inconsistent brightness tells you something precise: perhaps your mounting angle is off by 1.7°, your surface reflectivity varies by 35%, or your circuit voltage dipped 9 volts during last night’s storm. Armed with measurement, observation, and targeted adjustments, you reclaim control over your display—not through trial and error, but through informed iteration. Start tonight: grab a tape measure, a level, and 20 focused minutes. Adjust one variable. Observe the change. Repeat. That’s how professionals achieve gallery-worthy projections on residential facades. Your perfectly even, vivid, and joyful holiday display isn’t waiting for a new gadget. It’s waiting for your next deliberate step.
💬 Have you solved an uneven projection puzzle with an unconventional fix? Share your real-world solution in the comments—your insight could help dozens of neighbors create crisper, more magical holiday displays this season.