Baking a bundt cake is equal parts science and art. The intricate design of the pan adds elegance, but it also introduces a major challenge: getting the cake out in one piece. Even experienced bakers have faced the heartbreak of a beautiful cake sticking to the pan, losing its edges or collapsing mid-release. The key to success lies not in luck, but in proper preparation—specifically, how you grease your bundt pan.
Unlike simpler pans, bundt molds feature deep grooves, narrow tunnels, and delicate ridges that trap batter and resist release if not properly treated. A poorly greased pan leads to torn cakes, uneven surfaces, and wasted effort. But when done correctly, greasing ensures a smooth, clean release—preserving every swirl and curve of your creation.
The Science Behind Sticking: Why Greasing Matters
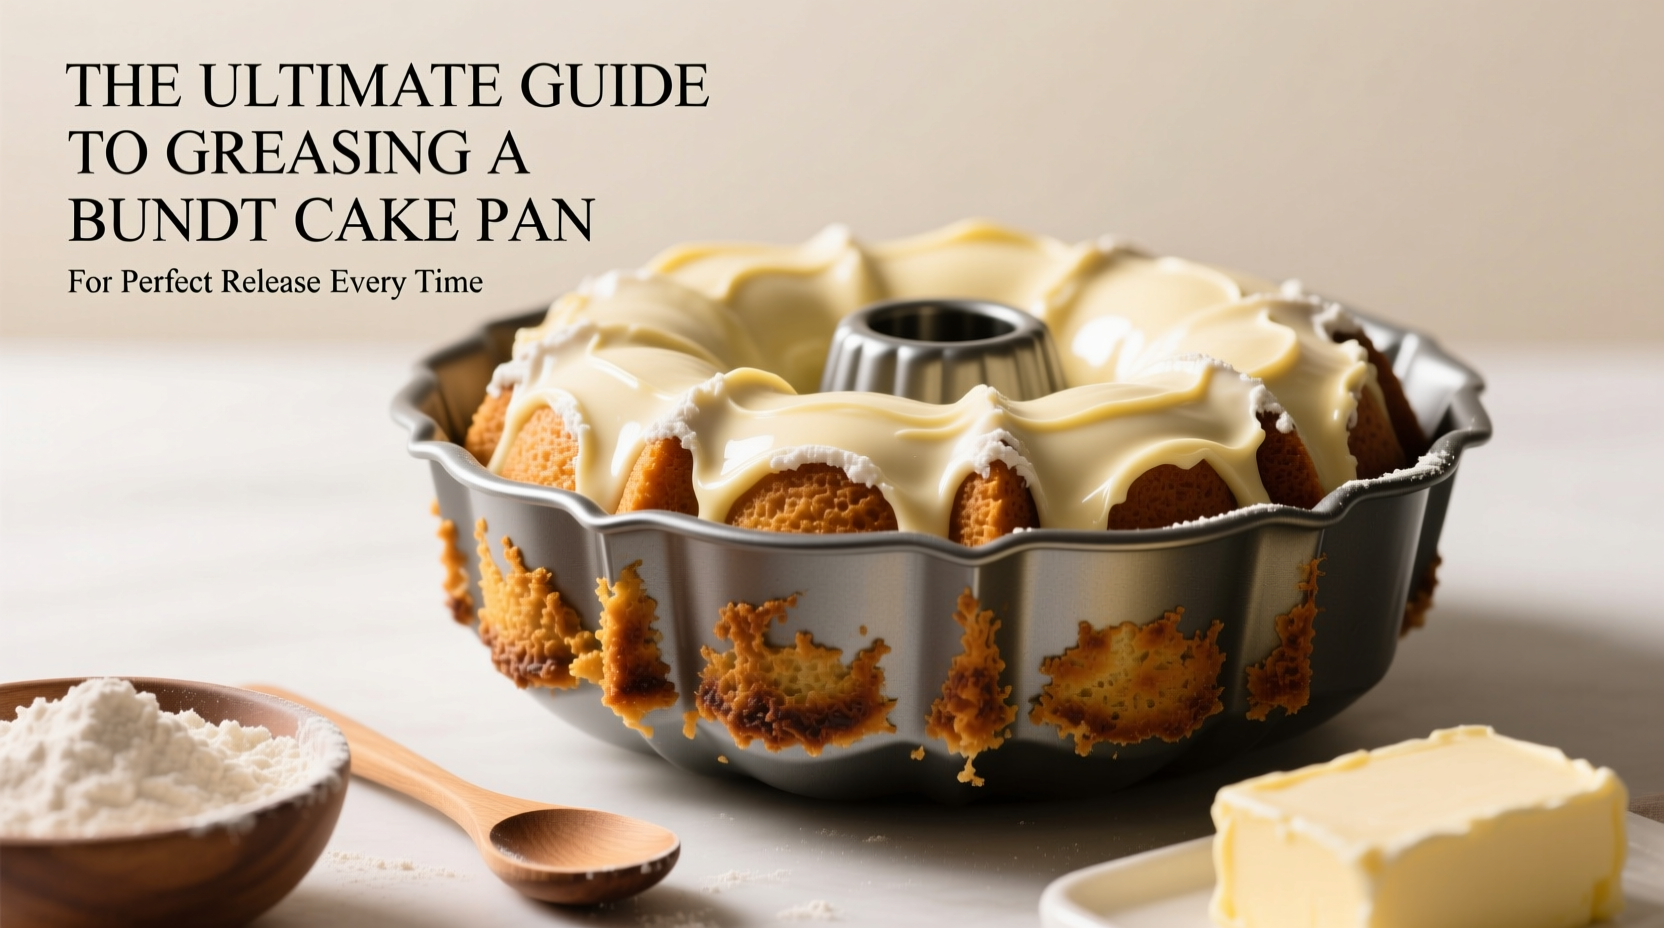
Cake batter contains sugar, eggs, and flour—all of which can caramelize or bond with metal during baking. As heat intensifies, these ingredients form a thin, sticky layer between the cake and the pan surface. Without an effective barrier, the cake adheres tightly, especially in recessed areas where airflow is limited and cooling is uneven.
Proper greasing creates a non-stick interface that prevents direct contact between batter and metal. It’s not just about avoiding mess; it’s about maintaining structural integrity and visual appeal. The goal isn’t merely to get the cake out—it’s to get it out intact, with sharp definition and no tears.
“Greasing isn’t optional—it’s foundational. I’ve seen more failed bundts due to poor prep than any other factor.” — Clara Mendez, Professional Pastry Chef & Instructor
Choosing the Right Grease: Butter, Shortening, or Spray?
Not all fats perform equally when it comes to bundt pans. Each option has pros and cons depending on temperature stability, spreadability, and flavor impact.
| Fat Type | Pros | Cons |
|---|---|---|
| Vegetable Shortening | High smoke point, neutral flavor, excellent coverage, doesn't brown | Lacks flavor, some prefer natural alternatives |
| Unsalted Butter | Rich flavor, easy to apply, widely available | Lowers smoke point, may brown or break down under high heat |
| Baking Sprays with Flour | Convenient, even coverage, includes built-in release agent | Can leave residue over time, inconsistent in cold kitchens |
| Cooking Oil (e.g., canola) | Cheap, accessible, liquid form spreads easily | Harder to control application, may pool in crevices |
For maximum reliability, many professionals recommend using vegetable shortening. Its higher melting point ensures it stays intact during oven preheating, and its neutral profile won’t interfere with delicate flavors. However, combining butter with a light coating of flour enhances both taste and release power—especially useful for vanilla or spice cakes.
Tip: Always use room-temperature fat for easier, more even spreading. Cold butter cracks; warm shortening glides smoothly into every contour.Step-by-Step: How to Grease a Bundt Pan Like a Pro
Follow this precise method to ensure total coverage and foolproof release:
- Clean and dry the pan thoroughly. Any moisture or leftover crumbs will interfere with adhesion of the grease.
- Use a pastry brush or paper towel to apply a thin, even layer of shortening or softened butter. Start at the center tube and work outward, paying close attention to crevices and tight curves.
- Rotate the pan slowly, ensuring full 360-degree coverage. Don’t skip the top rim or underside of fluted edges.
- Dust lightly with flour (all-purpose or cocoa powder for chocolate cakes). Tap the pan gently while rotating to distribute evenly, then invert and tap out excess.
- Double-check shadowed areas with a flashlight if needed. Missed spots are often invisible until the cake sticks.
- Chill the pan for 10–15 minutes before filling. This sets the fat and prevents pooling when batter is added.
This six-step process creates a dual defense: the fat acts as a lubricant, while the flour absorbs moisture from the batter and forms a crisp release layer. Together, they prevent sticking without altering texture.
Avoid These Common Greasing Mistakes
- Using only cooking spray. While convenient, most sprays don’t provide enough thickness for complex molds. Over time, propellants can also build up a gummy residue.
- Skipping the flour dusting. Especially with sugary batters, omitting flour increases the risk of caramelized sticking.
- Over-greasing. Excess fat pools in low areas, causing dense, greasy patches and uneven baking.
- Reusing a previously used pan without re-greasing. Leftover crumbs or degraded oil film compromise performance—even if it looks clean.
- Using metal tools to remove stuck bits. Scratches in aluminum pans create future sticking points. Use silicone or nylon instead.
Real-World Example: From Disaster to Perfection
Sarah, a home baker in Portland, had baked her grandmother’s lemon bundt recipe for years—but always struggled with broken edges. She used butter and a quick flour shake, confident she was doing enough. After three consecutive failures, she switched to shortening, applied it with a small brush, and followed the full six-step method above. The next cake released cleanly, with every petal-like ridge perfectly defined. “I couldn’t believe the difference,” she said. “It looked like it came from a bakery.”
Her turnaround wasn’t magic—it was meticulous technique. By addressing gaps in her greasing routine, she transformed inconsistent results into reliable success.
When to Consider Alternatives: Parchment, Baker’s Joy, and DIY Solutions
While traditional greasing works for most recipes, there are specialized options worth knowing:
- Baker’s Joy spray combines oil and flour in one aerosol. Ideal for frequent bakers who want speed without sacrificing performance.
- DIY spray mix: Combine 1 cup vegetable oil with ¼ cup all-purpose flour in a pump sprayer. Shake well before each use.
- Parchment lining: Cut a round for the bottom (if your pan has a flat base), though this is less effective for deep fluted designs.
No solution replaces thorough manual application for precision, but these alternatives offer consistency for regular use.
Checklist: Perfect Bundt Pan Prep Routine
✅ Your Bundt Pan Release Checklist:- Inspect pan for damage or residue
- Clean and dry completely
- Apply thin, even layer of shortening or butter with brush
- Cover all surfaces—including hard-to-reach curves
- Dust with flour or sugar (depending on recipe)
- Tap out excess powder
- Chill pan briefly before adding batter
- Fill batter carefully to avoid disturbing coating
Frequently Asked Questions
Can I use olive oil to grease a bundt pan?
While possible, extra virgin olive oil has a strong flavor and lower smoke point, which can lead to bitterness or breakdown during baking. Refined olive oil is safer, but neutral oils like canola or grapeseed are better choices if you must use liquid oil.
Do non-stick bundt pans still need greasing?
Yes. Even non-stick coatings degrade over time, and intricate designs increase sticking risk. Always grease and flour, regardless of the pan’s label.
How long should I wait before removing the cake?
Cool the cake in the pan for exactly 10–15 minutes after baking. Less time risks collapse; more time allows steam to condense and glue the cake to the metal. Then invert onto a wire rack to finish cooling.
Final Thoughts: Consistency Is Key
Perfect bundt cake release isn’t about luck or fancy tools—it’s about discipline in preparation. Once you master the rhythm of greasing, every cake becomes a celebration of craftsmanship. Whether you’re baking for holidays, birthdays, or quiet Sunday mornings, taking the time to prepare your pan properly honors the effort you put into the recipe itself.
💬 Ready to bake with confidence? Try the six-step greasing method on your next bundt cake and see the difference firsthand. Share your results or tips in the comments below—we’d love to hear your story!